We’ve Moved!


If you aren’t redirected here is the link:


Remodelaholic!


THANKS!

Showing posts with label Stencils. Show all posts

Stenciled Master Bathroom Reveal

07 October 2011

Stenciled Master Bathroom Reveal


Thank y'all so much for so many sweet comments on my bathroom thus far! Between quitting a job, starting a job, hubby applying to grad school, and a kitchen reno - we've actually finished a project! I'm so excited to show you what we've done! Hope you like it!!

Here it is!!

Read more...

Dresser Turned Buffet; Furniture Revamp!

24 September 2011

Dresser Turned Buffet; Furniture Revamp!


This is my $10 dresser from Goodwill. I found it months ago and have been working on it my spare time.


I wanted something tall, a bit narrow and with drawers to use in my dining room. I was looking for a buffet, but this fit the bill perfectly.

Read more...

Laundry Closet Redo

10 September 2011

Laundry Closet Redo


No more waiting!
The reveal is finally here!!

I've been dying to show you guys the finished room :)
I showed you a quick peek with the Italian Inspired Chalkboard
and hopefully put you in a laundry glam mood with the fun printable I shared yesterday!

So now onto the whole dealio!!

Remember my before picture?
It's pretty awful...

Read more...

Stenciled Wall Master Bedroom

04 September 2011

***The Pinhead Project Link up will be Tuesday!  
Sorry I am not done writing my post!  
Can't wait to see you all tomorrow and your Pinterest Projects!


Stenciled Wall Master Bedroom 


I sprung this project on my husband about a week in advance of getting started.  This nearly caused a divorce because I told him that we could handle it without him and he wouldn’t have to do any of the work.  Well needless to say we did end up needing his help, he was not a happy camper but in the end he absolutely loves our new beautiful bedroom.


As you can see the walls were a dull beige color and everything was dark from the furniture, curtains and bedding.  The winter scene outside the windows certainly didn’t help!  Because the house is so old there was a lot of patching to do on the walls and since the walls are made of plaster, I recommend using Behr’s Ultra Primer and Paint in One.  It worked great for coverage and imperfections on the walls.

Read more...

Beautiful Stenciled Laundry Room

20 July 2011

Beautiful Stenciled Laundry Room


Ok, here it is! I am so exciting to share this reveal with you today. This project took FOREVER, but a nice laundry room really does make the chore of doing laundry more enjoyable.


Photobucket
After Before

Can you believe it is the same room?

Photobucket


Photobucket


Photobucket


Photobucket


Photobucket


Photobucket


This is how we did it:

1. Clear everything out

Photobucket


2. Paint the walls
Color: Valspar Meadowlands Green


Photobucket

3. Stencil the walls using Olive Leaf Stencil Pattern Noelle
Color: Valspar Sunwash

(this was the tricky and time consuming part)

Photobucket

*Tips for stenciling*

1. Lightly spray the back of your stencil with a spray adhesive to prevent the paint from bleeding around the edges of the stencil and attach to the wall using painter's tape.

2. Use a stiff stenciling brush and apply paint using a dry brush technique.
(especially for textured walls, like ours)

3. Dab your brush in the paint, then blot the excess paint off on a napkin.
(this will keep your edges sharp)

4. Apply a thin layer of paint to stencil, dabbing the stencil with your brush.

5. Allow the first coat of paint to dry, and repeat as necessary before moving your stencil.

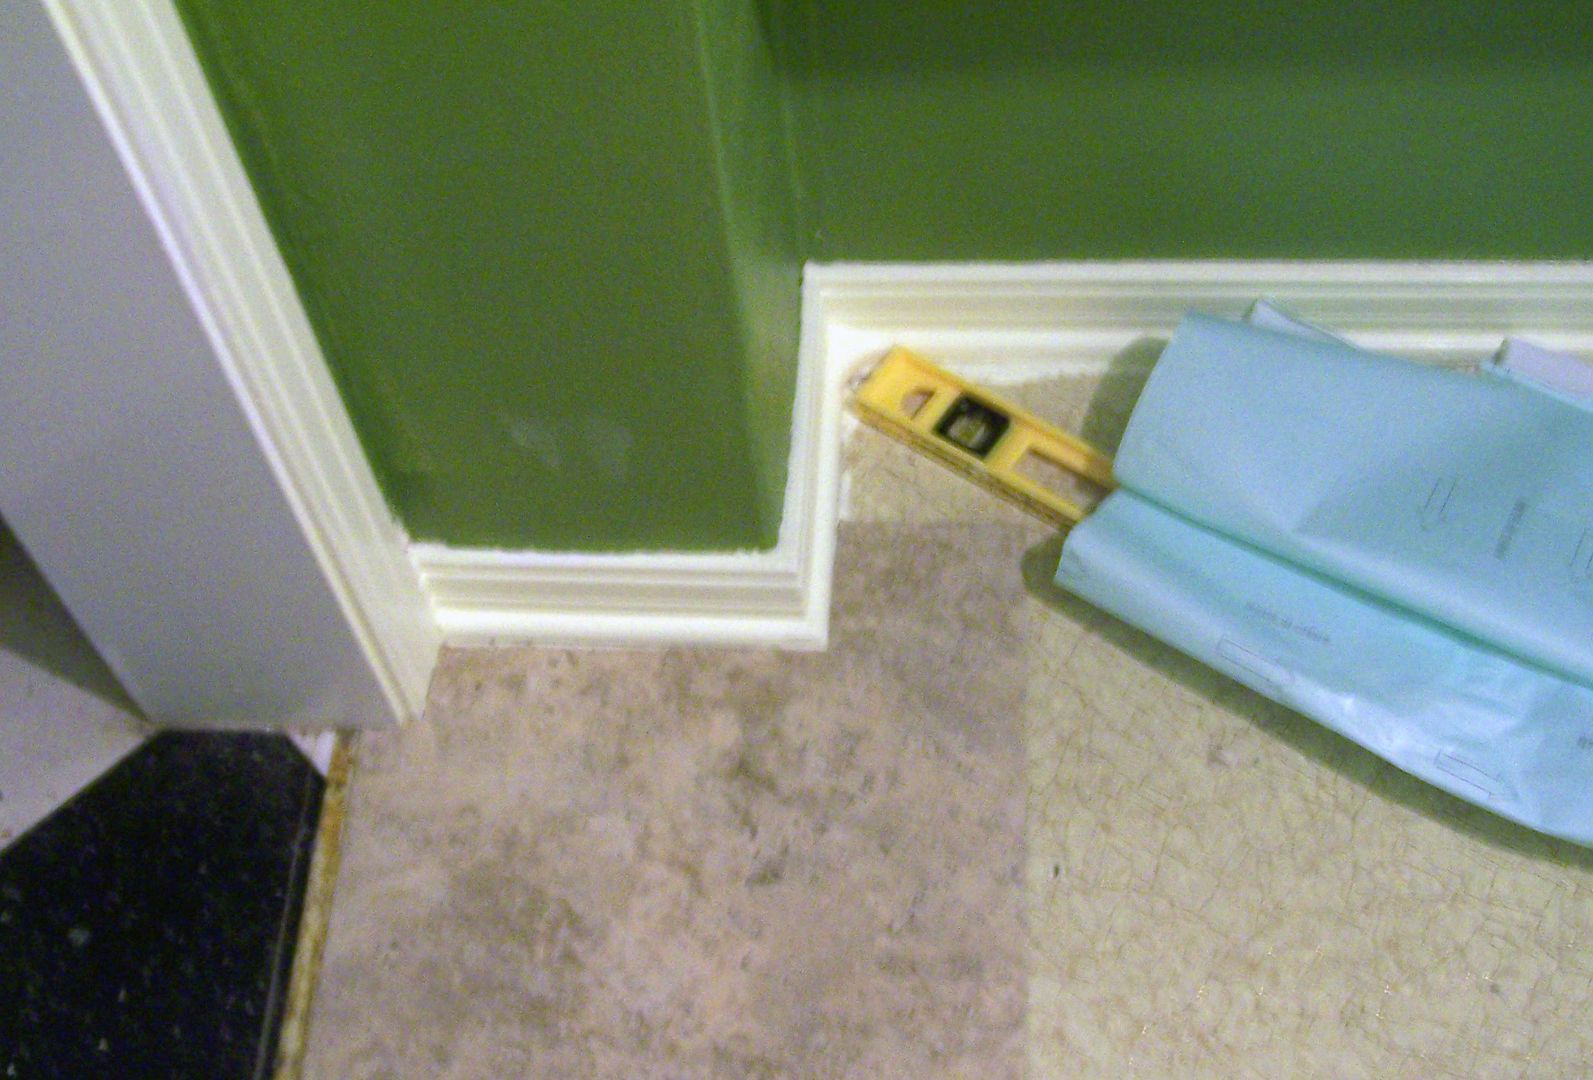
6. Move the stencil vertically, or horizontally, overlapping the pattern as you move around the room. Periodically check your stencil with a level to keep your pattern and stencil straight.

7. Repeat.

Photobucket

5. Continue Stenciling the walls 
(it took forever)

6. Install New Flooring
(click here for that post)


Photobucket

7. Install New Pendant Light
(more on that next week)

and FINALLY THE BIG REVEAL!


Photobucket

Did you notice I did not stencil the back of the shelves?

I thought the pattern needed offset by a little solid, so I left the back of the shelves
and the wall where the door is located solid green.

I felt the pattern would be too overwhelming if every inch of the room was covered.

What do you think?

I think it is now my favorite room in the house...which is not bad for a laundry room!

Read more...

Anthropology Inspired Dresser Redo

11 October 2010


I love this party link!  I think it is especially genius because if you have a piece that you don't want to totally refinish, you might just be able to amp it up with a stencil.  but so you know,  Kate from Twenty-Six to Life who created this piece did sand and stain the dresser, and I love the way it turned out, check out her post:


When I saw this dresser (forever ago), I knew Anthropologie was just daring someone to DIY something similar. So of course I did tried.


I found this dresser on craigslist for just $15. While it's not a match for shape, I decided I liked it anyway. Besides, for $15 the price was right considering I have no idea where it will actually go.


For those of you who just scroll to the after, here it is!


I will be the first to admit that it didn't turn out quite like I had anticipated.  It looks very different from my "inspiration piece" and that's largely due to the fact that I used what I already had.  I wasn't really willing to go buy a lighter stain, or black paint, or create or buy different stencils.  I had the dark stain, white paint, and hammer spray paint for the knobs already.  So I used them.  I hope none of you mind the differences, but if you do, here's a 
consolation prize.

And for those of you that like a little tutorial, here's what I did:

1. Of course, like with anything, I sanded. And sanded and sanded and sanded. I hate sanding, but it's a necessary evil. It got rid of that awful orangey hue.


2. Stain. This time I only used one coat. This was were the changes from the anthropologie dresser started. Originally, I meant to get a lighter stain so I could do black numbers, but when the time came I was feeling lazy and cheap wasn't thinking and used a dark stain. C'est la vie. I just switched it up and went with white numbers.

3. Spray. The formerly brassy knobs got new life with hammer black spray paint.  It's the same stuff I used on those 
white dressers I did before.


4. Upgrade. The drawer bottoms were a mess so I ditched the old ones and had new ones cut at Home Depot. I also added the wheels to the legs, I think they add even more character.

5. Stencil. I used cheapo stencils centered on each drawer and filled them in with white paint I already had.

In the end, this before and after cost less than $25. $15 for the dresser, $7 for new drawer bottoms from Home Depot, $1.50 for the stencils, $0.50 for a foam brush.

I know it's not perfect. My OCD is kicking in looking at these photos and that "3", but I guess it's all part of the learning process. Maybe in the future I'll rough it up a little and it'll become less noticeable. For $25, I'm going to try to enjoy my new piece of furniture and try not to stress about any imperfections.


I think imperfections can add to the piece.  
Also who could beat $25.00 
for a whole new dresser!
Great Job!

Read more...
Related Posts with Thumbnails
Emealz - Easy Meals for Busy People!
Home & Garden Blogs Home & Garden Blogs - Blog Rankings

Blogging  tips, tutorials and SEO

From Here to Eternity

  © Blogger template On The Road by Ourblogtemplates.com 2009

Back to TOP