Beautiful Stenciled Laundry Room
20 July 2011
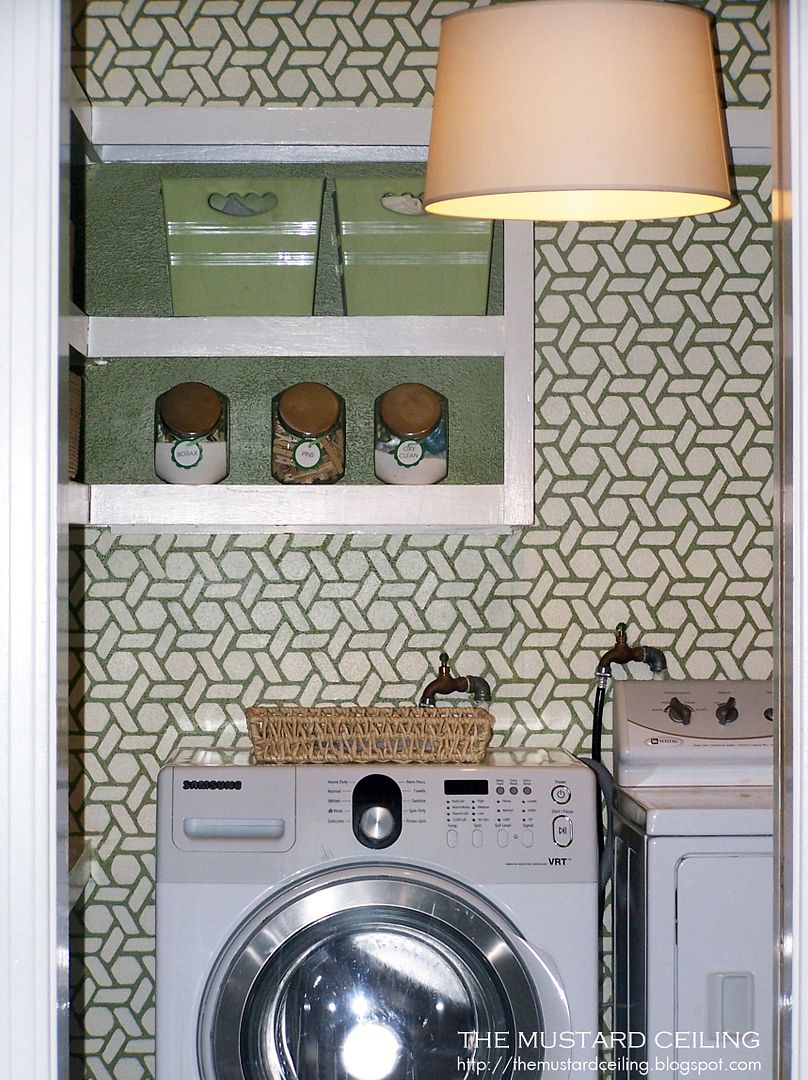
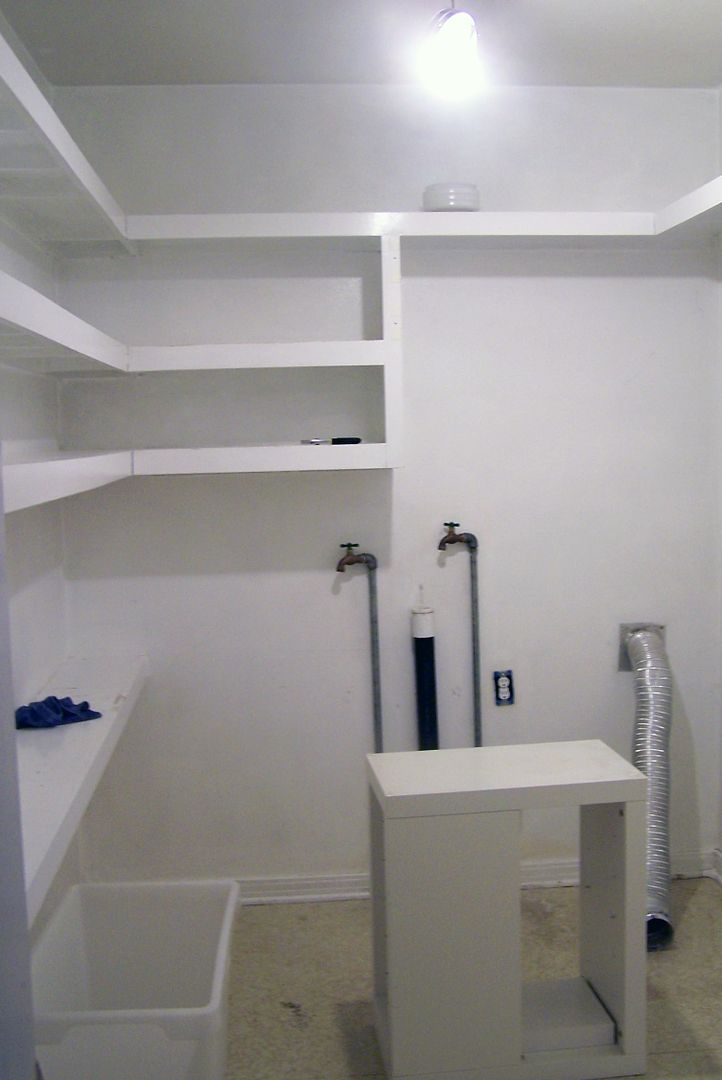
Ok, here it is! I am so exciting to share this reveal with you today. This project took FOREVER, but a nice laundry room really does make the chore of doing laundry more enjoyable.
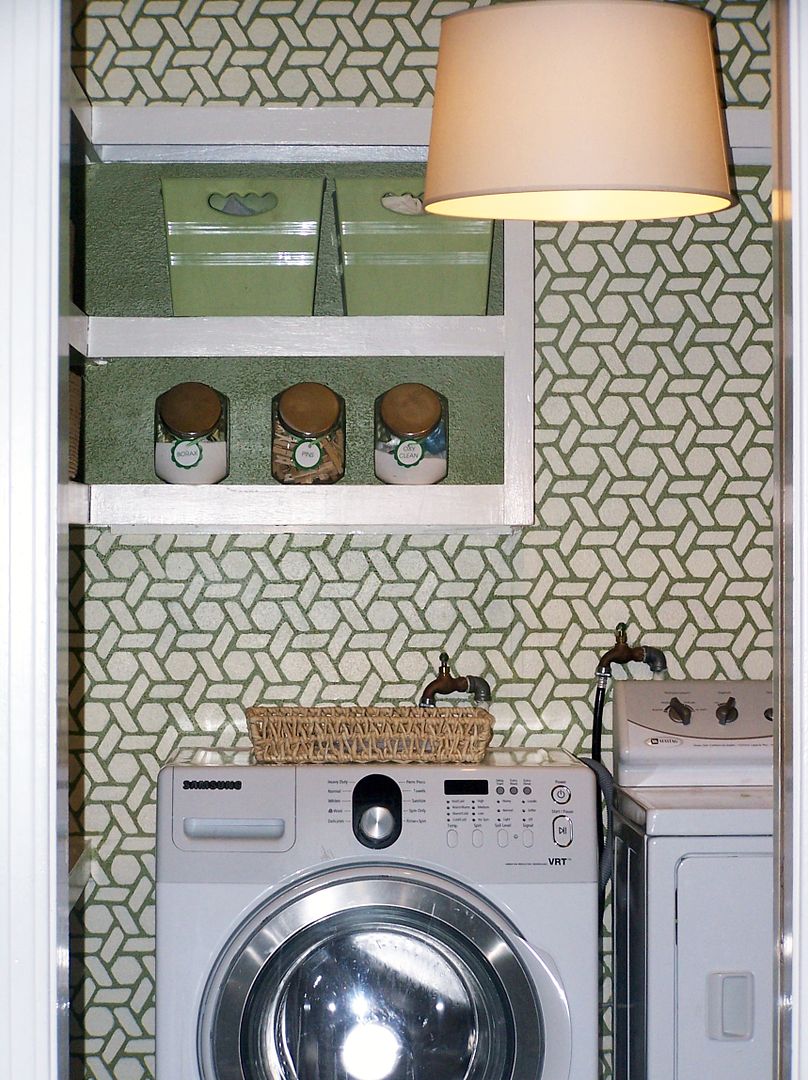
Can you believe it is the same room?
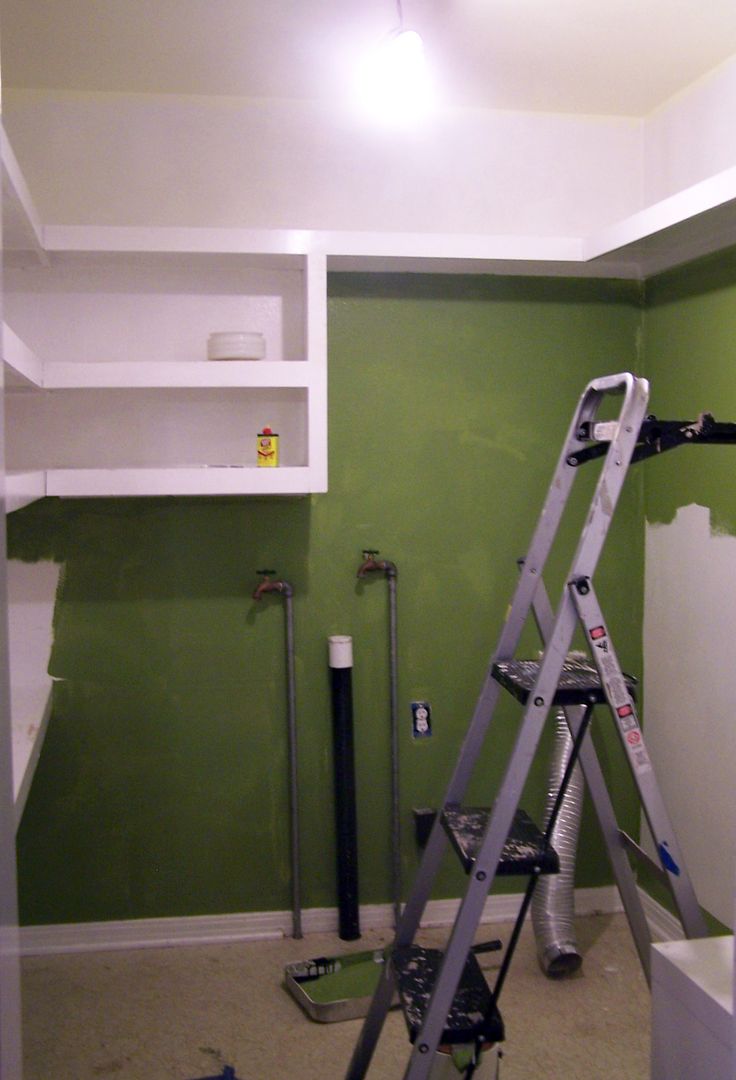
2. Paint the walls
Color: Valspar Meadowlands Green
Color: Valspar Sunwash
(this was the tricky and time consuming part)
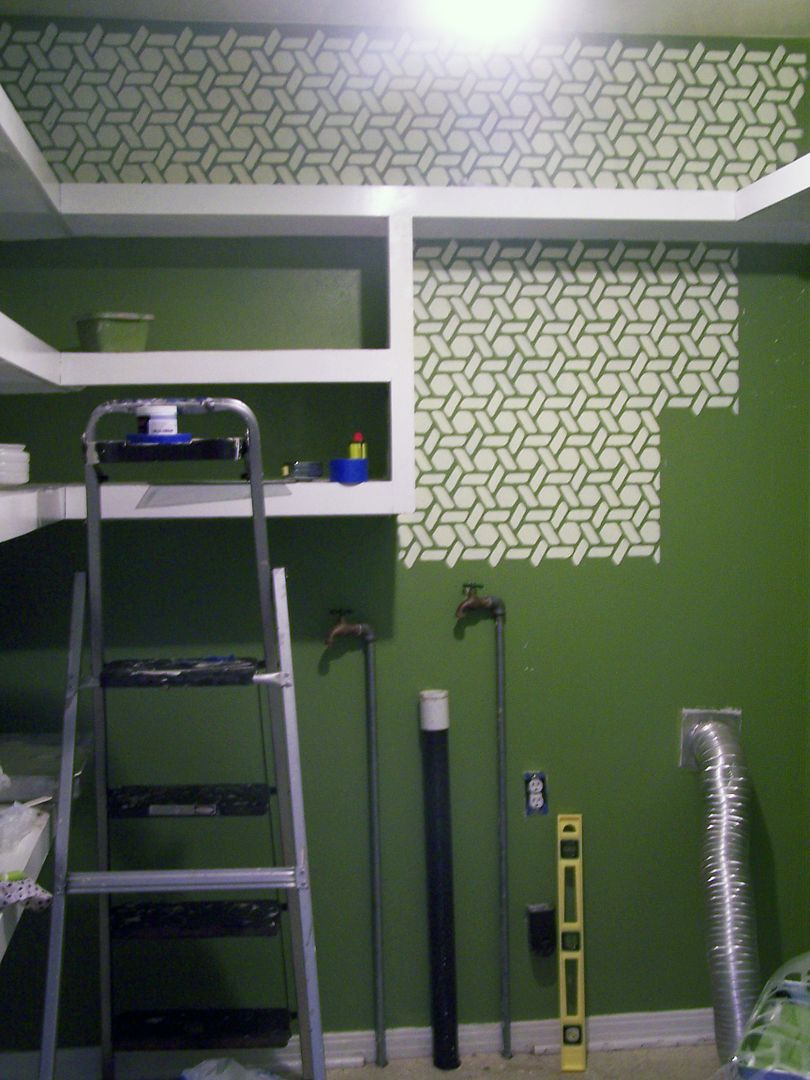
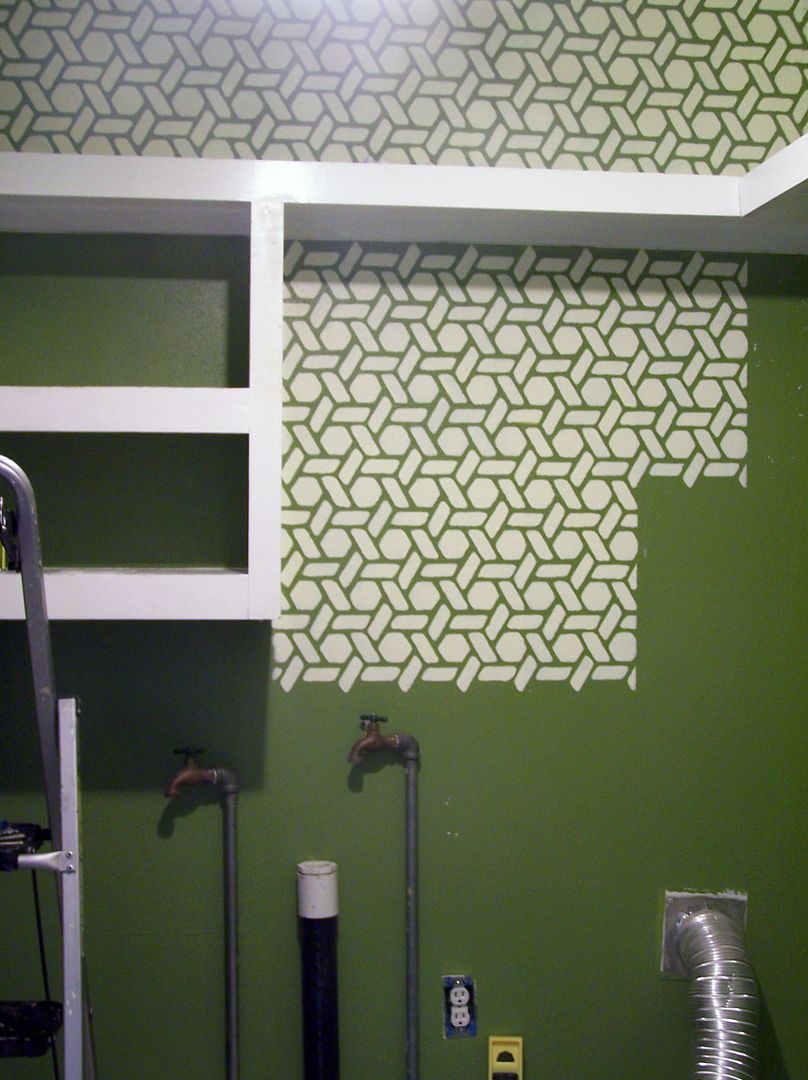
1. Lightly spray the back of your stencil with a spray adhesive to prevent the paint from bleeding around the edges of the stencil and attach to the wall using painter's tape.
2. Use a stiff stenciling brush and apply paint using a dry brush technique.
(especially for textured walls, like ours)
3. Dab your brush in the paint, then blot the excess paint off on a napkin.
(this will keep your edges sharp)
4. Apply a thin layer of paint to stencil, dabbing the stencil with your brush.
5. Allow the first coat of paint to dry, and repeat as necessary before moving your stencil.
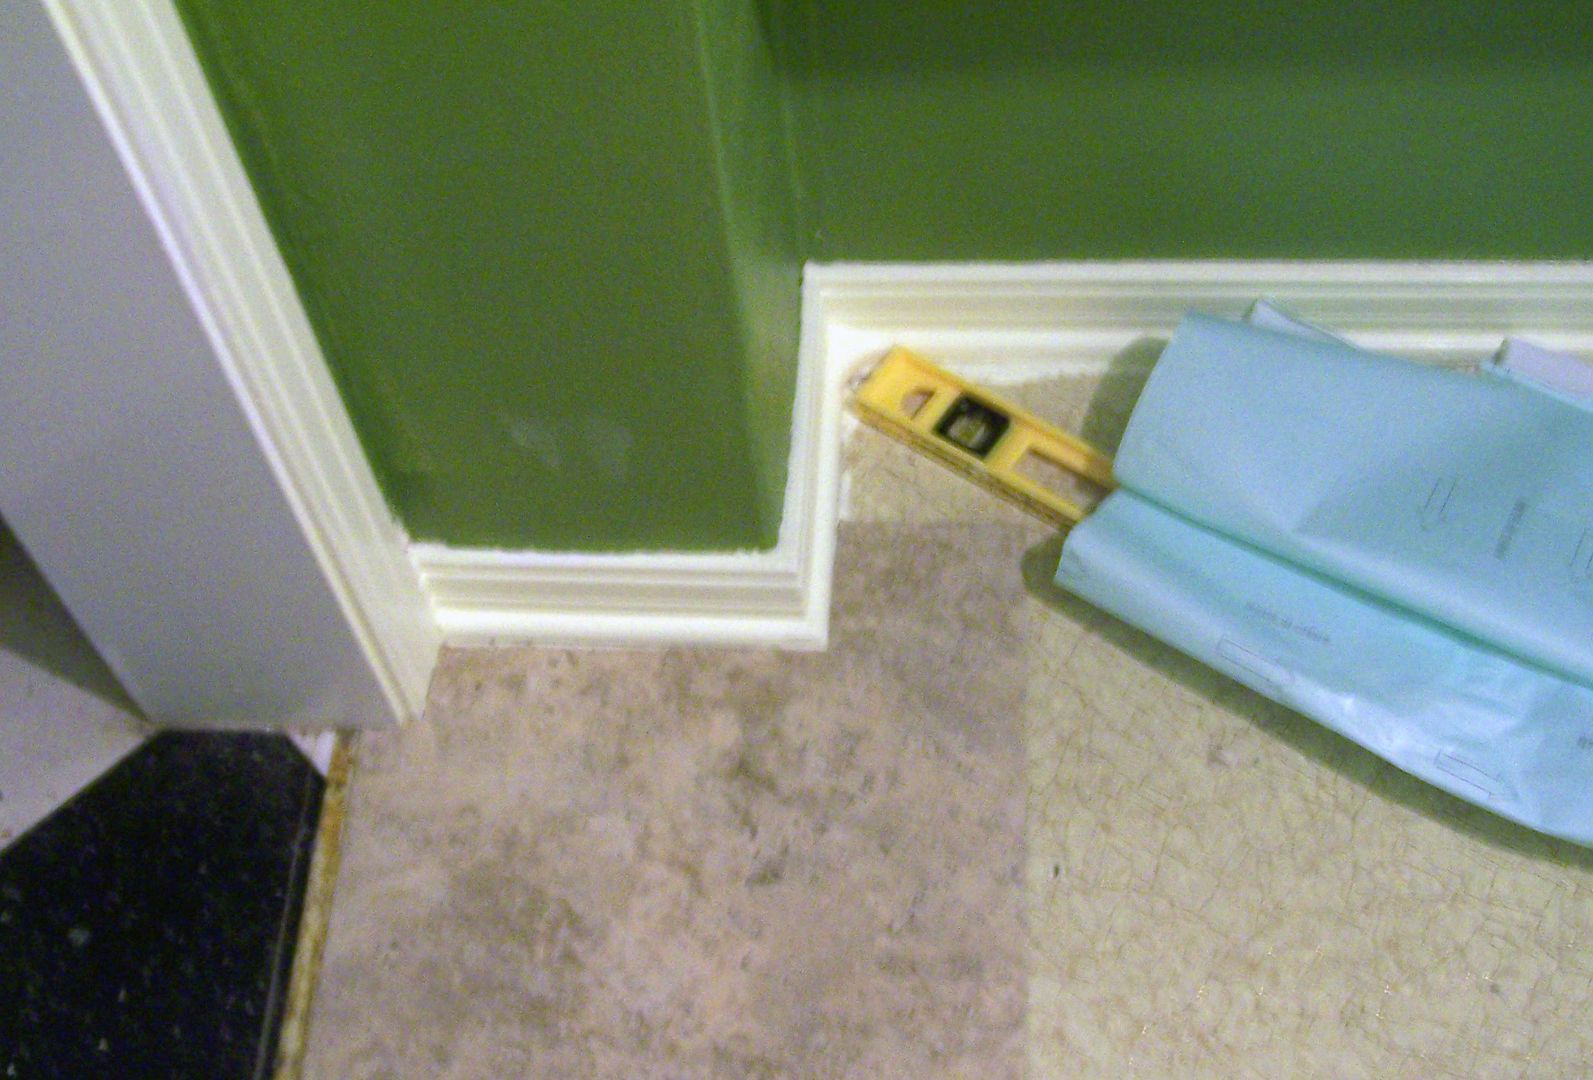
6. Move the stencil vertically, or horizontally, overlapping the pattern as you move around the room. Periodically check your stencil with a level to keep your pattern and stencil straight.
7. Repeat.
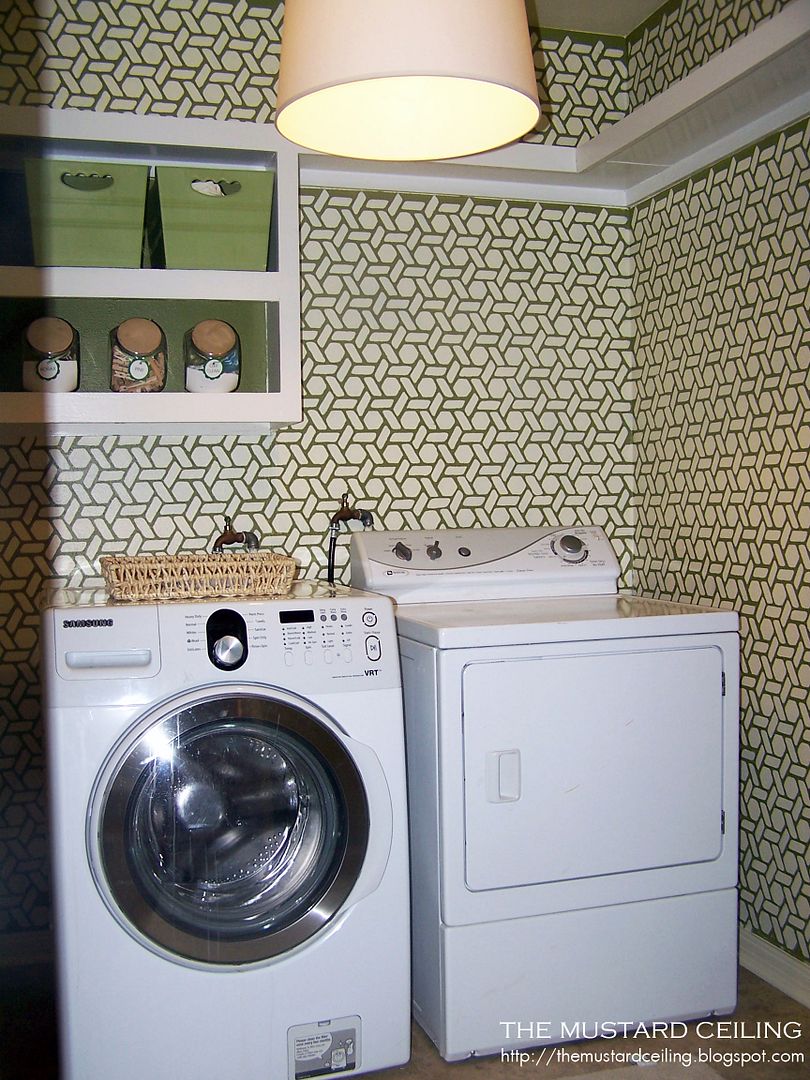
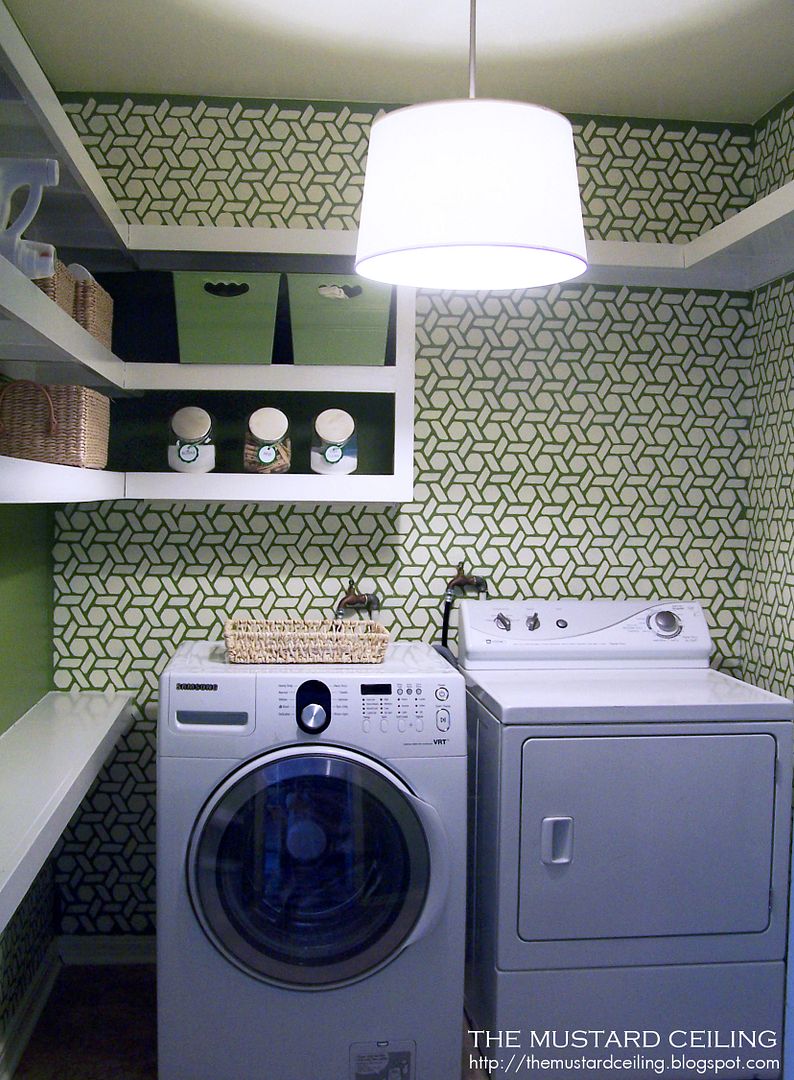
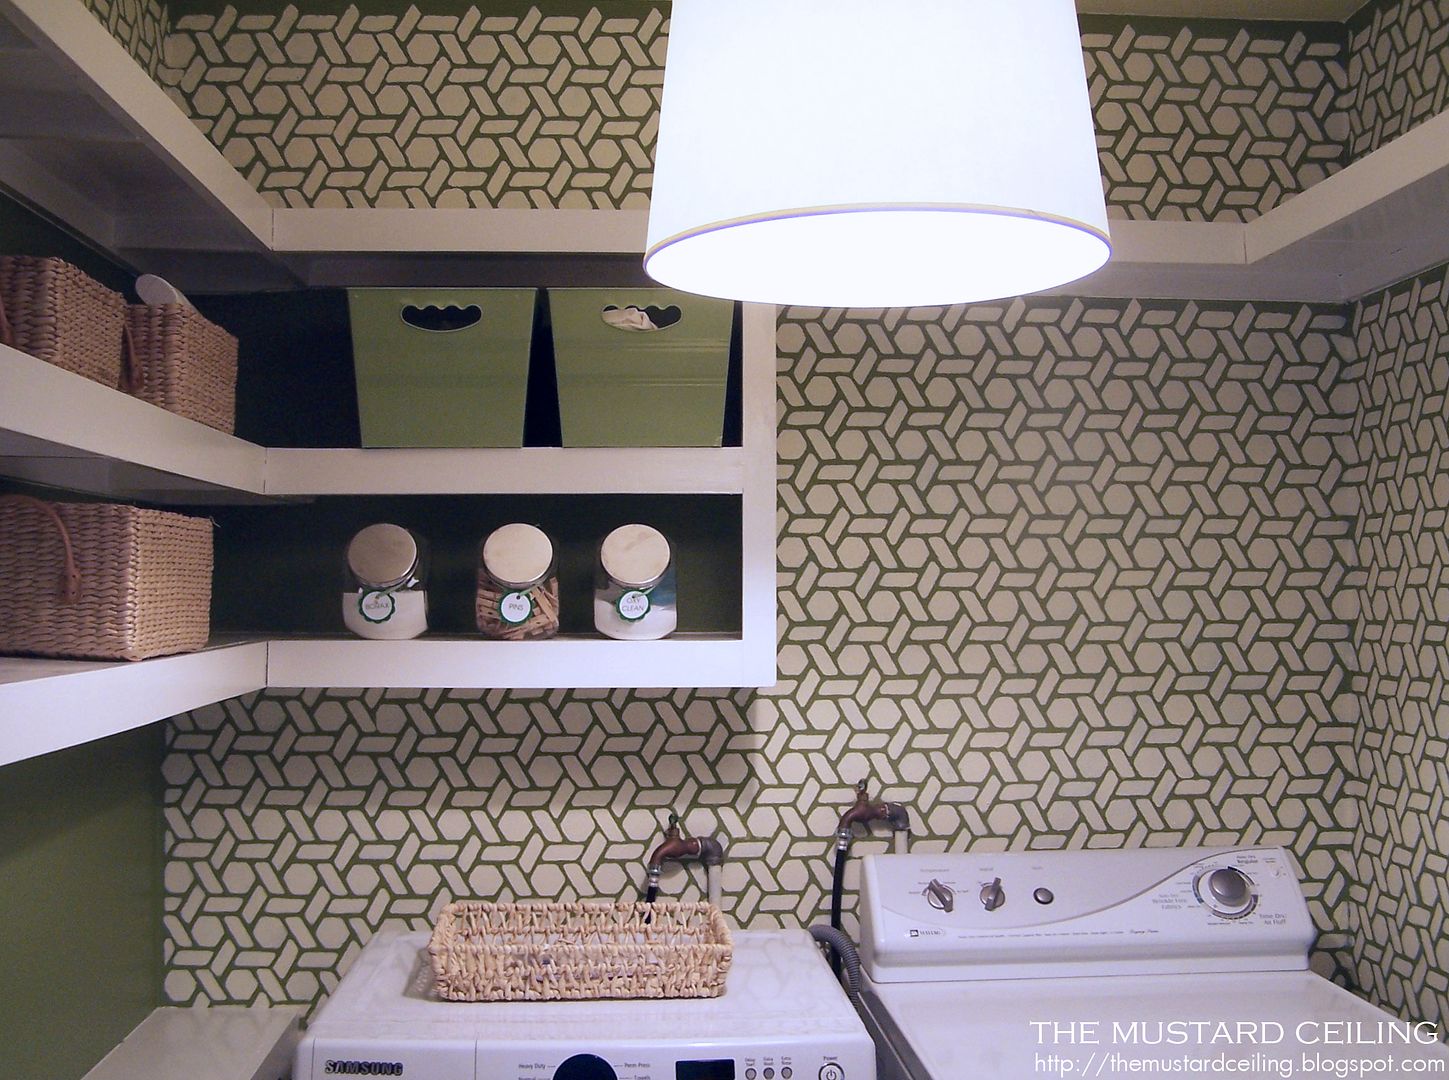
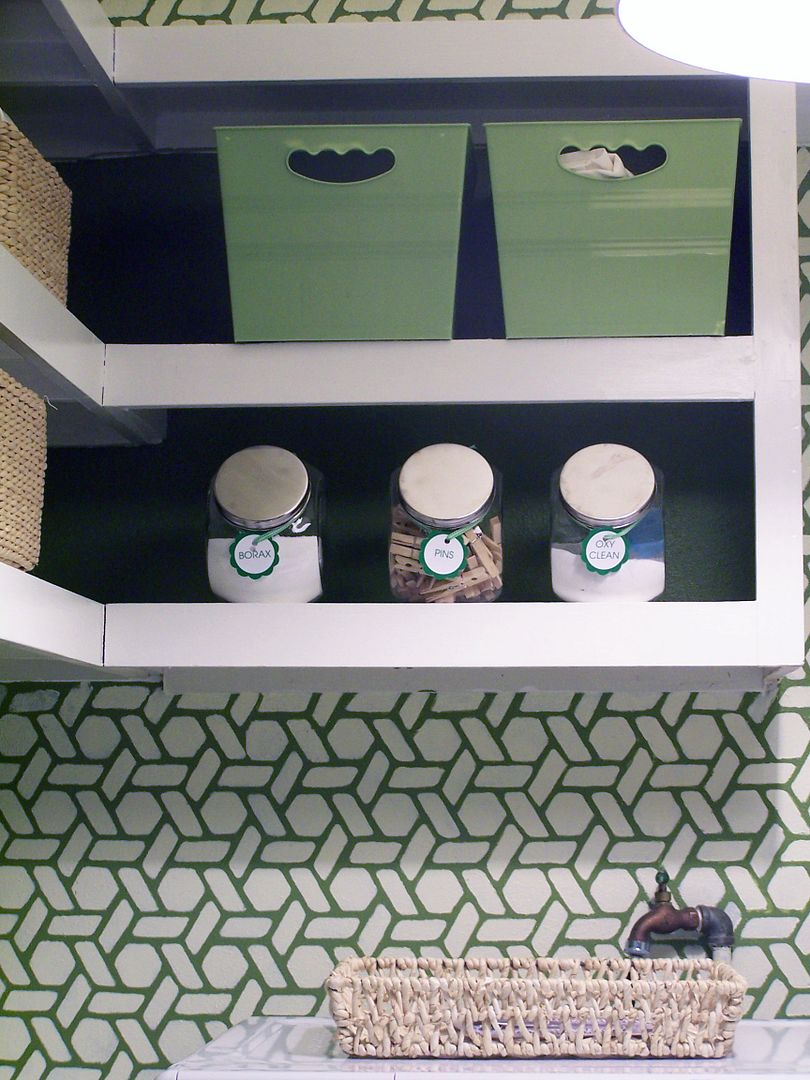
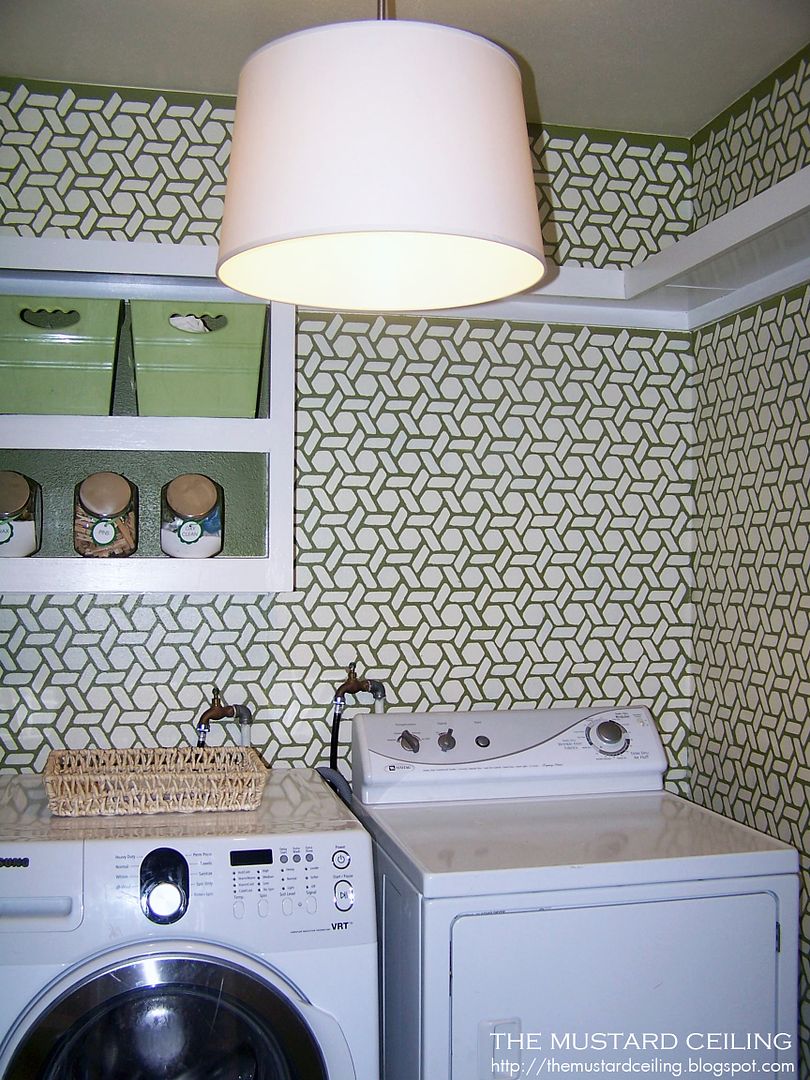
and FINALLY THE BIG REVEAL!
Did you notice I did not stencil the back of the shelves?
I thought the pattern needed offset by a little solid, so I left the back of the shelves
and the wall where the door is located solid green.
I felt the pattern would be too overwhelming if every inch of the room was covered.
What do you think?
I think it is now my favorite room in the house...which is not bad for a laundry room!




8 comments:
I just found Elizabeth's blog recently and she and her husband do great work--this room is no exception! That stencil looks fabulous. Maybe I'll go do some laundry now...:)
Hi there! I love the pattern and amazing technique...Most of all the color...LOVE that green! Do you mind if I ask, how long the stenciling took you to do? Nice room to do laundry in! :) Great job!
Sandy
Oh my gosh - I love it! I know it was time-consuming, but so worth it! And I'm glad you didn't paint the back of the shelves. The contrast is exactly what it needs so that the pattern isn't overwhelming. Yay!
Incredible! I never would have thought of that! I agree with the post before that the contrast of solid to stencil is perfect. I also really like your old plumbing hookups! My house is a 1930's Four Square and we love it! Old stuff rocks
Luke
Chesapeake, VA
the changes are amazing - and the stenciled wall just makes it wow!!
love it.
xox.
wow!!! it's beautiful. you guys did an amazing job and I am sure it took a ton of patience to complete all of that so perfectly. and you made 10000% the right choice to leave the back of the shelves plain. looks awesome!
Wow! That is an amazing laundry! It's just gorgeous! I'm so impressed with her doing both walls. I would have just done the back and called it a day. Thanks for sharing.
Gorgeous! I so want to do a stencil somewhere because I LOVE the look, but I'll admit, the whole time consuming process is a little intimidating! Thanks for the how-to and tips. I'll definitely use them if I every screw up enough courage!
Post a Comment