We’ve Moved!


If you aren’t redirected here is the link:


Remodelaholic!


THANKS!

Showing posts with label Exteriors. Show all posts

Home Exterior Facelift; Adding a Porch!

19 September 2011

Home Exterior Facelift; Adding a Porch!


This is the house in 2004 before the porch addition. When we were working on it, people would literally stop thier cars and point, amazed after 50 years of very little change. We got used to people just stopping to watch what we were doing. I would be out gardening and people would pass in their cars- calling "keep up the good work, we love what you're doing!" One gal stopped while walking and told us her family was taking bets if it was going to be a room addition or a porch.

Read more...

Getting More Curb Appeal

15 June 2011

It is summer right?  Now is the time to get outside!!  Work on your tan (or do like me and wear SPF 75 with a hat!) and fix up the outside of your home.  But sometimes it can be a little overwhelming, most of us don't know where to start.  So, I thought I would try to give you some ideas.


1. Clean Up!
First and foremost clean up the trash!
  •  Rake up the beds- old leaves 
  • Take bulk trash to the dump!  (or donate items that you no longer need that are in good shape!!) 
  • Throw away broken items (lights, pots, art)
  • WEED!  Get those darn buggers outta your life.
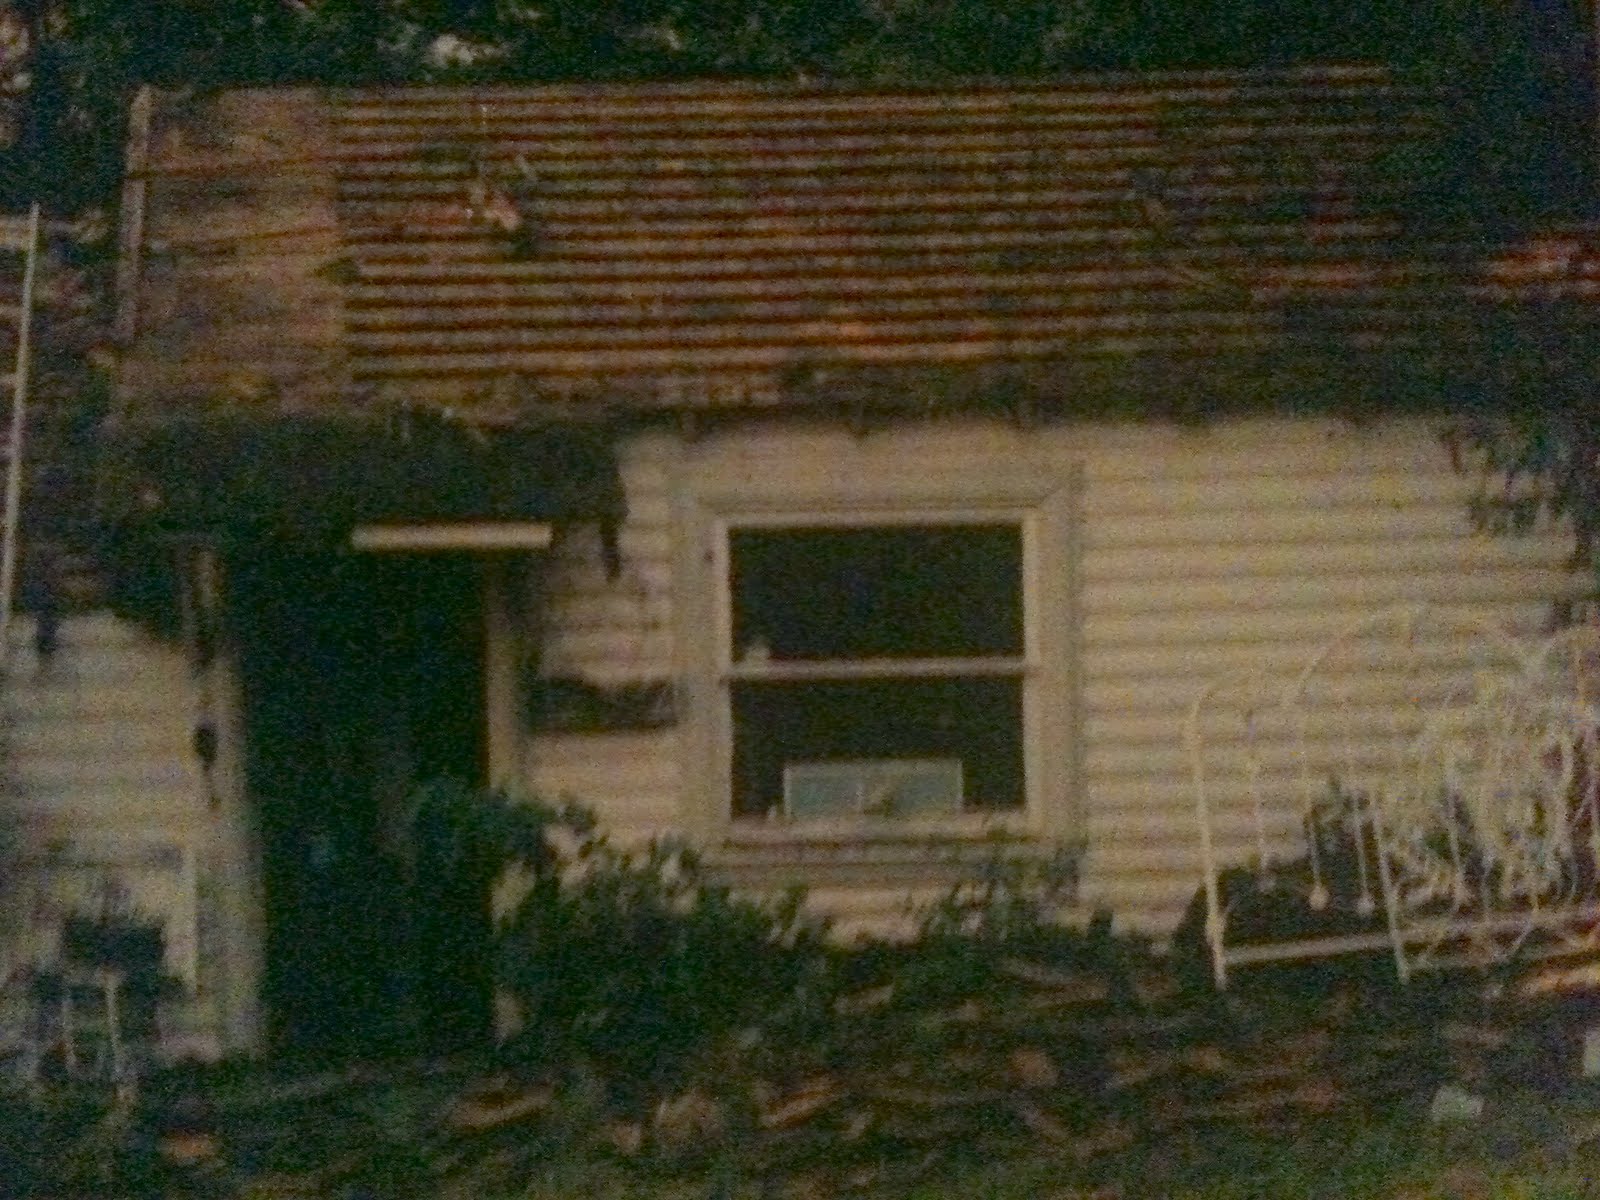
 I am pretty sure that not many of us would willingly look at this house below (unless you are a diamond in the rough sorta person!)  And it may have a LONG way to go before it would be considered, but simply picking up the trash would have made a huge difference (by the way this was a real estate listing!!!).


2. Add mulch to your beds.  
This makes a WORLD of difference!  If you've had mulch in the past but it is looking sorta patchy and worn, it really cleans up the beds, and makes them look fresh.

Also, do your edging!  Clean up the edge of any beds with a shovel, or edger and trim out the line.  This is a free way to make your beds look new and cared for! Consider adding an invisible edging that sticks into the ground.  If you are thinking of resale value I would avoid decorative edgings, since peoples tastes differ.

By the way the mulch will help your plants retain water and may help with weeds!  
So mulch = a greener thumb???  Possibly!


3. Plant some flowers!
To add color AND fragrance!  A beautiful potted flower arrangement by the front and back door is a great guest greeter (say that 5 times fast) for your home.  If you don't know what flowers to buy, ask for help at your local nursery.  And when in doubt, stick with a monochromatic blossom theme.  It will make your beds and pots look clean and the flowers will always work together.


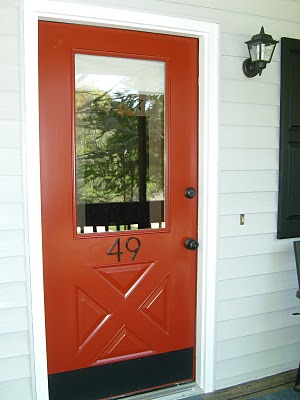
4. Paint your front door and mail box.
This is what my Asheville house door looked like and I think the pictures speak louder than words
(I forgot to take a before of the front door, but the side door was exactly the same besides the doggie door)


This was a $3 dollar makeover, and about 20 minutes... just paint it!
(we obviously hadn't added our mulch yet... although we did, soon after that!)

5. Add some cool house numbers
They don't have to be expensive (as proven below!),but house numbers can really add to the style of your home.


Need some other ideas?
Are you on Pinterest?  Check out my Pinterest account for more great ideas. 
 I even have a board for home exteriors if you just want to see some pretty inspiration there!!
If you need some Realtor leads please check out the link.


Read more...

Easy Faux Carriage Door Tutorial!

27 April 2011

Easy Faux Carriage Door Tutorial!  By Terry

I am honored to be doing a guest post for Cassity at Remodelaholic. It's a pleasure to introduce myself. I am Terry and I live in western Illinois. I am married and have two grown children and we are recent empty nesters. I am also fairly new to blogging since November, 2010 with my blog foreverdecorating.blogspot.com.
It has been a learning curve and I have begun to train myself to think about my projects with blogging  in mind; ie: before pictures and tutorials.

I was raised with parents that made everything they possibly could and forced to sew all my clothes at the age of eight (now I am thankful). So it comes natural to me that, I could and would, tear into any home renovation or make anything I could (or maybe it's because I am cheap). It's a hobby, a lifestyle and a joy for me to do these things. I believe that if you want it bad enough you will figure out a way to have it. I am blessed with a God given creative gene that I am very thankful for.

I recently posted on my painted carriage house garage doors, but with this guest post, I would like to give more of a tutorial of how I did this and why.


Read more...

The Glass House by Phillip Johnson

04 April 2011

Isn't this beautiful... I love the look of this house by Phillip Johnson, I don't think I could live there though, I am too paranoid to leave my windows draperies open at night... maybe it is because I always look in people's open windows, no not a peeping Tom, but you know, when you are driving at night don't you look too?  Okay, maybe I shouldn't have admitted to that...

Read more...

Houseography Home Tour; adding on a home addition of 1800 sq ft!!

15 March 2011

Houseography Home Tour

Welcome to Melissa of Houseography.  She is here today to give us a house tour Yea!

Our house looked like this when we bought it in 2002:
 

This is what our house looks like today.


In 2009, we started a major remodel including renovating the existing house and adding a large extension on the rear of our house that would double the size of our living space and solve 95% of the house's problems (at least in our minds at the time). Our main goal in the design was to make the new an old spaces flow seamlessly together, so that people inside the house would have difficulty discerning where the old house ended and the new house begins. We think we succeeded since many of our friends have a hard time remembering what our house looked like before! (Side note for anyone thinking about a major remodel: I wrote a step-by-step blog about our renovation process which you can check out here.)

Let's start the tour! As you enter our house, you come right into the living room (and the family room beyond to the right in this picture). 

Read more...

Updated 1870's Farm House Exterior

15 December 2010

*** I owe Christina @ 2 Little Hooligans A HUGE apology for not linking to their post!  We got this up on short notice on Wednesday and then I came down with a stomach virus that night that quickly spread through our house and I hadn't checked the blog in two days so I didn't see my HUGE mistake!  I hope you all will go check out her site, and become a follower!  SO SORRY!

Updated 1870's Farm House Exterior
party highlight by Christina @ 2 Little Hooligans

Saving this old house of ours is what we have been doing for the past 6 years. We purchased our 1870's farmhouse a little over 6 years ago. For some reason when we first saw it we fell in love with it. I'm not sure why, but it was probably a case of being young, dumb, and in love. We knew it was gong to take a lot of time and money to fix, but what we didn't think of is how long it would take us and how the addition of 3 kids in 3 years would change things so drastically. We still have an insane amount of work to do before this place is finished. I would say we are a little more then 1/2 way finished. Most days we dislike this house and wish we didn't buy it, but this weekend we saw the "light at the end of the tunnel"!!! It only lasted for a split second, but for that moment, when were standing outside admiring how we have been saving this old house, we saw it and it felt so good! It was like were brought back to the day we first saw this house and all the potential it had in store. It was like we were looking at our house, how we did 6 years and we fell in love with it all over again.

A few pictures so you know exactly what I mean,
Then and now...


Go ahead and gasp. I know, it's bad! But in all honesty, the inside of the house was much worse then the outside. Yes, it's possible!


It is amazing what new windows, doors, roofs, siding and a lot of blood, sweat, and lots of tears can do!

See, there it was, shining so bright, "the light at the end of the tunnel"! Thankfully it has given us the much needed strength to carry on. And so here we go, continuing to save this old house of ours.

Read more...

Carriage House Remodel

29 October 2010

contributed by French Country Cottage


Well, in keeping with the spookiness of Halloween
and all things SCARY ,
I decided I should share the exterior of our little guest cottage.
It was really pretty far beyond scary when we purchased our house...
it was downright FRIGHTENING!!

The now so- called Guest Cottage or Carriage House
at that time was a large aprox. 450 sq ft room and 450 sq ft garage
built together with a door inside between them.


It sat in the hillside, with the top section or room sunken into the earth a bit.
So it is warmer in the winter and cooler in the summer for the most part.
The bonus of this guest house and our house is that they were built sturdy where it counts.
Foundation, framing, concrete work all done incredibly well.
This house was made when 2x4's were actually 2" x 4".

So, despite the obvious way beyond neglect for 60 years...
the bones of the house were in good shape.


The siding was old half log siding and was patched with pieces
of plywood where woodpeckers had pecked away, or it had dry rotted.

The windows were old original wood frame double hung
& the doors were regular old cottage interior doors.


The garage door on the front was a later addition but was dented badly and not very usable
& the cottagey old green shingles that were on the roof were rotting away.

I will never forget when my husband and boys decided to tear the roof off.
We were having a party for my daughter's birthday and as the party was coming to a close, everyone left but a couple friends who were straggling along
and they got to chatting about that oh-so-lovely roof across the lawn.

Right there and then,
they decided it was time for a work party
and started pulling shingles.


I thought the green color of the shingles was quite charming but they were way beyond usable and we had to tarp one room for a season due to leaking.
Underneath the green asphalt were old cedar shake shingles.

As much as I tried to make the siding and dilapidated appearance of the building work until we were ready to re-side and re-roof~
it was not happening.

I painted the tan/brown/blah half log siding cottage white-
I put the old screen door from our house against the side in the garden
and hung wreaths on it.
I planted tons of cottage garden flowers where there were none to homey it up a bit...
and added a meandering path through the plants.


But, the crusty look overwhelmingly stood out.

Luckily, I have good vision.
If I hadn't I would have turned and run from this house
from the moment my car drove into the driveway!
I knew that the house and small cottage could be something so much more than
what was before my eyes...

I saw a sweet little house
with cottage lap siding and a creamy white paint.
Paned windows with painted shutters and detailed trim.
Single french doors in place of the regular to add light and charm.
Cedar shake siding accents to warm it up.


Dentil moulding, cornices & hanging baskets.


I saw something charming and inviting and adorable.


View from driveway.


Where the garage door used to be-
there are now a bank of four windows
and
A row of window planter boxes filled with geraniums and ivy.


Faded by rain and sun-
the cedar shake shingles we dressed the bottom of the cottage with
are turning grey.


The siding, shingles and trim on this side of the cottage
was done in one weekend- mostly by myself with help from my boys
while my husband was at work.

(this is where my 18 year old lives now- yes- he turned 18 a couple weeks ago!
I am officially the mother of a legal adult!)
(New roof on!)

I had such a hard time using a regular skillsaw-
they are too heavy, too big for my fingers to be able to hold the safety and
start buttons at the same time, etc.
So I bought myself a cute little baby skillsaw and went to town on the siding!

Did I mention that I LOVE construction?!


In order to tie in the cottage to our house exterior,
we wanted to incorporate some cedar shingles.
The bottom several feet of the cottage is foundation and concrete,
so I put up tar paper for protection against moisture,
then a layer of plywood and then started shingling.


The window boxes ( 8 of them!) are made to match those on our house-
out of cedar fence boards.

I had to find something else to use for the guest cottage brackets since the ones on our house were made by my dad years ago out of a broken fence.
I found hanging plant brackets at our local Ben Franklin
and used those to set my window boxes on.


This is the first thing you see when coming up the drive way.


The old cement bench we found in the yard and moved here for a sitting area.


One of the spirea I planted in the cottage garden area.
It is turning to autumn colors already,
but during the summer they have a gorgeous
chartreuse green and yellow color
that I absolutely love!


We aren't finished totally yet with the outside-
we have some shingling in the
peak of the top room to do and a few other things to finish up,
But the overall exterior is done for now.
It has been A LOT of work, but so satisfying to get it done!!


The guest cottage now looks nothing like the decrepit forgotten building it once was.
I think it looks quite adorable now when pulling into the driveway -
instead of frightening.
It has the appearance of a charming little cottage in the woods.
When the hanging baskets are in full bloom and
the window boxes are overflowing with flowers cascading down,
it is a very welcoming petite maison!

Read more...
Related Posts with Thumbnails
Emealz - Easy Meals for Busy People!
Home & Garden Blogs Home & Garden Blogs - Blog Rankings

Blogging  tips, tutorials and SEO

From Here to Eternity

  © Blogger template On The Road by Ourblogtemplates.com 2009

Back to TOP