


Carriage House Remodel
29 October 2010
contributed by French Country Cottage

Well, in keeping with the spookiness of Halloween
and all things SCARY ,
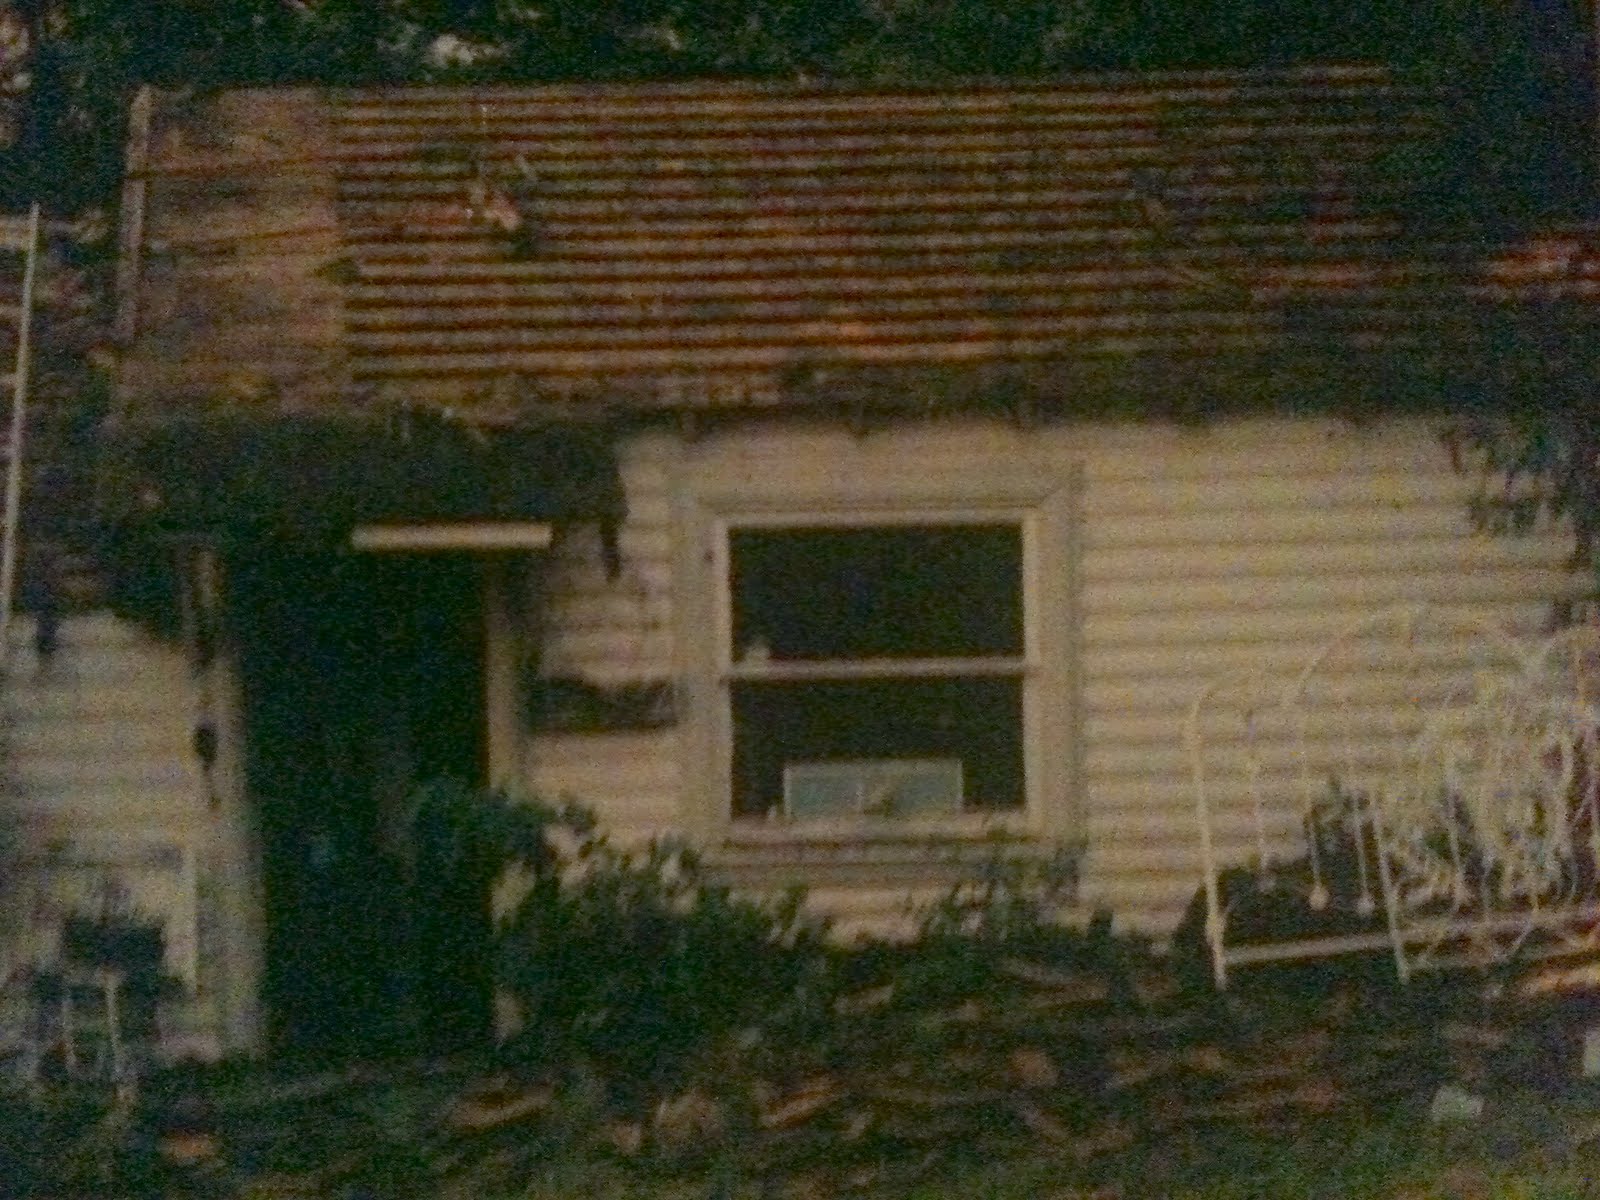
I decided I should share the exterior of our little guest cottage.
It was really pretty far beyond scary when we purchased our house...
it was downright FRIGHTENING!!

The now so- called Guest Cottage or Carriage House
at that time was a large aprox. 450 sq ft room and 450 sq ft garage
built together with a door inside between them.
It sat in the hillside, with the top section or room sunken into the earth a bit.
So it is warmer in the winter and cooler in the summer for the most part.
The bonus of this guest house and our house is that they were built sturdy where it counts.
Foundation, framing, concrete work all done incredibly well.
This house was made when 2x4's were actually 2" x 4".
So, despite the obvious way beyond neglect for 60 years...
the bones of the house were in good shape.

The siding was old half log siding and was patched with pieces
of plywood where woodpeckers had pecked away, or it had dry rotted.
The windows were old original wood frame double hung
& the doors were regular old cottage interior doors.

The garage door on the front was a later addition but was dented badly and not very usable
& the cottagey old green shingles that were on the roof were rotting away.
I will never forget when my husband and boys decided to tear the roof off.
We were having a party for my daughter's birthday and as the party was coming to a close, everyone left but a couple friends who were straggling along
and they got to chatting about that oh-so-lovely roof across the lawn.
Right there and then,
they decided it was time for a work party
and started pulling shingles.
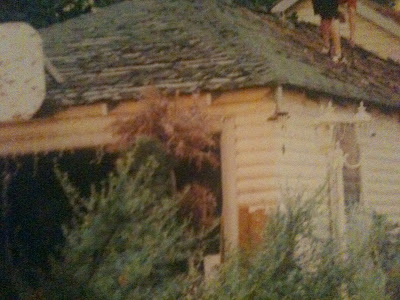
I thought the green color of the shingles was quite charming but they were way beyond usable and we had to tarp one room for a season due to leaking.
Underneath the green asphalt were old cedar shake shingles.
As much as I tried to make the siding and dilapidated appearance of the building work until we were ready to re-side and re-roof~
it was not happening.
I painted the tan/brown/blah half log siding cottage white-
I put the old screen door from our house against the side in the garden
and hung wreaths on it.
I planted tons of cottage garden flowers where there were none to homey it up a bit...
and added a meandering path through the plants.
But, the crusty look overwhelmingly stood out.
Luckily, I have good vision.
If I hadn't I would have turned and run from this house
from the moment my car drove into the driveway!
I knew that the house and small cottage could be something so much more than
what was before my eyes...
I saw a sweet little house
with cottage lap siding and a creamy white paint.
Paned windows with painted shutters and detailed trim.
Single french doors in place of the regular to add light and charm.
Cedar shake siding accents to warm it up.

Dentil moulding, cornices & hanging baskets.

I saw something charming and inviting and adorable.

View from driveway.

Where the garage door used to be-
there are now a bank of four windows
and
A row of window planter boxes filled with geraniums and ivy.

Faded by rain and sun-
the cedar shake shingles we dressed the bottom of the cottage with
are turning grey.

The siding, shingles and trim on this side of the cottage
was done in one weekend- mostly by myself with help from my boys
while my husband was at work.
(this is where my 18 year old lives now- yes- he turned 18 a couple weeks ago!
I am officially the mother of a legal adult!)

(New roof on!)
I had such a hard time using a regular skillsaw-
they are too heavy, too big for my fingers to be able to hold the safety and
start buttons at the same time, etc.
So I bought myself a cute little baby skillsaw and went to town on the siding!
Did I mention that I LOVE construction?!

In order to tie in the cottage to our house exterior,
we wanted to incorporate some cedar shingles.
The bottom several feet of the cottage is foundation and concrete,
so I put up tar paper for protection against moisture,
then a layer of plywood and then started shingling.
The window boxes ( 8 of them!) are made to match those on our house-
out of cedar fence boards.
I had to find something else to use for the guest cottage brackets since the ones on our house were made by my dad years ago out of a broken fence.
I found hanging plant brackets at our local Ben Franklin
and used those to set my window boxes on.

This is the first thing you see when coming up the drive way.


The old cement bench we found in the yard and moved here for a sitting area.

It is turning to autumn colors already,
but during the summer they have a gorgeous
chartreuse green and yellow color
that I absolutely love!


we have some shingling in the
peak of the top room to do and a few other things to finish up,
But the overall exterior is done for now.
It has been A LOT of work, but so satisfying to get it done!!

The guest cottage now looks nothing like the decrepit forgotten building it once was.
I think it looks quite adorable now when pulling into the driveway -
instead of frightening.
It has the appearance of a charming little cottage in the woods.
When the hanging baskets are in full bloom and
the window boxes are overflowing with flowers cascading down,
it is a very welcoming petite maison!
 Labels:
Before and After,
Exteriors,
Guest Projects,
White
Labels:
Before and After,
Exteriors,
Guest Projects,
White


5 comments:
How pretty is this!! How lucky is your son!!? I am so jealous of him!!
THis was so much fun to read and see the horror come to light and now she is a beautiful respite for your son. It was certainly meant to be in the hands of your family. Nicely done. Hug. Tammy
wow this is special i hope you glow with pride my gosh you did a great job......it is picture perfect guest cottage
That is a wonderful transformation!! Nothing spooky about that cottage now! Wonderful job!!
What an adorable home! Great transformation!
XO,
Candace
Loft32
Post a Comment