We’ve Moved!


If you aren’t redirected here is the link:


Remodelaholic!


THANKS!

Showing posts with label Office. Show all posts

New Enclosed Loft Space At The Top Of The Stairs

23 June 2011

New Enclosed Loft Space 
At The Top Of The Stairs
 Submitted by Classic Casual Home

At the top of the stairs, we carved out a small home office/retreat area during 
our recent home renovation.  I LOVE IT!  It's light and a bit feminine.


Before, the upstairs was one big master bedroom (below). 

My friend, Debbie suggested we put up a wall and door 
where the half wall was (she's so brilliant). 


The pendant light was a bargain from Overstock.com.  To the right of this door is a cabinet 
with more office storage...a shambles right now.  Perhaps another post someday.

This is the space before.  


Here it is now...


Desk Accessories
On my desk is a Limoges plate that was my maternal grandmother's.
The personalized pencils also make nice gifts.
They come in lots of colors from Oriental Trading. 


The round box is from a Paris flea market and holds paper clips.
Splurge on interesting file folders (sometimes you can find them at TJ Maxx).
It makes getting organized more fun.


My friend, Claire made this custom clip board for me. 
I order notepads you design yourself


This is the corner where I am now.  "Feet up blogging mode."


Thanks for visiting my new office.  Guess I should get back to work 
(right after I finish my tea and check out some other blogs).

KCE5YPH724XR 


Read more...

Closet Office Inspiration Galore!!

16 May 2011

Closet Office Inspiration Galore!! By Jennifer

Hello and thank you so much for welcoming me!  Today, I am popping over from my blog, IHeart Organizing, which isn't just about home organization, but my love of all things home and project related and how they all combine with one another.  My typical focus is to not only create effective storage solutions to simplify and organize our lives, but to add that extra element of appeal and beauty to boot!  That means thinking outside of the norm, re-using things that may have originally had a different purpose, getting crafty or grabbing a drill.

Last year we made two updates to our home that created pure bliss for both my son and myself.  Let me explain further...

We currently live in a 1200 square foot ranch home that also has an unfinished lower level.  There are five happy Joneses and a furry friend all sharing that itty bitty 1200 square feet, so maximizing each space is a must.  And that's exactly what we did when it came time to create a workspace for mom, and a workspace for Preston, our oldest son.

Upon browsing through the blogosphere, I happened to see an office tucked inside a closet and I absolutely knew that was our solution.  Now, you may be wondering, "Doesn't that take away from your storage space?"  Well, it depends.  Since we A} had no where to place a desk/workstation in a common area of our home and B} have a couple of ways to store our clothing, we were set.  In fact, our Master Bedroom has two closet spaces, and by simplifying our contents and getting creative with the shelving and storage options, we easily transitioned all of our clothing to one closet.  When it came to our son's room, again, wall space was limited and because our closet office worked so well for us, we decided to continue on with the greatness.  All his clothes then were folded and stored within his dresser.

So now that you know that I am here to share our closet offices with you today, I will move on to the fun part of actually sharing them along with before and afters!

We actually started off in our Master Bedroom since I had such a need to have a workspace to blog, run my Etsy shop, craft and journal {the couch is totally not functional}.

Here is a look at what we started with:


My goal was to ensure the desk space still felt cozy and like it's own room/space {vs. a closet}, so it was going to get the treatment I would give a room that I was updating... we removed all of the shelving, and gave it a fresh coat of paint on the inside walls and trim, and installed some absolutely gorgeous wallpaper!


Read more...

From Oak to Beautiful White Kitchen Cabinets

09 May 2011

From Oak to Beautiful White Kitchen Cabinets by Laura

I am so thankful to be here today at Remodelaholic, I was so excited when Cassity asked me to come on by!
My name is Laura and I have had a small interior decorating business since 2004.  I work on a part time basis because my “real” job is taking care of my family, my husband, two fun daughters ages 8 and 10 and a goofy dog named Bailey.

Finding Home is about the journey we are all on, the goal of making our houses feel like a home.  But part of that journey is the people and communities that we are interact with everyday, so I blog about that sometimes as well.  I hope you will take a moment to stop by and find out a little more about me.
Today, I am going to share with you a kitchen renovation I did for a client.  This project was part of a whole house re-do.  You can read about the living room and family room transformations as well. 
When we got to the kitchen, we knew we were not going to do a total gut job, there was plenty that was salvageable – mainly the cabinets and the flooring.  The first thing that we did was remove all of the wallpaper and painted the walls a soft grayish green.
This is an image of how much wallpaper there was…

Here is another view, and her sweet dog Maggie.  This also shows the flooring that we kept, the homeowner just gave the grout a real good scrubbing.

Here is the same view after…


Read more...

Renovated Home Office with Stripes and Lots of Details

22 April 2011


Renovated Home Office 
with Stripes and Lots of Details
 contributed by 

(Yes, I love to use my ellipses...) 

Read more...

Updated Style Home Office Renovation

04 April 2011

Updated Style Home Office Renovation
contributed by Hazardous Design

 If you've been following along as I was renovating the home office last week, then this is the moment you have been waiting for...
Our home office went from looking like this


To this


From this


To this

Read more...

Beautiful Black and White Office Space

30 March 2011

Beautiful Black and White Office Space
with recycled can organizers

Read more...

Computer Office In A Closet

01 March 2011

Computer Office In A Closet
contributed by Taylor Made

What is a cloffice you ask? Well... our entry-way closet and our office had a baby and my husband named him "Cloffice". As I've mentioned, our office/craft room has been taken over by our soon to be baby #2 (only 5 wks, yay!) so, I had to have a place for my computer desk and office stuff. Bryan really helped out as usual and did a ton of work! There is actually a lot of storage for my pictures, computer programs and all of our office supplies. I love my little cloffice!


Read more...

Computer Closet Office Remodel

08 February 2011

Computer Closet Office Remodel
contributed by Love From My Kitchen


Well after a few weeks of painting, tracing, painting some more, shopping, organizing tons of papers, putting together a chair and a file cabinet, installing shelving, hooking up electronics and labeling everything, I think the Cloffice is ready for it's big reveal! I'm not totally jiving on the placement of some things yet so I might play around with it some more but I really need to move on and get other projects finished up as well. We also did not add electrical outlets or a permanent light fixture to the cloffice because hopefully next summer we will be tearing this down along with the bathroom behind it to open up the  playroom and kitchen eating area to each other and make one big room back here.  We will add a cloffice, powder room and main floor laundry in  the hallway and other closet area that see in a picture below. 
Remember this is what it looked like just a few short weeks ago, this is just so emberassing:


And in the playroom was where we had our "office." I dare you to find a Target receipt or bill in that mess and pay no attention the window that needs to be trimmed out, it's on the list! 


Here it is, almost all cleaned out.....Mr.A really needs to find a home for his guitar!


Read more...

Personal Office / Crafting Nook

01 October 2010

Don't forget to link up to our Remodelaholic Anonymous party today
for a chance to be featured on Remodelaholic!


This is a great little nook from Angie at Echoes of Laughter.  I love the way she has personalized it and I think it is nice to have a space of our won in the house?  Don't you!  here is what she had to say about the space:

This is my favourite little corner in our house. It's where I scrapbook, write blog posts, surf the net, pay bills and read my favourite blogs.
Until last year, my corner was an Ikea desk with a hutch. It was functional. It worked...but it was always a mess. Not pretty. It didn't reflect me at all.  I wanted to make it better, but I wasn't sure how.
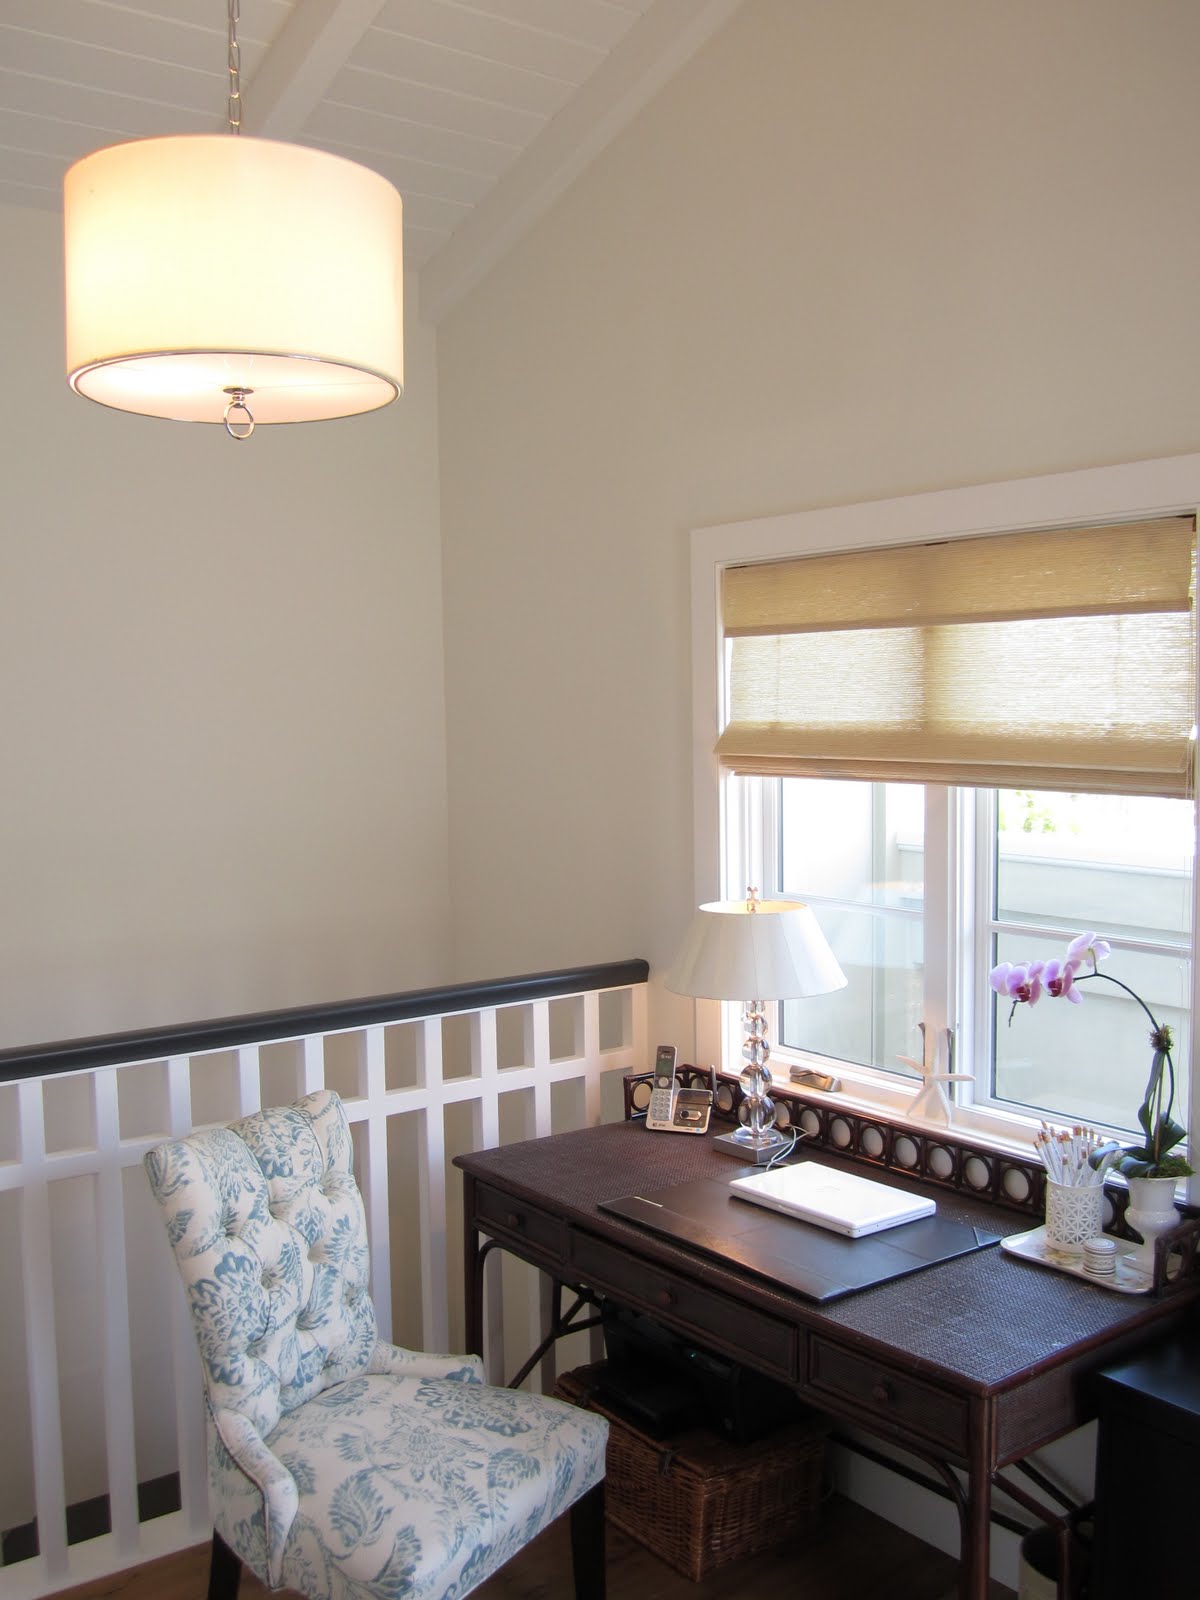
I was reading a Better Homes & Gardens special publication when I stumbled on this picture of an office nook. It became my inspiration for my 'new' space. I loved the shelves above the desk and the storage space it afforded. I needed a lot more storage space for my scrapbooking & stamping supplies, so I thought this design idea would work for me.


First, I had my husband remove the small hutch from the desk. This totally opened up the space for new shelves.  I purchased white shelf brackets from Ikea and white shelving from Home Depot. Since I had measured the width of the space, I had Home Depot cut the shelves to the exact width needed for the space.  I had my husband install the shelves and instantly, the storage space was tripled! I set to work filling the space with white Ikeaboxes for storing all my crafting supplies and pretty stuff to reflect me. One of my favourite colours has always been pink, but I have never decorated anywhere in the house with pink. So I decided to add touches of pink here in my little nook. I really love how it turned out and the space functions so much better for me.
I splurged a bit and bought a new capiz shell lamp for the desk corner. I love it for it's shape and touch of  'beachy' it gives. To the left of the computer screen are pics of my kiddos when they were babies.
The pink rose plate hanging on the wall is sentimental to me. It hung on the wall of the office where I used to work in the family business. The family business is now closed after 50 years and I like having this little reminder of that time in my life.

The picture is of my parents on their 40th Wedding Anniversary...it's a wonderful picture of them.
The silver clock and the vases are from Ikea. The plate on the wall belonged to my grandmother.


The white vases come from my treasure hunting trips to Goodwill. The artwork came as a free download from one of my favourite blogs, "Adventures in Decorating a Brooklyn Limestone."

Scrapbook magazines and books are organized in Ikea magazine files.

The vintage doll belonged to my Grandmother's sister Ethel who died in 1929 at age 14. My Grandmother saved it as a precious memory of her only sister. She left the doll to my daughter.
The shadow box was made by my daughter as gift to me for Mother's Day a few years ago. The picture is of me with my kids on a beach in Nova Scotiawhen my youngest was a baby. The little pink dish with the blue bird belonged to my grandmother. I remember that dish being on an end table in her house for many years.
Now this space works so much better. It has lots of storage and it's touches of pink make me feel happy. Most of the storage pieces are white, so if I ever decide to switch out the pink decor to another colour, the storage boxes can stay.

The only problem now is that my family says that I spend too much time here!

I love this fun personalized space!  
It looks great!

Read more...

Painted Horizontal Striped Office Walls

28 September 2010

This great office was emailed to me and I have to share it.  I think you may have noticed but I am LOVING the striped wall thing!  It looks so great, wanna see?  Check out this beautiful office transformation from  Michelle at Ten June.

Hello out there- it's David, the other half of Ten June. So far, I've just watched over my lovely wife's shoulder as we got this blog on the road. But today, I decided I'd give it a shot myself and on what better a topic than the lovely stripes that we adorned our office walls with?

I have to post the disclaimer that we undertook this project pre-blogging and thus, we're sans mid-project pictures... so, with that said, I'll just have to describe it it for you.

If you recall from the "Before and Afters" in our House Tour, you will remember that all of the main room walls in the house were painted the same blah neutral color. Here's our office "before."


Just like all of the other neutral wall colors in the house, we decided right after moving in that this color had to go. We decided on a darker neutral in Olympic's Dusty Trail. As we painted the living room and hall, we contemplated what to do with the office. We knew that we loved the Dusty Trail color, but we also wanted something that would stand out and make the office a fun and inviting space. Michelle came across a stripe painting tutorial at Young House Love (our favorite go-to blog), and boom - we found what we were looking for. So we went for it- contrasting stripes with our beloved Dusty Trail and it complementary cousin Off White. We chose the complementary stripe color from the same paint chip that Dusty Trail is on to ensure a proper hue match. YHL suggests that you paint from two colors that are close in tone, but we wanted more of contrast and so we chose the darkest and lightest color on the paint chip's spectrum.

So on to the fun part - the STRIPES. In preparation for the stripes, we painted the entire room in Olympic's Off White to establish a clean slate. Once the base was on the wall, the fun/hours of math/re-taping four million times to get a straight line/are-we-going-crazy-because-we're-trying-to-paint-horizontal-stripes-on-the-wall began.

We decided that we wanted to have an odd number of stripes so that the darker Dusty Trail would contrast against the white crown moulding at the top of the wall and the base board at the bottom of the wall. It took us awhile visualizing the stripes to help us to decide on the number that we wanted - turns out 9 was our lucky number. We divided our wall height by 9 and marked a light pencil notch on the wall at each measurement point.

Then I experimented with a couple of methods to set out our game plan for the stripes (taping paper to the wall? way too complicated. using a laser leveler? not accurate enough) and found that a good ol' fashioned tape measure was the best way to go. Michelle and I laid out the stripes by measuring from the ceiling down to the floor every three feet or so. The reason for this was to allow for shorter tape runs (trying to run a wall's length of painters tape gets a little messy) and to allow for "checks" for the proper dimensions of the stripes. I'm not going to lie- it was kind of difficult to remember which stripe was being painted and whether the tape had to go above or below the mark. When you're taping, you have to tape above the stripe line and below the stripe line and it ends up a little hairy looking (ie. like you've completely mismeasured the entire thing).

After a couple of hours of measuring and taping the walls, it was time to start rolling. As the paint went up, the stripes became visible and the effect we were looking for was coming to fruition. I'll point out a key step to the process - tape removal. It is crucial that the tape be removed while the paint is still wet to ensure clean, crisp stripes. Otherwise, as the paint dries, it will bleed under the tape. And yes, we learned that the hard way.

After all that work, we were really excited with the results. Here are the stripes, in their glory.


As you can see, the process was fairly easy and offers all kinds of character to brighten up a space.


We like the fact that the stripes peak through the view from our living room. We definitely got the fun character we were looking for. Cheers to Mic for her great idea!


The stripped wall did turn out great.  It is nice to see them through the door way.  It gives it a little sense of excitement!

Read more...
Related Posts with Thumbnails
Emealz - Easy Meals for Busy People!
Home & Garden Blogs Home & Garden Blogs - Blog Rankings

Blogging  tips, tutorials and SEO

From Here to Eternity

  © Blogger template On The Road by Ourblogtemplates.com 2009

Back to TOP