


Gorgeous Complete Bathroom Transformation; Gut & Rebuild!
21 July 2011
Complete Bathroom Gut and Remodel

We, Nancy and Tony, spent almost 5 months DIY renovating our mainfloor bathroom. Let me first show you what the bathroom looked like:


And so the rebuilding process began. Notice my forced smile- this is heavy work! But luckily I have my pink steel-toe construction shoes to keep me stylish.
This took us, no joke, almost 5 months. We worked on it mainly on weekends and also during the Christmas holidays (on Christmas eve, day and new years eve and day we worked on the bathroom!).
Regarding design and layout there were many changes. We removed a linen closet from the hallway and a bedroom closet to expand the bathroom. We installed a separate shower and bathtub, heated floors under the marble tiles, double pedestal sinks, and much more.
Then the gyprock (plasterboard- walls) was installed and the moldings followed by plaster work. In a bathroom use mold resistant gyp since there is a lot of moisture. Click here for gyp installation instructions and see this site for plastering tips.
The location of the inset is key. In our case, it needed to be lined up with the door and not the center of the room. It honestly took me almost two hours before I placed the first tile since the room isn't square and the inlay isn't centered in the room. Tony kept saying "Please, just lay the damn tile!"


 This project was contributed by one of our fabulous readers! We love to share your projects with this great blogging community. So, if you have projects from kitchen renovation ideas to small bathroom remodels, overhauled and repurposed furniture, spray paint updates you name it please send it in! Thanks for reading Remodelaholic!


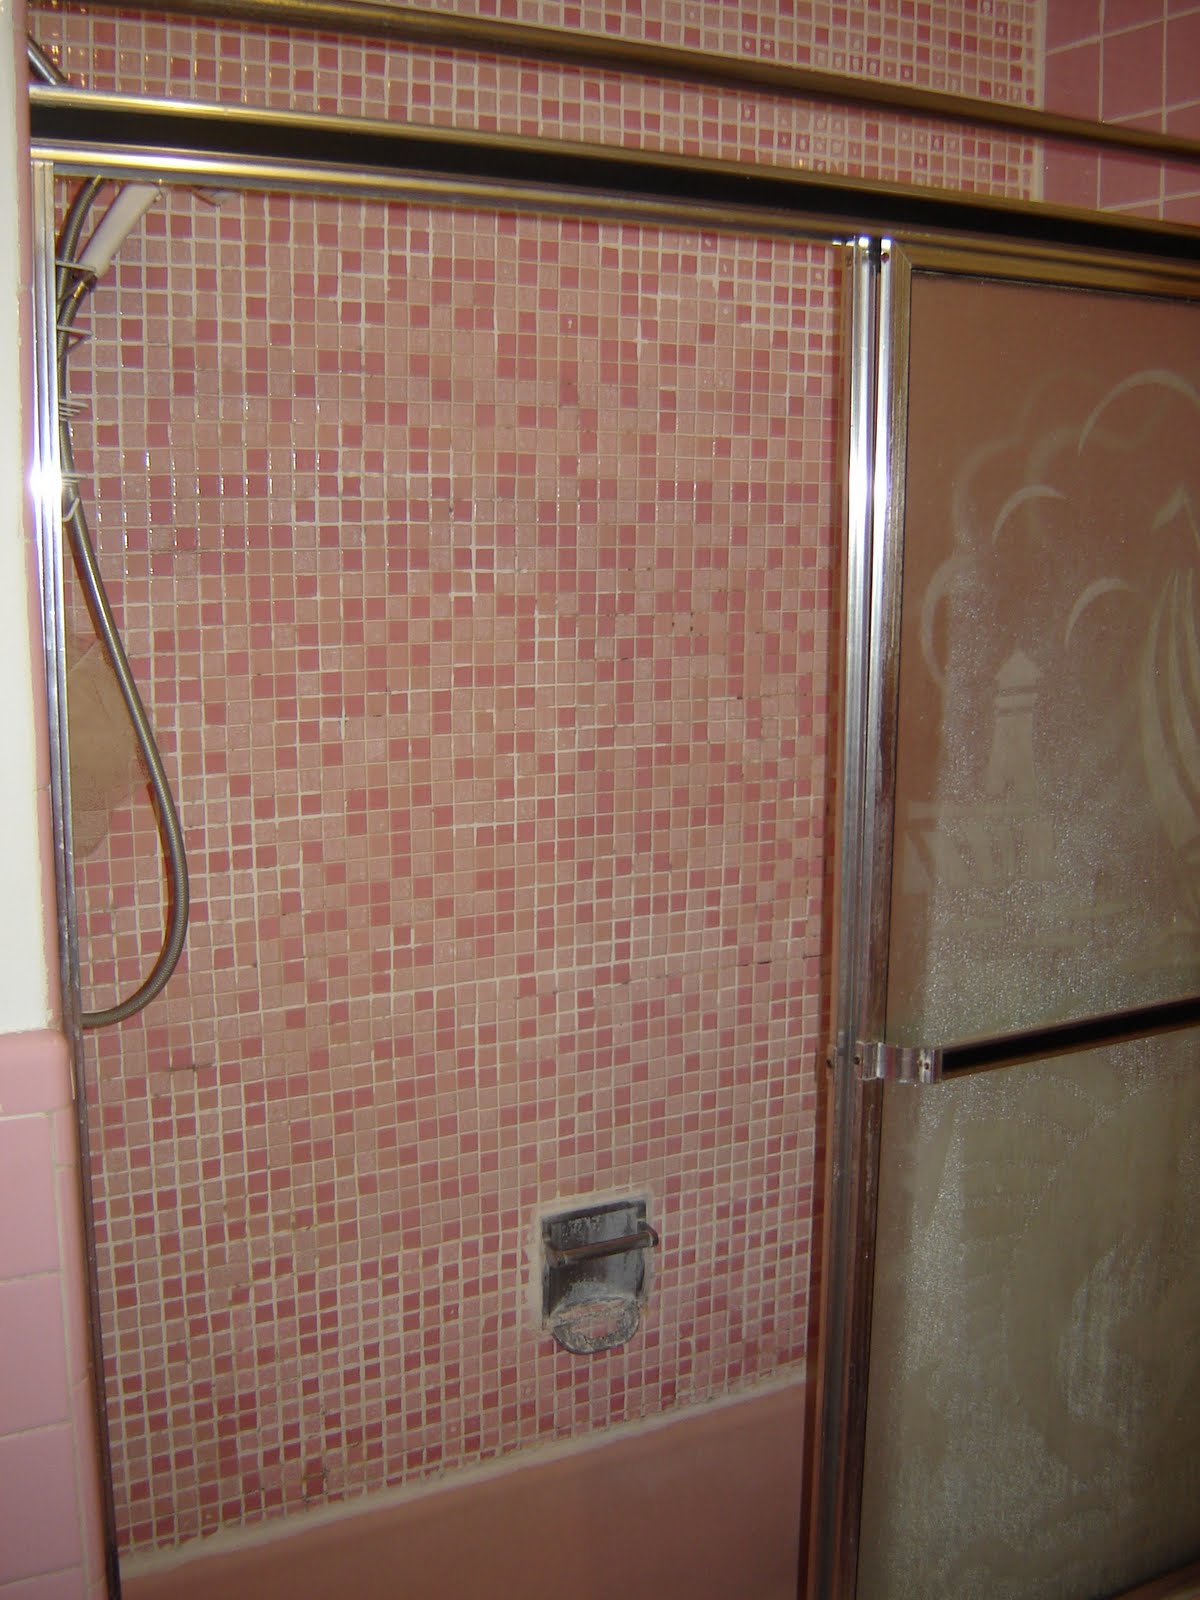 |
| Could there be any more pink in this room??? |
I am very well aware of the Save the Pink Bathroom movement and also the historian in me felt that the 1960s bathroom belonged in a museum and that it would be a shame to get rid of it. BUT, it was in such bad condition that it was honestly gross! There was sooo much mold in the grout of the walls and floors. There were silver fish (humidity bugs) crawling in the flooring (nasty!). The cabinetry was falling apart. The tub was permanently dirty. And much of the plumbing needed to be changed.
So the demolition began in October 2010. The night before the demo, dressed in my most 1960s inspired outfit with my pets in hand, I enjoyed posing in my Mamie Pink bathroom.


And two days later it looked like this:

This took us, no joke, almost 5 months. We worked on it mainly on weekends and also during the Christmas holidays (on Christmas eve, day and new years eve and day we worked on the bathroom!).
Regarding design and layout there were many changes. We removed a linen closet from the hallway and a bedroom closet to expand the bathroom. We installed a separate shower and bathtub, heated floors under the marble tiles, double pedestal sinks, and much more.
Here are some of the steps we took:
 |
| Cement board was placed on the floor- better than plywood for a bathroom because it's mold resistant. Click here for detailed installation instructions. |
 |
 |
| Hard at work sanding the plaster. Notice the forced smile:) |
 |
We went with the Schluter Shower System, which was actually very easy for DIYers. Very important to properly prepare your shower since it is exposed to water. |
 | |
Notice my pants-I'm just a tad bit messy when tiling the floor:)
|
| Tip: use thinset that is the same color as the grout that you intend to use. In case it seeps between the tile it won't show once grouted. |
Here is a list of what we did:
Demolition, framing, soundproofing (Roxul and resilient channels) putting up gyp and concrete board, Schluder shower system, wall and crown moldings, installation of heated floor, tiling the floor and shower, painting, made the wallpaper art, sealed the tiles, and all the other little stuff!
What we didn't do was plumbing and electrical- these are best left to the professionals.
THE REVEAL!!!


The sconce was a generous gift from friends who renovated their home and were kind enough to give into my pleas for their light fixtures. It was originally gold in color and I sprayed it black.


This was an original feature of the bathroom and we kept it. It was the only thing that made it back into the bathroom. Again, I sprayed it black.

Black leather basket used to keep some extra towels on hand. I drape the towels over the tub instead of having a towel rack.
 This project was contributed by one of our fabulous readers! We love to share your projects with this great blogging community. So, if you have projects from kitchen renovation ideas to small bathroom remodels, overhauled and repurposed furniture, spray paint updates you name it please send it in! Thanks for reading Remodelaholic!
If you like this Bathroom Remodel be sure to check these out as well:
 Labels:
Bathrooms,
Before and After
Labels:
Bathrooms,
Before and After


33 comments:
I could weep that is such a gorgeous bathroom. Your hard work is totally inspirational - thank you for sharing! It's stunning!!
AMAZING .... I live in S. Florida. Can't tell you how many of these bathrooms I have owned, seen, gutted and redone. I have never seen a better tranformation. If I had a Pinterest page, I would be tagging this.
This is a beautiful makeover, well done! Your hard work ahs paid off. Beautiful! Em x
I am floored! It is absolutely beautiful! Every detail is so perfect. Plus, I'm smitten with the BT. If mine were that close to a cat.. bad news:)
Wow! This is fantastic! I love the shape of the sinks, love the tub and love that pretty sconce! Nice job!
Jen
Absolutely Stunning!!
Wow! What an amazing makeover! I love the marble tile they used. That basketweave mosaic is incredible! Love the colors, too! Thanks for sharing.
This is awesome... had I done that, I would have spent my days in there ;) The mirror and lights make it look all the more wonderful. Your hard work shows.
Wow! This is such an incredible renovation! I saw that pink tile and though it would be impossible to ever fully recover from such a sinful design choice of someone's grandmother. You did an incredible job and well worth the investment! If I had a bathroom like that, I'd never leave the house. GORGEOUS.
That is an awesome re-do. wow! Love those mirrors and those faces above tub!
Can you share where you got the sinks from?
THis is absolutely amazing. I can not even imagine what the rest of your home looks like!
That's amaizing... love it... a loooooot :)
I am so flattered by all the kind comments. I am still recovering from all the work involved in this renovation and I'm sure this will help get me going again!
@ Tanya: Once it was finished I did spend days in it.
@Sonoteddesign: The sinks are Foremost. You can get them a little everywhere (at least in Montreal). One of the least expensive is Bain Depot. Check out my post about where I purchased all the items.
http://dreamitbuilditstyleit.blogspot.com/2011/07/mainfloor-bathroom-renovation.html
@ Monica: The rest of my house doesn't all look like this. Still needs work. You can see some before and after pictures of our DIY renovations at:
http://dreamitbuilditstyleit.blogspot.com/p/ore-home-before-and-after.html
The tile inset is my favorite part of the bathroom. Scary that these kind of reno's realistically take months!
This is stunning! You did a beautiful job!
@ Banclothing thanks for the comment! Yes, it took us almost 5 months- it's a very long time but it's because we only worked on in on weekends and then took one complete week to finish it off. This is also because we did it ourselves- professionals could do this in a few short weeks.
Don't be discouraged- the reward is worth it!
the bathroom looks incredible!!!
WOW!! What a glamourously gorgeous bling-y bathroom. And I mean bling-y in the most flattering of ways. Love it! Those mirrors are stunning, and the floor/tub are to die for. Thanks for sharing - awesome!
My god, I'm tearing up over how fantastic this bathroom is. WOW.
Simply BEAUTIFUL!!
I love your new bathroom - might steal some ideas, especially the sinks. I have a teeny bathroom and want a pedestal-type sink, but yours are awesome. Also love the mirrors.
And,...my current bathroom is the same pink!! I know how you feel 'do I, don't I' demolish, but mine also has some issues - and a really ugly sink cabinet. So, I think it's all gotta go.
I'm swooning over this, just gorgeous!!! We just had a bathroom fire and I'm in desperate need of inspiration, this is so me!
Thank you!
XO
Kristin
Stunning! I did like your pink bathroom as well. It just needed black and crystal accents. But I do love your new bathroom. ;D
As much as she rocks the retro pink bathroom, the after is just out of this world. I love the art over the bathtub as well. Now that is a sensational before and after!
I love everything about this. What is the paint color?
Absolutely spectacular! Classic and timeless and sexy!
What an AMAZING transformation!!! I love it!
Anna
www.askannamoseley.com
@ Laura: Th paint color is called Silver Strand from Behr. The ceiling and trim is painted Little Dipper from Behr.
Once, again THANK YOU so much to all who took the time to visits and comment.
Many of your wonderful blogs got my creative juices going when we planned the reno.
And of course, thanks to Remodelaholic for featuring for being a resource for creativity and DIYing!
Nancy
Nancy it's BEE-YOU-TEE-FUL! Such a good job. I have a similar bathroom with linen closet that I could "take back". Wondered if you'd share the dimensions of your "after" bathroom as I'm wondering if I can do something similar. I want that separate shower and not sure it'll fit...
Holy gorgeousness! We're redoing several baths right now and you've inspired me. May I ask where you got the mirrors?
@Julie: The final dimensions are 11 feet by just under 7 feet. The trick is to buy pieces that make the space feel open. The two-legged sinks help create the sense of space as does the free standing tub. The shower doors were custom made to 50" x 30" (all the showers I found were a min. of 32 inches- so ours is smaller than today's trend of massive showers but it is a very comfortable size.) Another thing is that many new toilets have an elongated front. We made sure to buy a rounded front otherwise it would be too close to the tub.
Hope this helps:)
@ A few of my favorite things: the mirrors are from a store called zone in Montreal. I haven't been able to find them online. Sorry!
Thank you ladies for the comments!
Amazing transformation! The after is absolutely gorgeous! Great work!
Post a Comment