When I got an invitation from Cassity and Justin at Remodelaholic to guest post on their blog about my outdoor room, I was humbled and honored to be asked! I'm Shannon and I have a little blog
Anythingology that documents my DIY projects on a very tight budget and whatever else I'm involved in, re-using and re-purposing stuff I already have, healthy eating, gardening, sewing, volleyball coaching, fun things with the kids, and
anything else I'm into at the moment.
We completed this outdoor project a couple of years ago, but it's ever evolving because I am a changeaholic. Unfortunately the majority of this project was completed before I started blogging so my before pictures are limited.
The black metal gazebo is from Costco. This and the fireplace were are big splurges. The rest of the project was completed for very little money because we did most of the work ourselves.
We live in beautiful San Diego and our home sits on a pie shaped piece of property. The biggest part of our yard is the front yard. We live in a house that has a large great room which includes the kitchen, eating area, and family room, but no formal dining room. We love to entertain and have Sunday night dinners with our extended family. This project has enabled us to enjoy our beautiful weather year round with our family and friends.

My landscape taste tends to lean towards drought tolerant, Mediterranean vegetation and limited use of grass. Water rationing is always a real possibility in Southern California so we took that into account when designing our landscape. While our original front yard was beautiful, it was wasted space and not being used to it's full potential. I talked my husband into letting me draw up plans to make this our outdoor dining room. Life is all about compromise so my existing back patio gazebo got turned into a basketball court. We did all the work ourselves except the building of the wall and the gate. My husband and I did all the design, the plant material removal, the drainage, new sprinkler system, new plant installation, and wheel barreling in all the gravel (seven and a half yards!). We hired a contractor to build the six foot high wall, seat wall and the entry gate in our front yard. I haven't mastered masonry, stucco, or welding yet or I would have done it myself.

This space became our formal dining room. We added a pre-fabricated fireplace, gravel, new planting beds, a covered gazebo, lighting, new plants, a dining table, and furniture. The dining table was free. I found it abandoned in a church parking lot. It sat there for weeks and I finally called the church to see if they wanted to sell it. They said I could have it for free if I would haul it away. My dad helped me build a new top for it and now it comfortably seats 8-10 people. The black metal dining chairs are from Costco and they were under $20 a piece.
Here is my latest addition to our outdoor room. An Arteriors 6 light Ironwood Louis Chandelier.
I picked it up for $40 at Habitat Humanity Restore. To see how I found it go
here.
I picked up the wicker end chairs on Craig's List for $20 for the both of them.
I think they contrast nicely with the black gazebo and they are very comfortable.
Most of the accessories have been collected from places like Marshal's, Big Lots, Target, and Goodwill. I am a bargain shopper and love finding a treasure on sale. One of my favorite words is "clearance." I don't care what color most of my finds are because I can always paint it. Don't sit still for too long at my house or you might get spray painted, hot glued, or bedazzled.
The couch, chairs, coffee tables, and ottoman seen in the background are from Costco. I bought them as a set before I had discovered the wonders of Craig's List. They are very comfortable and have held up well over the years.
Here is what our new entry gate looks like.
Here is the view from the front door looking out to the street. It's nice having the privacy. We get zero solicitors now with the installation of the locking gate.
Welcome!
Here is the view from the front gate into the courtyard. To cut down costs I had the gate installed unfinished. I painted it and put our family initial on the center of the gate.
Here is the before.
Here is what the front yard looked like before building the wall and gate.
Drought tolerant and beautiful, but not really usable.
Many years ago I painted the gray concrete walkway to look like stone and it still looks great. Painting the concrete was an inexpensive solution to a boring walkway.
To see how I did it go
here.
This was our old eating area on the back patio that has since been turned into a basketball court. In this picture it's staged for a garden tour. Shortly after this picture was taken the fabric top of the gazebo ripped in a wind storm. This patio is either really hot or cool and breezy. At night it was frequently not warm enough to use comfortably in the cool San Diego evenings. I wasn't to sad to lose this space for entertaining.
I reused the corner supports of the old gazebo to create a partition between the old side yard and new front yard.
Here is the yard when it was newly planted. Small plants are cheaper and acclimate faster than larger plants. I encourage clients to buy the biggest trees they can afford and cut costs by purchasing smaller shrubs. Most shrubs are fully grown in about two years. I built a small interlocking block retaining wall around the perimeter of the gravel to define the space and contain the plants.
Here's what the same plants look like now.
One of my favorite plants is this Pittosporum tennuifolium 'silver sheen.' The leaves shimmer in the breeze.
I made this moss covered mirror for the entry just inside the gate several years ago. I hot glued floral foam onto an old mirror and covered it in moss. Then I wrapped the whole thing in chicken wire and used a staple gun to attach it to the wood frame. I attached tillandsias because they require minimal water.
The mirror reflects the roses in the opposite planter. Drought tolerant planting doesn't mean you can't use plants that have higher water requirements, you just need to group them together to conserve water.
The plant pallet is predominately varying shades of green and white except for two red Mr. Lincoln roses that flank the fireplace.
Who says you can't grow roses and succulents together?
I love the Aeonium arboreum succulents for there vivid apple green color and because they mimic the shape of the roses. They grow like weeds. Just break off a piece and stick it in the ground to make a new plant. They thrive in the filtered sun light.
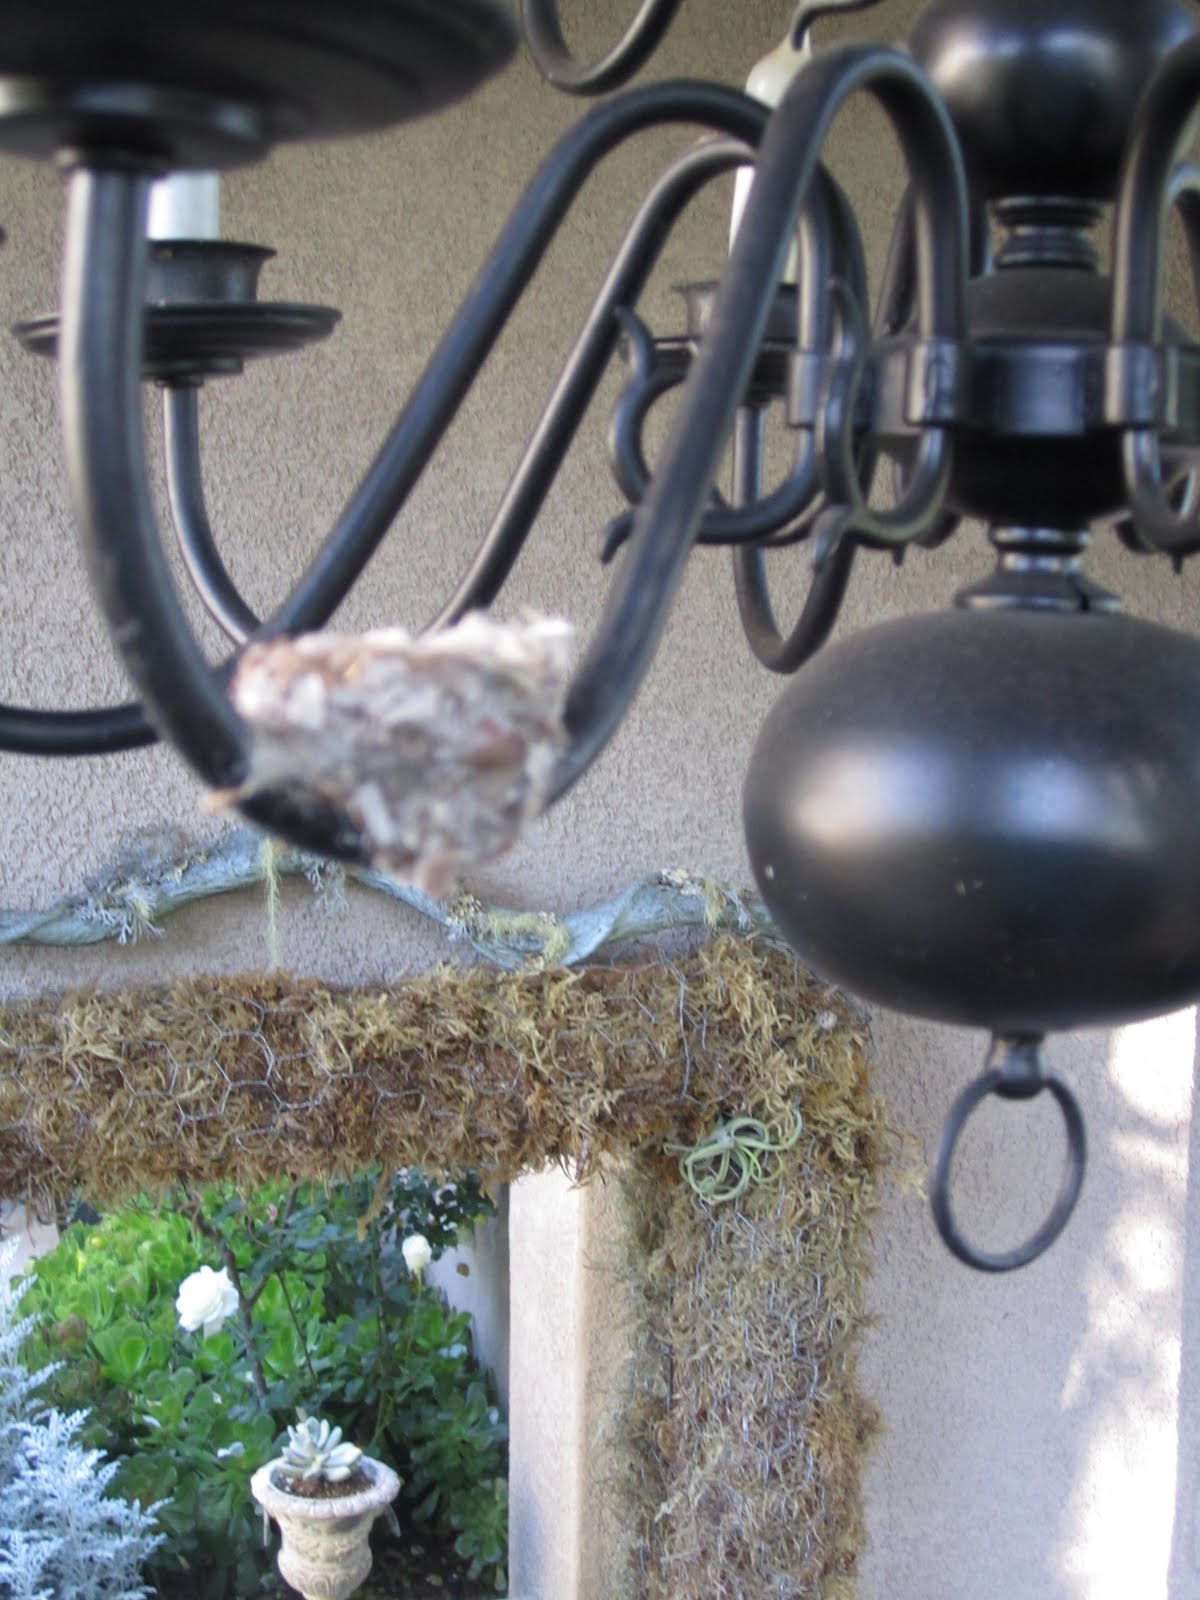
I picked up the table at a thrift shop and painted it black. It's meant to used indoors, but I like it paired with the more rustic mirror. I swap many of my home furnishings back and forth from inside to outside. The brass chandelier was a freebie from a client that was throwing it away after a recent remodel. More spray paint and the original can light went bye bye.
We had a hummingbird make a nest in the crook of one of the arms this year.

I picked up this little fountain on clearance at Target and attached it to a piece of lattice to make it look bigger. The lattice is from Lowe's and it was natural redwood. I spray painted it black.
I would love to see your outdoor spaces and how you entertain.
Thank's for checking it out!
Read more...


 Remodelaholic is written by Cassity and Justin. Cassity has a degree in interior design and Justin is a landscape architect, so we adore everything that makes up a HOME! We love to share home remodeling ideas and projects we’re working on. From huge kitchen renovation ideas to small bathroom remodels, there isn’t anything we won’t try to tackle (at least once!). We are in the midst of our third whole home renovation, (check out house 1 and house 2 as well, so there should be a lot more inspiration coming your way. We hope that you will stop by often for home design inspiration, tutorials, interior design tips, delicious recipes and what going on in our family life.