


Dutch Split Door
28 December 2010
Dutch Split Door

Remember way, way back, when I first posted about the awesome, old door that we found on the side of the road?
If not, I don't blame you. It was way back in March, but I'll give you a quick abbreviated rundown to catch you up...
Last March I was lucky enough to spot a "Free Stuff" pile just outside of our neighborhood. And in it, was a solid wood, 8 panel door.
I thought it was perfect.
Will thought I was crazy.
But he knew if he didn't help me load it into the car that I would do whatever it took to get it in there myself. So, reluctantly, he helped me load the door, and it became mine!
You can read all about it, along with my original plan for the door, here:
"Look What I Found"
 But before I made any final decisions on how to transform it, I wanted to see what all of you thought about how the door should be used. You all are an opinionated bunch (which is exactly what I was hoping for) and, in the end, you made the decision an easy one for me!
You can read all about that here:
"Your Opinions On The Door"
So what did we end up doing with it?
Well, here she is...
 Not only did we cut out the top four panels and replace them with glass, but we turned it into a Dutch Door and I could not be happier with the end result!
The process was a bit tricky. We weren't entirely sure how well the door would hold up to cutting out panels and sawing it in half, but luckily for us, it was in great condition.
The first step was to cut out the panels...


So far, so good!

Next, we sawed the door in half to create our Dutch Door...


and added a new doorknob...

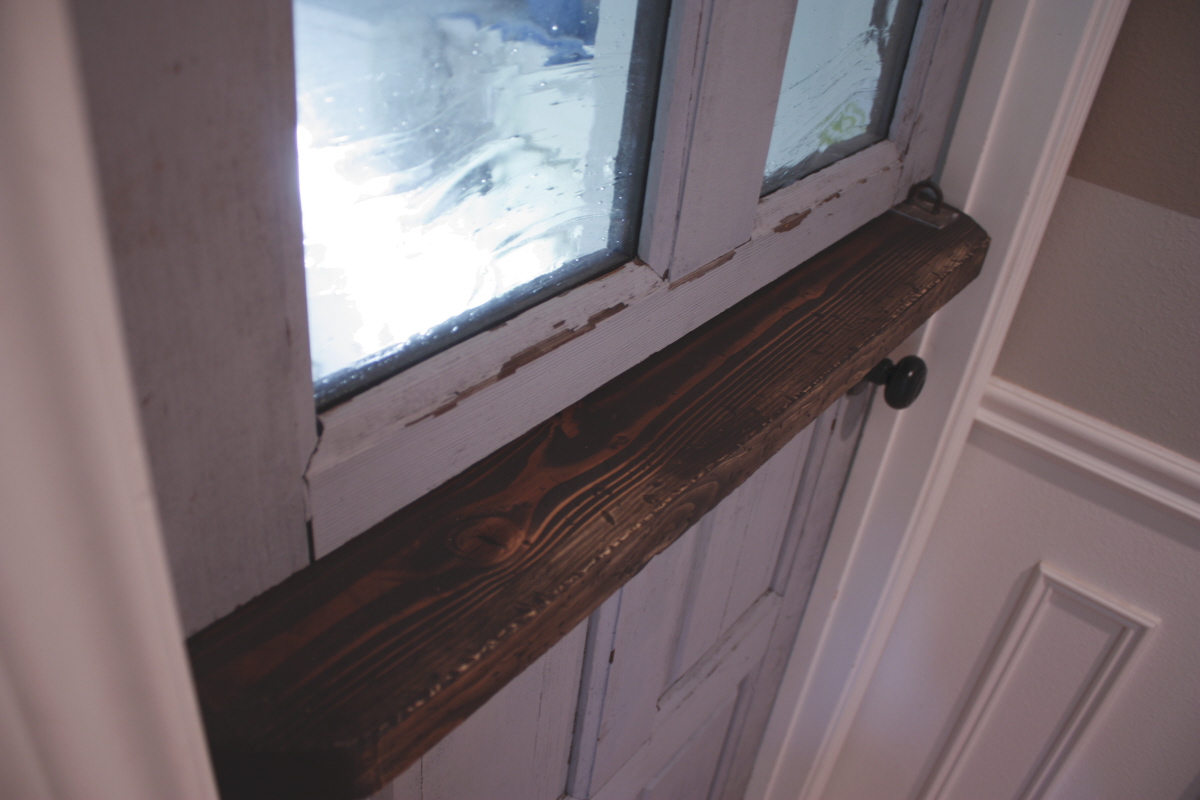
Then we added a ledge onto the bottom half of the door. The original door was a few inches shorter than the doors in our house, so we had to fill that gap. Nothing a simple 2x4 couldn't fix...

Originally, we thought we would use plexiglass to create the windows in the top half of the door. But the more we thought about it, the more we felt like it could (and should) be a bit classier, maybe a little more permanent than that. We knew that we could find a piece of glass that not only suited our aesthetic, but one that would make the door that much more unique.
We headed to Tacoma and found the coolest glass shop. Our heads were spinning with all of the ideas that were floating through our heads. They had glass in shades and textures that we never could have imagined. Beautiful!
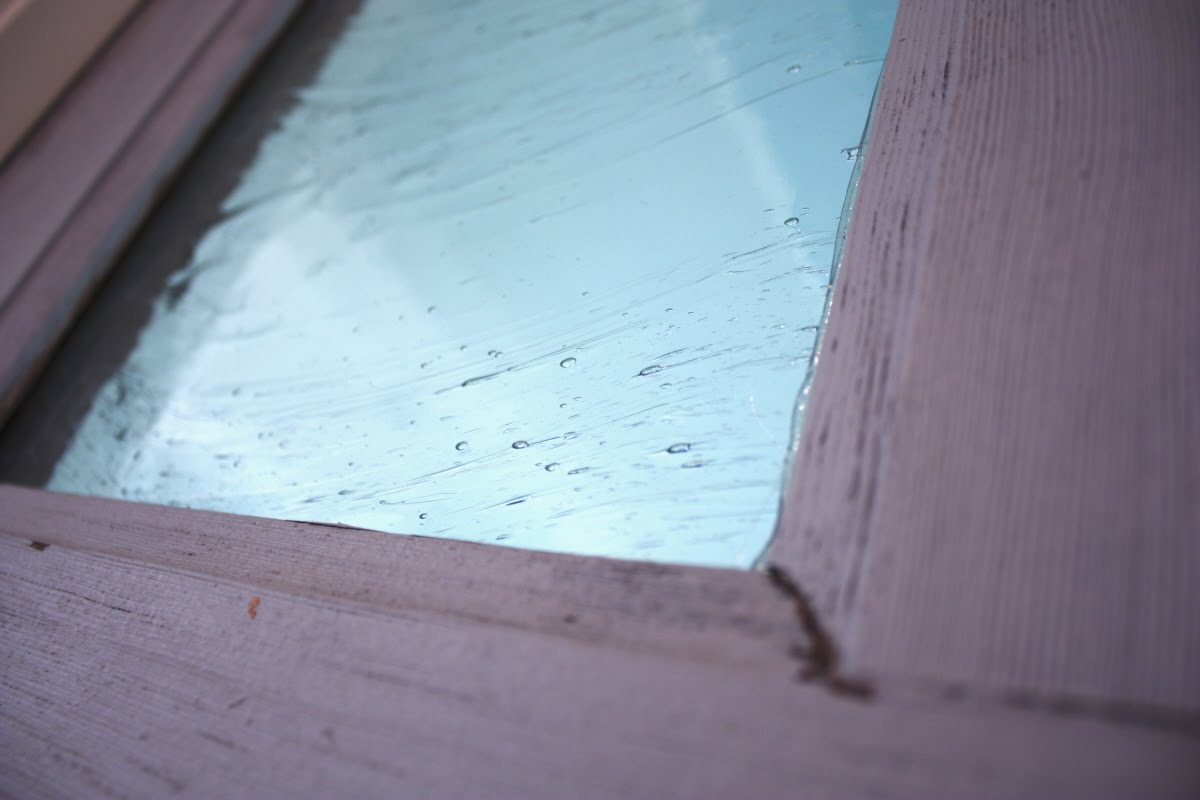
My only requirements for the glass we chose were that it let every bit of possible light through, and that it would have texture so that the picture we saw in the laundry room would be scattered and diffused. No need for our guests to see "Mt. Laundrius", as the boys so affectionately call it!
We settled on a piece of glass called "Falling Rain". You get the picture - a little streaky and bubbly. But since I would rather think outside of the box than stay inside it, I decided to flip the glass sideways so that the streaks run from side to side, instead of top to bottom. I have to say, the little, old man at the glass shop looked at me like I was crazy, but...ultimately, the customer is always right. Right?


and added a new doorknob...

Then we added a ledge onto the bottom half of the door. The original door was a few inches shorter than the doors in our house, so we had to fill that gap. Nothing a simple 2x4 couldn't fix...

Originally, we thought we would use plexiglass to create the windows in the top half of the door. But the more we thought about it, the more we felt like it could (and should) be a bit classier, maybe a little more permanent than that. We knew that we could find a piece of glass that not only suited our aesthetic, but one that would make the door that much more unique.
We headed to Tacoma and found the coolest glass shop. Our heads were spinning with all of the ideas that were floating through our heads. They had glass in shades and textures that we never could have imagined. Beautiful!
My only requirements for the glass we chose were that it let every bit of possible light through, and that it would have texture so that the picture we saw in the laundry room would be scattered and diffused. No need for our guests to see "Mt. Laundrius", as the boys so affectionately call it!
We settled on a piece of glass called "Falling Rain". You get the picture - a little streaky and bubbly. But since I would rather think outside of the box than stay inside it, I decided to flip the glass sideways so that the streaks run from side to side, instead of top to bottom. I have to say, the little, old man at the glass shop looked at me like I was crazy, but...ultimately, the customer is always right. Right?

Will cut strips of wood to frame in and secure the glass on the back side of the door...


The stain that we used for the glass trim is also what we ended up using for the ledge on the bottom half of the door...

We also repositioned a small piece of hardware that was on the door when we first picked it up. I have no idea what it was used for, but it's old and aged and I like it...

I was giddy when it was all said and done!
And 8 months later...I still am!

It lets light into our hallway, which was what I had always wanted. What is the point of having a window in a bright, light-filled laundry room if you never, ever see it anyway?
Now, we see the light!


I definitely owe Will a big, huge Thank You for helping me make this happen!
And, for the record, he loves it too. I knew he would!
:)
Have you found any cool "Free Stuff" lately?
And, for the record, he loves it too. I knew he would!
:)
Have you found any cool "Free Stuff" lately?
 Labels:
Doors,
Guest Projects
Labels:
Doors,
Guest Projects


11 comments:
That is amazing. I love the double door look. Makes me want to let the light out of my laundry room!
BE-Utiful!!! I think Dutch doors are charming! Wonderful job!
Wow that is so cool, I have been wondering how hard that would be to do that. I bet I know what cool glass shop you were in...was it in Lakewood? Spent quite a bit of time there while my sister was doing a leaded glass door for my entry with German Antique glass..anyway what a marvelous job!
I love it! The glass in the door looks so beautiful.
That is just amazing! What a lovely job you did!
Wow..that really is a neat door. Good call on snagging it from the side of the road. I'd love to change all the doors in my house and I'd love to change a couple of them to be something unique and different like this. Thanks for the inspiration.
Great Job Karla! You are always such an inspiration!
Very cool! A friend of mine had a dutch door going into her kitchen from outside (in her last home). It was always fun to have it half open while we were inside. Something comforting about it!
Allison
Atticmag
I thought the ledge between the doors was on purpose. It looks great and a perfect solution for a door that wasn't perfect for the size. I picture your children hanging on the ledge while you do laundry and say..Mom, have you seen my blue socks? lol
When I told my dad I broke a frame he told me to go to a stained glass door store. I told him it was a Dollar Tree frame so it's no biggie. :)
Beautiful job, well done. It looks like an original Dutch door :) I think the piece of hardware was originally used to keep the door open a little, with a hook so it would stay open a crack. No idea at the moment how to call it duh.
Happy new year from the Netherlands
Impressive! Love the glass and the colors you chose. Really a great project.
Post a Comment