


Recovering a Lampshade: 33 Shades of Green
16 August 2010
Thank you Cassity for having me here to guest post again! Please come visit me at my blog 33 Shades of Green where you will find me crafting, cooking, decorating, and trying out all sorts of creative projects.
.

.
I recently took an old lamp from my Grandparents house. When I saw it, I was pretty sure that I could put it too good use somewhere in my house. I had it for a few weeks and decided that with a little work it could work really nicely in my guest room.
.
When I found the lamp it looked like this:
.

.

.
I loved the shape, but it definitely was old and dated.
.
First, I spray painted the base with a few coats of Krylon 'Dover White' in a gloss finish.
.
Then I got to work on recovering the shade. Originally, I was planning on buying a new shade. But the old shade was in great shape and I decided it would be easy to recover myself.
.
To recover a shade, you will need fabric, seam binding and craft glue.
.

.
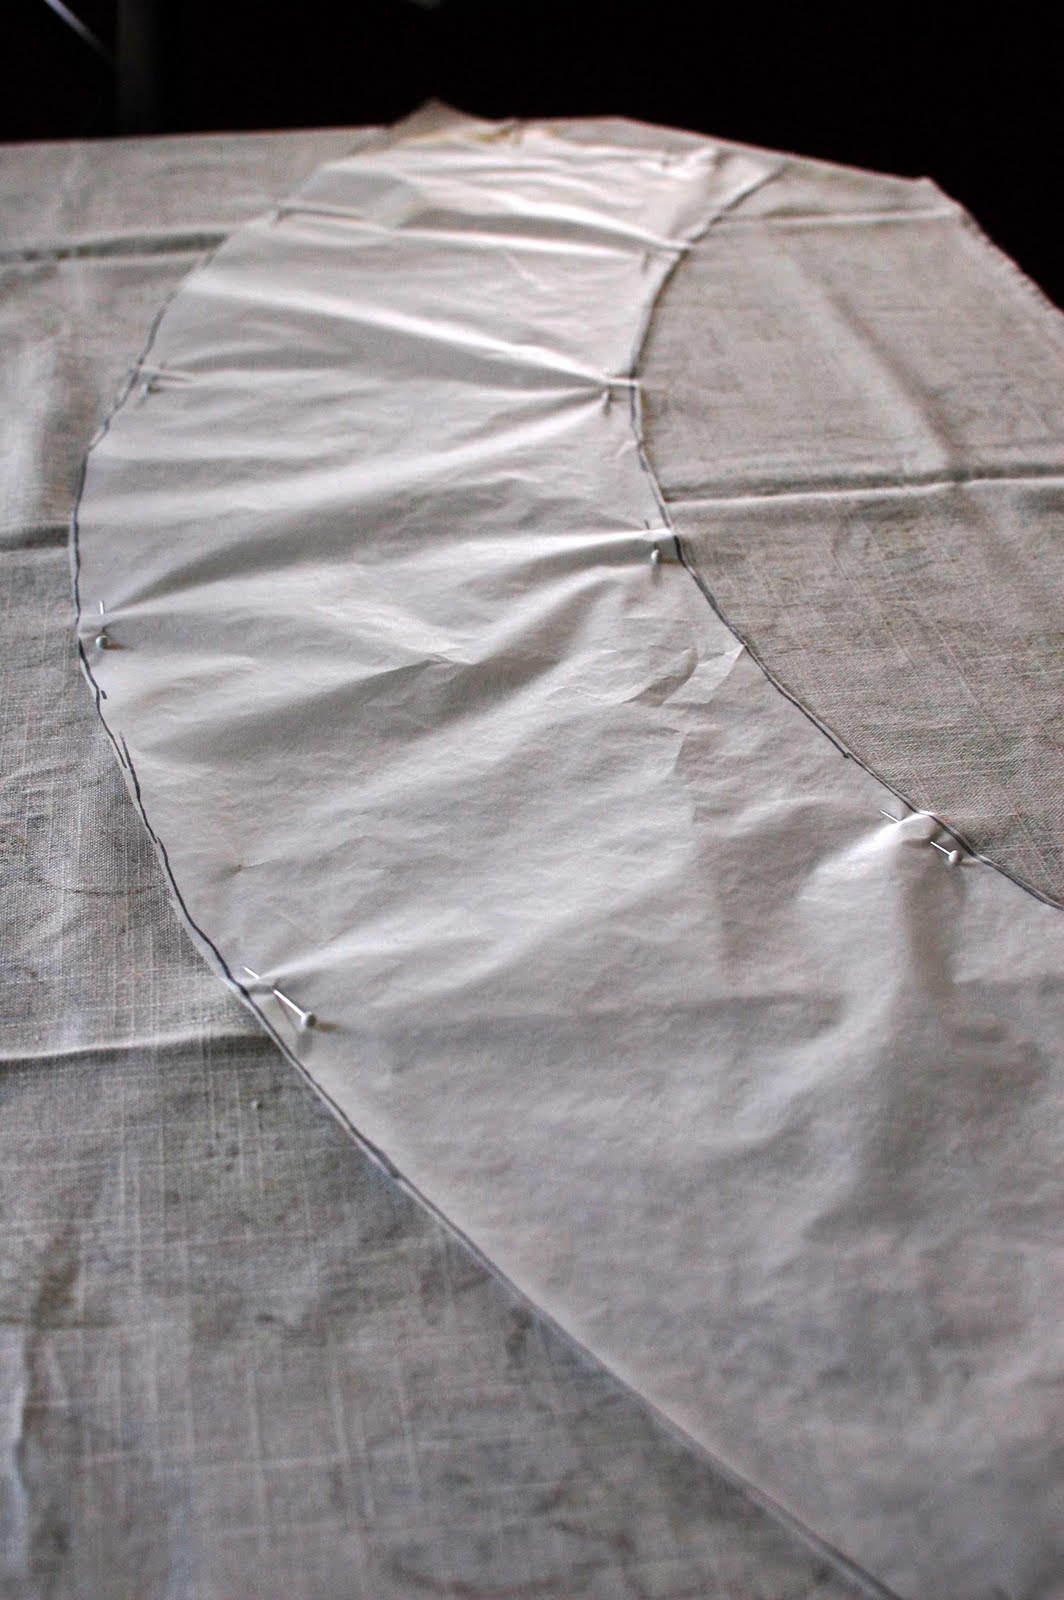
I used trace paper to make a template for the fabric. You could also use a large section of newspaper or even wrapping paper. Once I had the template, I pinned it on to the fabric and cut out my fabric. Make sure to leave an inch or two of extra fabric around each side.
.
.
Next, I used spray adhesive to attach the fabric to the shade. Spray adhesive is VERY sticky, so make sure you do it outside or in a garage!
.

.
After using the spray adhesive, the shade looked like this:
.

.
Trim the extra fabric so that about a 1/2" remains. That will give you just enough to fold over and secure the edge.
.
Use craft glue or a hot glue gun to attach fabric to inside of shade. I use Aleene's Original Tacky Glue.
.

.
Where the two edges or fabric overlap, fold over and press one side to create a finished seam, and then glue down with craft glue.
.
Here's how the edges looked:
.

.
You could leave the edges like this, but I decided to add seam binding to both the top and bottom edges for a nice, finished look. I used craft glue for this too.
.

.
Here's the finished lamp in my guest room:
.

.

.

.

.
I hope you enjoyed this quick and easy project! If you have any questions, stop by my blog 33 Shades of Green.
.
 Labels:
33 Shades of Green,
Fabric,
Lighting,
Monthly Contributor,
Tutorials
Labels:
33 Shades of Green,
Fabric,
Lighting,
Monthly Contributor,
Tutorials


18 comments:
That really looks updated and modern! I love it. I have an old lamp that I just might try it out on.
thanks!!
heather
I have to stop visiting your blog ... I can't get any quilting/sewing done. LOL
Now I'm on the hunt for a lamp to try my hand recovering a shade. I also added 33 Shades of Green to my google.com/reader amazing site. thanks.
Very cute fabric! It looks great.
Wow - that looks great! I have been wondering how to recover a lamp shade,so thanks for the easy to follow tutorial!
Great Transformation! Very Cute!
Oh my!!! How creative!!! This lamp is beautiful, great job :)
Um, that's the cutest thing ever! Thanks for the tutorial!
This is just amazing. I love the fabric and the white base of the lamp. It doesn't look repurposed at all! Great job!
totally updated, and I love that fabric!!
lifeofperks.blogspot.com
love the fabric, where did get it?
Love it. The shade is fantastic and the lamp is gorgeous. You did such a beautiful job. Hugs, Marty
Love the fabric and the finished lamp! I'm not clear on how you make the template. I love the spray painted base--gives it a whole new life!
lovely transformation lamp look great
This looks so easy and SO amazing, Alissa. Love it!
Love these colors and also love your granite - appears we are having the same granite installed later this month! Good taste, sister!
FIToriBLOG.com
great tutorial, there is a nasty lamp shade in the living room that stares me in the face, I'm going to cover it!
Amazing transformation! I also recently painted an outdated lamp all-white, I love it. The fabric you chose is beautiful - I'm going to follow your instructions to cover a shade.
That looks fantastic!! I ADORE the fabric on the shade! :)
Post a Comment