We’ve Moved!


If you aren’t redirected here is the link:


Remodelaholic!


THANKS!

Showing posts with label Kitchens. Show all posts

Kitchen Remodel on the Cheap!

10 October 2011

Kitchen Remodel on the Cheap!

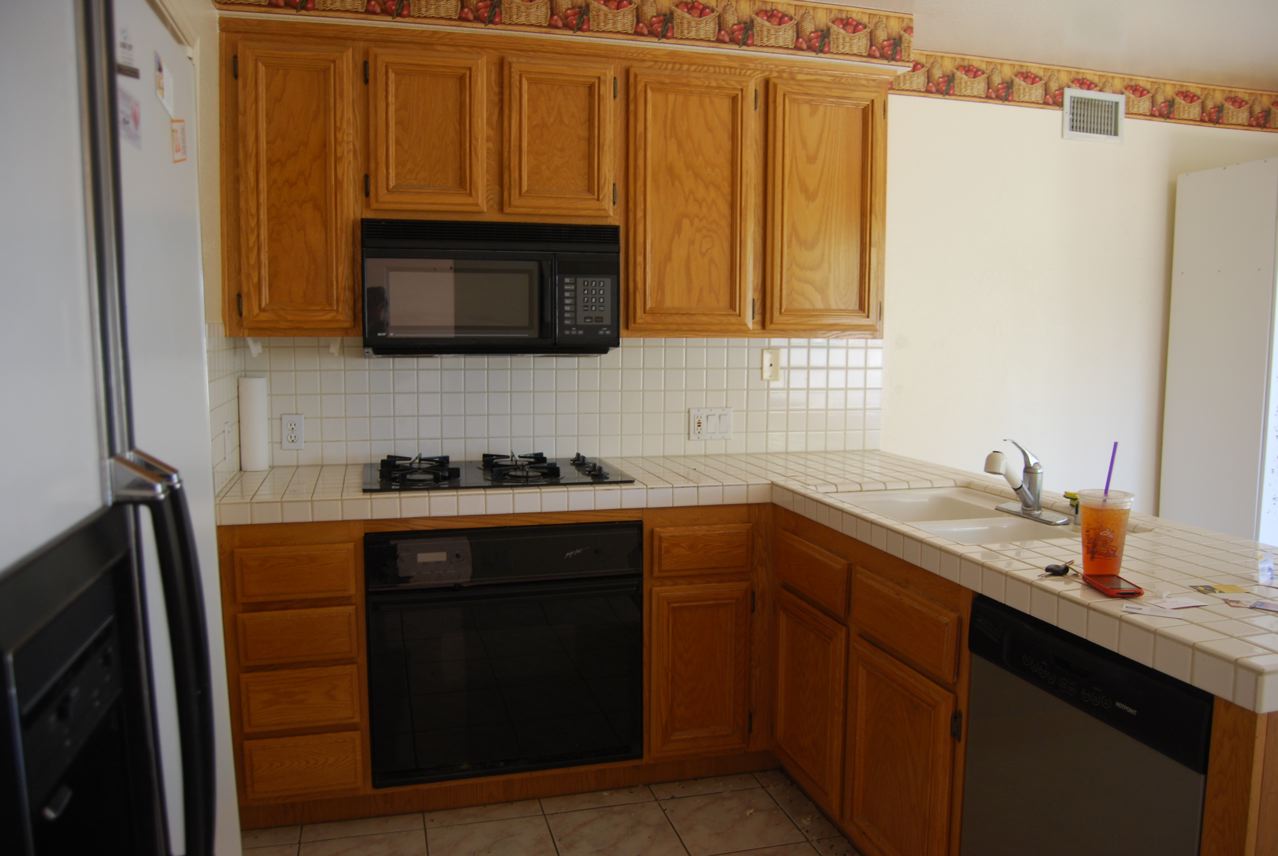
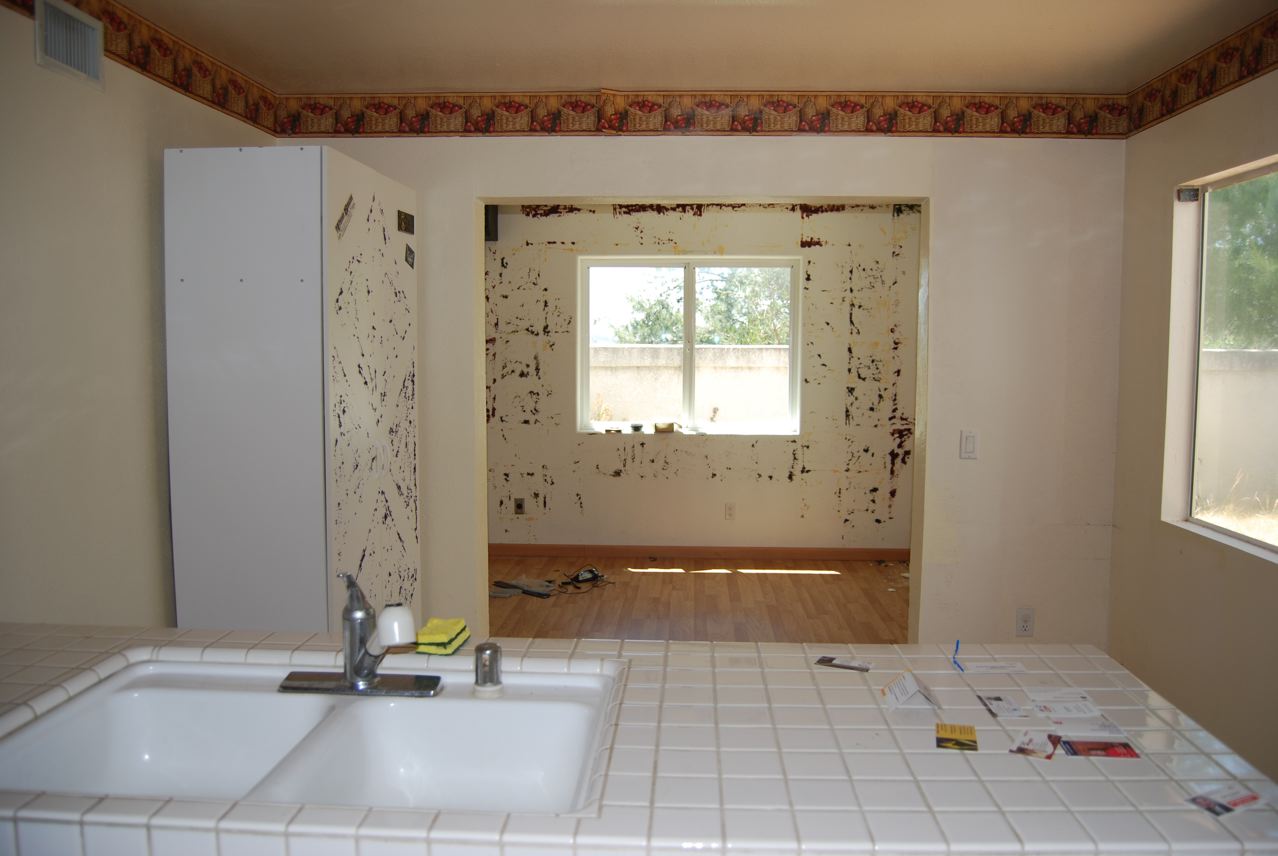
Here we are in before land:

Read more...

Glazed Kitchen Cabinet Update!

20 September 2011

Glazed Kitchen Cabinet Update!

When we bought our house this summer one of the things we really hated was the kitchen.... which is kind of funny beause that's where we spend the most time, basically the most important room in the house!   We knew though, that it had great potential, it was just really, really ugly. 

Here is the sales picture on the internet when our house was on the market... (this is not my old decor!!)

Read more...

Old Farmhouse Kitchen Remodel

17 September 2011

Old Farmhouse Kitchen Remodel

Thank you for all of your kind words about our house. It really means a lot to me. When I started this blog I was never going to show pictures of our house or tell you all exactly how we live, until recently when I have become obsessed with all of the remodeling blogs out there. I love reading others stories and seeing their before and after pictures. I have realized that we are not alone in our love for old homes and wanting to restore them.
So, here is more of our story...
Like I have said before, we live in only half of our house right now. The other half has been stripped to the bare studs (saving that for another post) and is just sitting vacant. So right now our house consists of two bedrooms, one bathroom, a hallway, and the kitchen. Since our kitchen is the biggest room (about 18'X18') that is where we spend all of our time. Our kitchen is not just our kitchen, it also doubles as our living room, dining room, office, craft room, playroom and even a guest bedroom with Grammy dares to spend the night.


So here we go. Brace yourselves for the "then" pictures, they are REALLY BAD! When looking back at them I still can't believe we bought this old house. I still laugh when I think about the realtor that showed us the house. The whole time she was trying to talk us out of buying this place. Most days, I think we should have listened to her.


Our kitchen,
then and now...


Read more...

Beautiful Beach House Kitchen Makeover

06 September 2011


Beautiful Beach House Kitchen Makeover


Before:


Since our beach house was featured in Home Beautiful magazine

Read more...

Classically Beautiful Galley Kitchen Before and After

03 September 2011

Classically Beautiful Galley Kitchen Before and After

OK...now this kitchen was seriously ugly when we first moved in, needless to say it was one of the first things I did...and in a hurry. Luckily I was fairly organised and the day we moved in I had the removalist in the morning and about 4 trades turn up in the afternoon to start quoting!!!

I was determined that I would plan this kitchen carefully, it is compact and important to get right. So although I was pushing to get my new kitchen installed quickly I took the time to make sure that the storage worked and the layout was as ergonomic as possible.

It needed to be fully custom built as I wanted to take advantage of all the available space. A more cost effective kitchen would have been to use standard size cabinets. Because I am tall I also wanted the bench height to be a little higher than normal (this is the opportunity to get what you want for once, when you are having a kitchen designed for especially for you).

The original kitchen was a galley kitchen with an opening each end. I decided to close off the far end (to create a space for the large freestanding stove) and enlarge the opening leading into the living room. The window in the kitchen was too high and impractical, so it was replaced with a larger window in keeping with the rest of the house.

Some things to consider when you are planning your new kitchen...

  • Make sure that you have a cupboard close to the dishwasher to unstack the dishes so you are not trekking across the kitchen.
  • Plenty of bench space can never be over-rated.
  • Consider how you and your family use your kitchen, you may want a bench for the kids to sit up at if room allows or you may chose to have an extra small sink for the prep area. Every family has their own way of operating.
  • A microwave should always be considered as a built in, we all have one so plan for it to be either built in like an oven or in a cupboard....never on a bench top.
  • Good lighting is important, especially in the prep area and stove area, make sure that it is considered at the planning stage.
  • Have an appliance cupboard (or 2), toasters, kettles etc are used regularly so have them in an easily accessible cupboard where they are plugged in always ready for use and not on show! I have two, one side has kettle and coffee maker with jars of teas, coffee and sugar on the shelf above and cups on the next shelf. The other cupboard has a toaster and blender with bread box above and then glasses above that.
  • A good exhaust fan over the stove is a must...make sure that you choose one that is not too noisy and if possible can be ducted outside.
  • Bench tops - mine is marble on one side and timber on the other, both fairly high maintenance, which I am prepared to do but you might prefer to use a quartz stone top (man made stone). The many different brands available now are all more or less the same but they are a great practical surface.
Well on with the photos...I hope there aren't too many!!!


YES...it had to go


Ahhh....that's better, the new enlarged doorway

Read more...

Clever Storage Ideas That I love!

01 September 2011

Clever Storage Ideas That I love!

I am writing a post about finding storage space for Tip Junkie next Wednesday so I have been thinking about storage!  Here are some great ideas and links to storage projects! 

I love these storage bins on casters.  They would look so cure under a bench in an entry way.  

I love these buckets that have been screwed to the wall too! Source Poppytalk


I love the idea of using the interior of you cabinet doors.. like this, it contains so much wasted space!


I really need to defrost my freezer... and make it look like this... Source BHG


I love the way this cleans up the space under your sink!  Genius!
Source A Thousand Words

A way to hide your cleaning supplies in the bathroom!  In usually unused space!

I love the idea of capturing the space above a window (or door!)!  It creates almost a valance of sorts and would be a great spot for decorative boxes(holding the ugly stuff!), books, plants, you name it!  


Storage on the Ceiling! from Family Handy Man


Remodelaholic is written by Cassity and Justin. Cassity has a degree in interior design and Justin is a landscape architect, so we adore everything that makes up a HOME! We love to share home remodeling ideas and projects we’re working on. From huge kitchen renovation ideas to small bathroom remodels, there isn’t anything we won’t try to tackle (at least once!). We are in the midst of our third whole home renovation, (check out house 1 and house 2 as well, so there should be a lot more inspiration coming your way. We hope that you will stop by often for home design inspiration, tutorials, interior design tips, delicious recipes and what going on in our family life.

Read more...

Beautiful Country Charm Kitchen And Dining Room!

22 August 2011

Beautiful Country Charm!  
Kitchen And Dining - Before and After 

Hey all, this is Cassity, I just wanted to share this kitchen with you from Erin. I love the details she added and the bright happy feel of the space.  And who wouldn't love this amazing antique ladder rack, that she used, I wish I had a place for one in my house!!  Tell me what you think of all her amazing hard work!


Here she is, in all her tract home glory! You probably have these same cabinets too. Stained oak! To me, yuck!!  Now, some people really like this look and if you do, I hope your not offended that I don't.  Everytime I walked in my kitchen, the grain in that oak just screamed at me!  


In my home, you can see the kitchen from the living room, and I hated that! Because those cabinets were awful to me!


I tried to add some charm by bringing in my great Grandmother's table that I painted.  It helped, a little.  I just couldn't help feeling that those cabinets needed a dose of pretty.  I wanted so badly to paint them!  But, I was scared to death of that task.


But, I conquered those fears, and went for it!!  I won't lie, it was a monumental task!  But they are beautiful to me now!  Painted cabinets just make me smile!  Everytime I walk in my kitchen, I get this feeling of joy and pride that I did that!

Read more...

Wall Paper Be Gone! Kitchen Transformation

06 August 2011

Wall Paper Be Gone!  Kitchen Transformation

I knew I loved this house when we pulled up to it! and when we walked inside I fell in love even more! There was just this one thing....


Everyone else thought it was red paint in the kitchen- which would have made sence since it was solid!! but alas, it was not paint... it was red wall paper!!!!! Now I didn't hate it- and was willing to live with it for fear of having to take it down- but why, why, why would you put up a solid color wallpaper?!?!
But living with it I did... and then it happened... that one little tear... and then something else happened another little baby boy....
Every night I would check my little sad tear and even put a drop of glue under it for fear that one of the boys would notice and it would all be over.... Nightmaires I tell you!! a little tiny baby hand gripping that tiny little tear and pulling and pulling and pulling AHHHHH!!
ok- so this will be anti-climatic... it finally happened.
I tried to be ok with it because I knew we couldn't afford to have someone take it down and I certainly didn't want to!! and then I decided to do it anyway... on a Monday morning and I knew there was no going back.


There were false promises by that wall paper... yes, I am tearing off sooo easy... no I am not and you will be up on this ladder until midnight three nights in a row crying and wondering if you will ever have fingernails again?! I am not going to lie to you people... it was rough and took about a week on my own. And there are lots of other problems that come with it, that apparently the optimist in me chose to just ignore during the initial stages of ripping it all down. Like... Wall Texture!! walls do not look perfect after wall paper removal... at least MY wall paper removal... I was using a jackhammer- kitchen knives- my teeth- the proper tools!!
So off to Lowes I went... excuse me? can you tell me how to texture a wall? nope, ok. excuse me, can you tell me how to texture a wall? nope, k. excuse me, can you do anything besides wear a Lowes Nametag?!?!? you can see it was a little frustrating... but who needs them!!
Awwww.... the paint and texture isle... awww.... little machines... maybe.... awwww.... Hairspray Cans with Wall Texture.... Don't Mind If I Do!! Now that is the kind of machinery I can use!
Cost effective? yes, if it's not a huge space and because I had decided to do bead board I wasn't going to have that much wall to cover.
So- five cans of Homax Orange Peel Texture Spray did the job- and at about $13 a can- comes in much cheaper than the rental of a machine and you can just go at your own pace. I was scared but just practiced outside a couple times and it was pretty easy! Make sure you do it when your kids can be out of the house and you can also really air out the place during and after- cause it be a bit smelly!! I actually wore a mask as well.


Ok- now I will try to fast forward this Super long post!! Got the texture done- painted- then bought the 4ft. pieces of bead board ($10/each- needed 4) and chair rail to finish it off ($10).
The bead board and chair rail weren't to hard- what was hard was the freakin uneven warped walls we have in this house!! so just liquid nails was not going to cut it- I did that and trim nails that then had to be counter sunk into the wall (there is a tool for that!) Add wood fill over them- sand- and paint and you kinda, pretty much can't even see them!!
Now this is the part where some of you might need ear muffs... I needed a lot of caulk! ok- let's all get it out of our systems because my husband still thinks its funny to talk about!
I caulked around the bead board- around the crown molding that was already there- everywhere!! use it! it is cheap and it hides all the little imperfections- make sure you get the paintable kind.
And now... Ladies and maybe a couple Gentlemen! I give you... My Brighter, Lovelier Kitchen!


And a close up of the bead board- I am still going to repaint it a slightly off white- it is a little to white for me right now... but ya know... it's on my list!:)


There are only a few new nicknacks that I have added- I dearly love my flying pig that I found at a flea market...


And this lovely sign that was made for me by Angela Sweeney- she has the best Etsy Shop!


And I was going to do a big picture gallery wall behind my table but I am actually loving the simplicity of this pic I took of my two little angels running down a dirt road... and blown up and printed at Kinkos for under $20...


And that is the end of the novel!! congrats if you made it!! I Hate it because it almost killed me LOVE my kitchen!! it was never horrible with that wallpaper but with no windows and dark cabinets it was always too dark and now it is light and feels so much bigger! even the Hubs was skeptical but is now totally thrilled that it was done... by me... that he didn't have to do it.... and he didn't have to pay for someone else to do it... and that I won't be talking about it anymore! yay!

So- let the force be with you and take down that wallpaper! It is quite a job but once again I have to stress that every new project I take on- I remind myself that there is nothing that can't be undone- just go for it!!

This project was contributed by one of our fabulous readers! We love to share your projects with this great blogging community. So, if you have projects from kitchen renovation ideas to small bathroom remodels, overhauled and repurposed furniture, spray paint updates you name it please send it in! Thanks for reading Remodelaholic!


Read more...

Bright and Blue and Beautiful; Kitchen Remodel!

05 August 2011

Bright and Blue and Beautiful; Kitchen Remodel!


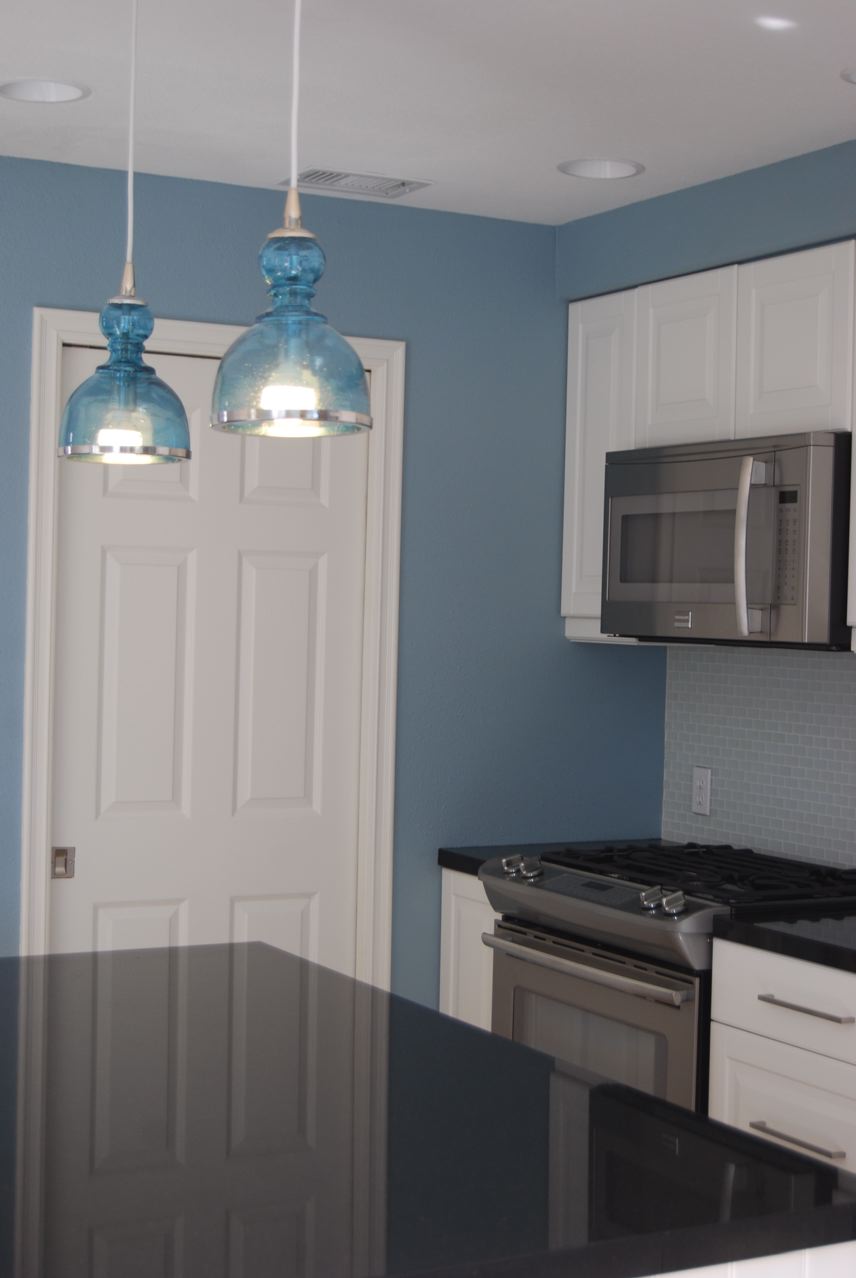
Well, the kitchen at my daughter’s house is now complete.  My daughter and son-in-law are ready to move in and start making their house their home.  It has been a long 6 weeks, but oh so worth it.  I have so much to show you, but I wanted to start with the kitchen remodel first.  It went from a 90′s style “L” shaped kitchen with very little cupboard space and A LOT of wasted floor space.

Read more...

The Great Kitchen Update!

The Great Kitchen Update!


image 
image
image
 
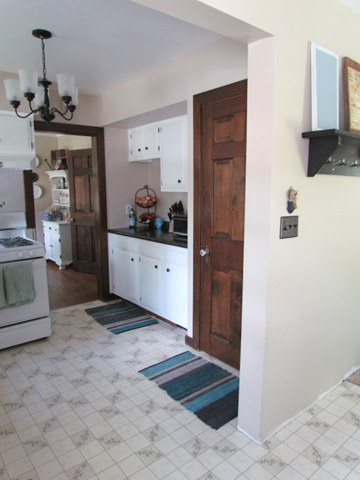
Since the kitchen is the heart of our home, we renovated the roombefore we moved in by:
  • removing a cabinet and added a dishwasher
  • removing the double oven and replaced it with that cabinet
  • painting the existing cabinets white
  • painting the existing knobs and hinges with oil-rubbed bronze spray paint
  • spray painting and installing a new light fixture
  • painting the room
imageimage
After we moved in, we:
image

Here’s the opposite side of the room where we removed the double oven, replaced it with the cabinet, and added new countertops. We also started painting the stairway for a future project.
 
image
image
 
Here’s the view of the whole room!
Total Cost? $229!
· Rustoleum spray paint in oil rubbed bronze, $5
· paint for walls and cabinets, $15
· Kilz Primer, $10
· Granite-look laminate Countertop: $130 at Menards
· Delta Faucet, new in an unopened box labeled 'as-is', $50
Hookups for the dishwasher, $10
· Light fixture, found on freecycle, painted ORB, free.
· Fridge, given to use by family, free
· Dishwasher, given to us by family, free.
· Hinges and knobs, existing, painted ORB, free.
· Rugs, new from Target but found at Goodwill, $9
· Labor, free! We did everything!
image

In the future, we’d like to:
  • replace the laminate tile with wood floors
  • paint the remainder of the trim in this room
  • paint the door in this room
  • paint the walls and above the cabinets a shade that is similar to the color of the tiles on the backsplash
  • replace hinges with new and add glass knobs
 
image
I haven’t posted on our kitchen in a while, but doing so makes me so excited. I love the transformation and can’t believe the difference between the two!


This project was contributed by one of our fabulous readers! We love to share your projects with this great blogging community. So, if you have projects from kitchen renovation ideas to small bathroom remodels, overhauled and repurposed furniture, spray paint updates you name it please send it in! Thanks for reading Remodelaholic!


If you enjoyed this post please check out these other great kitchen renovations:

Read more...

Dixon Dialogue Beautiful Kitchen Update

04 August 2011

 Beautiful Kitchen Update


The kitchen is finished and it is absolutely gorgeous! We started March 9 and it took a good month (or more) to get it to this point. If you’re interested in reading about our process click herehere and here.
Here is one last “before” picture just for kicks. In a word, brown.
And our *new* kitchen……..
In a word, GORGEOUS.
What we did: painted cabinets, painted walls, installed tile back splash, and new light fixtures. And since we’re DIYers it all cost under $500! Winning. In an effort to avoid a snarky comment from Bill I should mention – I told Bill I had this great idea for a “weekend” project and I worked on it for about 1 weekend and then he worked on finishing it for weeks and weeks. He’s the greatest :)
We also updated the sink area by installing pullouts on the “fake” drawers under the sink. Perfect area to stash the bottle brush and sink plug.
The one decorated corner.
Another picture of the main kitchen area.
We also changed out the accessories in the “dining room”area. We use to have large fruit prints up and now we have some lovely white dishes.
A close up of the dish wall.
I am loving my *new* kitchen. I’m even inspired to keep it cleaner than I use to :) Of course, we are not completely finished! We want to add some “pops” of color, some DIY subway artwork, and “EAT” on one wall. And my goal is to sell our current dining room chairs and buy some new ones like these from West Elm (and I just noticed that the color scheme exactly matches our new kitchen!)
So, here is where we got our new stuff:
Cabinets: Rustoleum Cabinet Transformations in Pure White (no glaze)
Paint: Martha Stewart Cement Gray
Track Lighting: Lowe’s or Home Depot
Pendant Light: Hampton Bay (Home Depot)
Tile: American Olean (I think) Matte Gray 2X3

This project was contributed by one of our fabulous readers! We love to share your projects with this great blogging community. So, if you have projects from kitchen renovation ideas to small bathroom remodels, overhauled and repurposed furniture, spray paint updates you name it please send it in! Thanks for reading Remodelaholic!


If you enjoyed this post please check out these other great kitchen renovations:

Read more...
Related Posts with Thumbnails
Emealz - Easy Meals for Busy People!
Home & Garden Blogs Home & Garden Blogs - Blog Rankings

Blogging  tips, tutorials and SEO

From Here to Eternity

  © Blogger template On The Road by Ourblogtemplates.com 2009

Back to TOP