We’ve Moved!


If you aren’t redirected here is the link:


Remodelaholic!


THANKS!

Showing posts with label Craft Room Organization. Show all posts

Art Studio: Inspirational Space!

28 June 2011

Hi Everyone...

 Laura here from Bright Bold and Beautiful! I am thrilled to be guest posting for Cassity on Remodelaholic. Today I am sharing my home office / art studio home renovation with you. This bright and cheerful room provides me with so much inspiration each and every day! In the center of the room I created a custom island with wide shelves. I designed it specifically to store my watercolor paper which is 26" by 40". It is movable with casters on the bottom, so I can move it around.


I created a large inspiration board to show my framed and unframed watercolors. I painted the pegboard the same Spring Mint color as the walls. Then I framed the pegboard with white trim for a finished look. This is the focal point of the room and the ultimate organizer.
The entire board measures 5 1/2 feet by 8 feet.

I use bull dog clips hanging on S hooks to display various works in progress.
Click here to see the wall before the renovation.

Over on the side of the room, I put in cabinets to store my supplies, with a dark teal/turquoise laminate top {which really looks like granite}.
Click here for before shot.

My desk is made up of two IKEA Vika Artur trestles and a nice glass beveled edge top. I love my Jules swivel chair as well. Featured on the wall is my original watercolor dress painting.

Another IKEA purchase that holds and protects my prints is the Alex drawer unit on casters. I picked a beautiful light wood flooring. This cleans well {in case I spill some paint} and is functional with all the movable furniture in the room.
 

My best-selling "Summer Breeze" giclee on canvas brings color to the room. These are great to place in a stand on your favorite table, or hang on the wall.

Thank you Cassity for having me on Remodelaholic!


This project was contributed by one of our fabulous readers!  We love to share your projects with this great blogging community.  So, if you have projects from kitchen renovation ideas to small bathroom remodels, overhauled and repurposed furniture, spray paint updates you name it please send it in!  
Thanks for reading!


If you would like to see some more craft room inspiration check out these posts:

Read more...

Oh-ho ho Pretty Beads... Craft Room Organization

13 April 2010


What movie is the first part of that title from?  Anyone?

Cinderella, can't you just see Gus-Gus getting all excited about the beads for Cinderelly and the big fat Lucifer running over to sit on the necklace?....

Anyway,  I have been trying to organize my craft rooms for months.  A while back, I decided that all interior items(meaning not tools in the garage) that have anything to do with creativity needed to be in one space.  So, I started collecting from around my house.  It is amazing how far the paintbrushes and watercolor paper have been from each other for so long.

Well, it is not like I work on the space everyday, or even every other day but I have been working on my craft room for MONTHS now.  It has been whipping me good!  I go in there to clean it and end up making a bigger mess than I started with, get discouraged, shut the door and leave it for another week or two.  (obviously, I haven't been using it for crafting, let alone using any of the junk I am storing...)

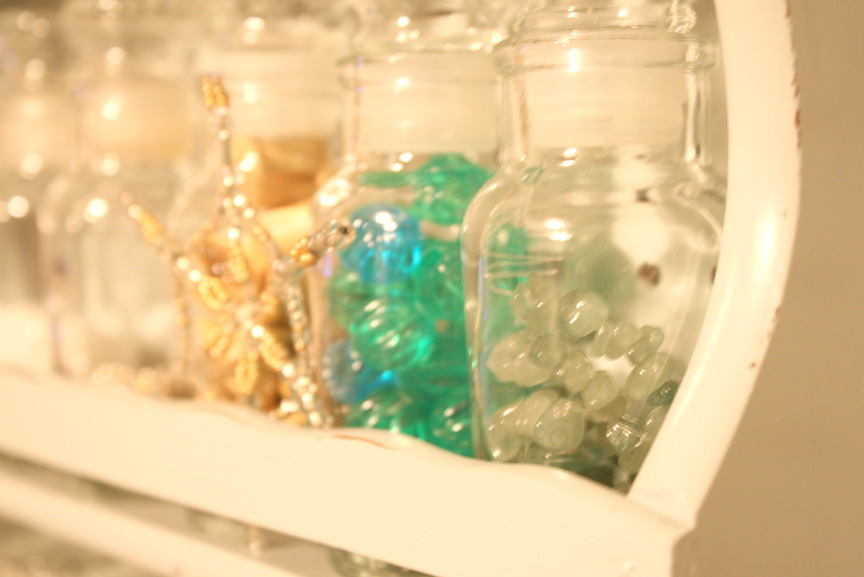
I am all over the place with this post, and I am about to go even further.  A few weeks ago, I went to a thrift store and found this great 3 leveled spice rack with the cutest little glass bottles, with glass stoppers. (I already have two similar spice racks unused at my house- I may have a problem!, no I don't have time to see a counselor!)  And I thought I could use it for my craft room.  Here is what I did.

Before:

This was it, I think I got it for $4.00-ish. I dumped all the spices, then took them all apart carefully and cleaned the little bottles like crazy- say no to curry smelling beads!

After it looked like this:


I decided to paint it the same color as my the peg board ( I had like 2 tablespoons of paint left, it worked out perfectly) .  There are a lot of things going on this peg board and I wanted it to not be too busy looking... We'll see if I succeed.

How I did it:
I sanded off the word Spices before painting, and rubbed a few of the edges with a candle.  Then I painted really thin coats with a foam brush (no brush marks!), not really attempting to cover it all, I wanted an older sorta look.  After I felt it was covered enough, I just buffed the edges where I had used the candle with a rag.  (that paint came right off to the original finish, without sanding down to fresh wood.

Then, I filled it up with beads, she looks so beautiful now!  (and I feel like I need to go buy more beads so that you can see them a little better)  But for now here it is.


What do you think?


P.S.  Sorry that I have been sorta absent from my blog lately.  I had an emergency family trip come up about 2 weeks ago and have been out of town for those 2 weeks, I just barely got back.  It was unplanned and I was unprepared, so my blog has suffered a little, and honestly it may take me a few weeks to catch up with projects to show you.  But I will have a ton of great guests so please keep coming by.

If any of you have any tutorials you would like to share with everyone, send me a link!  I would love to show off your work, and I could really use some help.  Also, I will be featuring more of your party projects with the help of the Mr. R.

Read more...
Related Posts with Thumbnails
Emealz - Easy Meals for Busy People!
Home & Garden Blogs Home & Garden Blogs - Blog Rankings

Blogging  tips, tutorials and SEO

From Here to Eternity

  © Blogger template On The Road by Ourblogtemplates.com 2009

Back to TOP