


Starburst Mirror Tutorial
05 July 2011
Starburst Mirror Tutorial by Beatrice

My name is Beatrice and I am a diy-aholic. I love art, crafts, diy projects and home decor. I am so addicted to diy projects, that after some thinking I decided to start writing and sharing my projects at The Crafty Bee Blog. Nevertheless, making the crafts on a budget is what is even more enticing. It is challenging to be a mom and a teacher, but my quiet passion keeps me sane.
I am beyond thrilled and speechless to be writing a guest post for Remodelaholic, about my diy sunburst mirror. This mirror was inspired from the ZGallerie Devon mirror. The ZGallerie Devon mirror regularly sells for $200, but not many of us are ready to dish out so much for a mirror. And here is my creation.
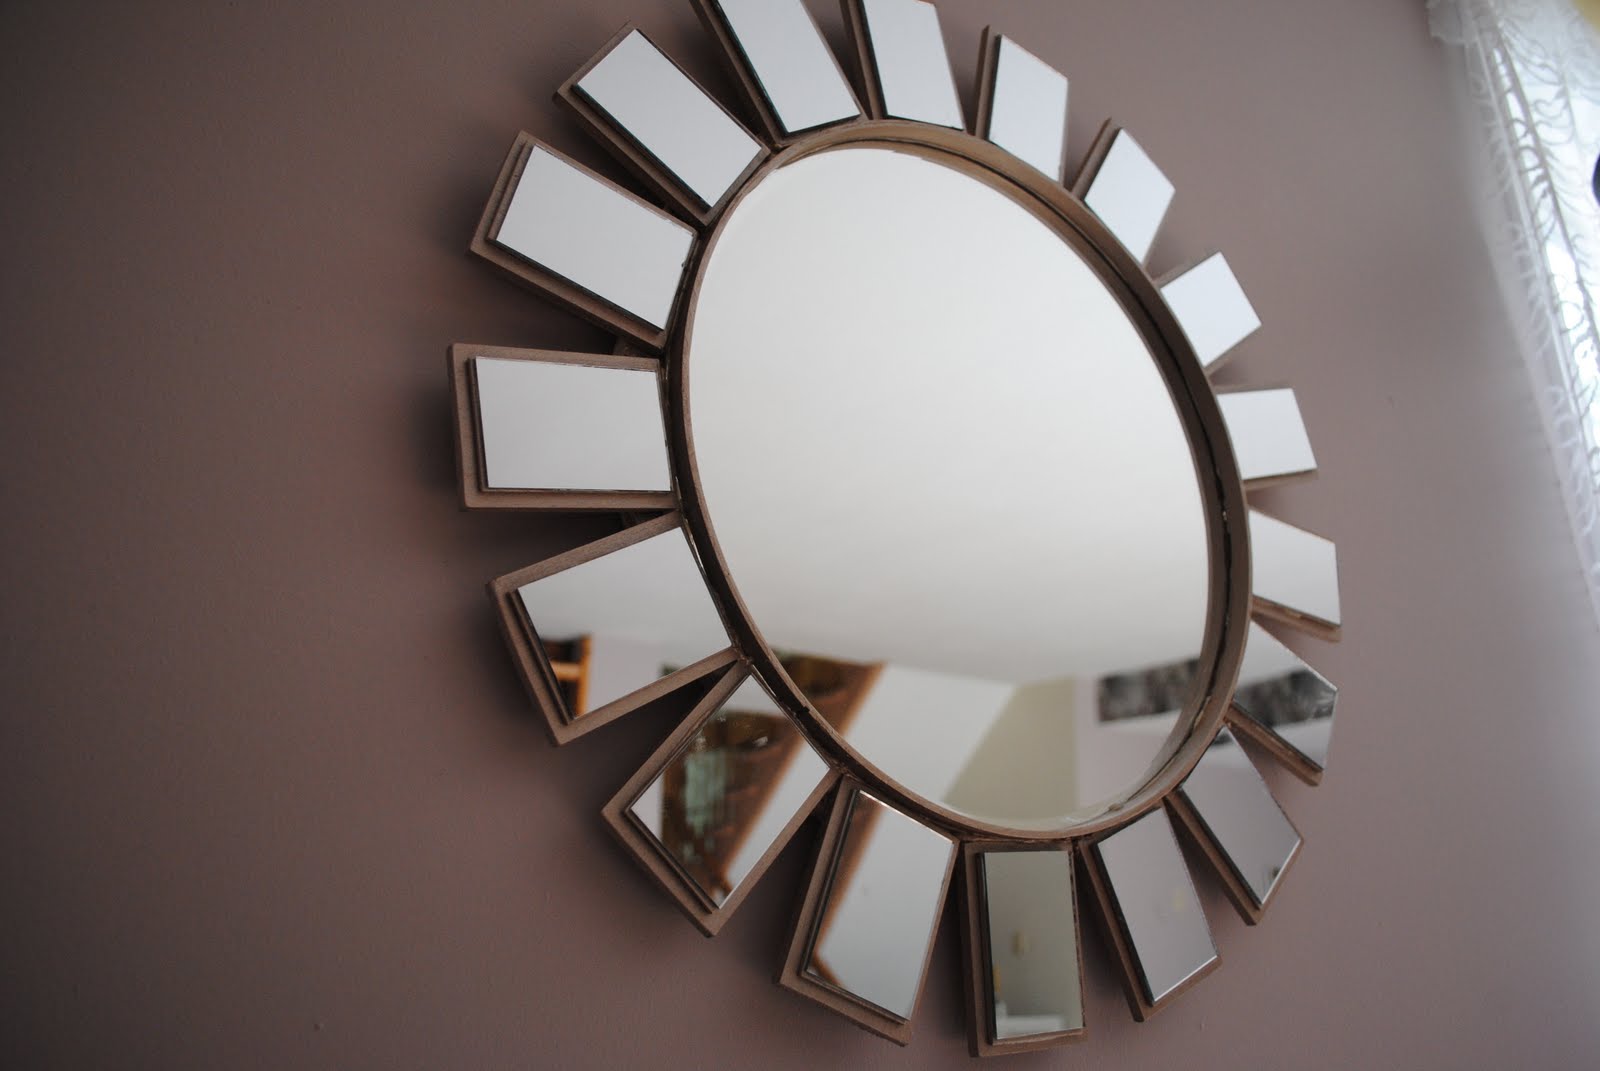
However, it all really started when I came across these small, 2x3 inch mirrors. Once I saw them, my mind started racing and I knew exactly what I was going to do with them.

What you will need:
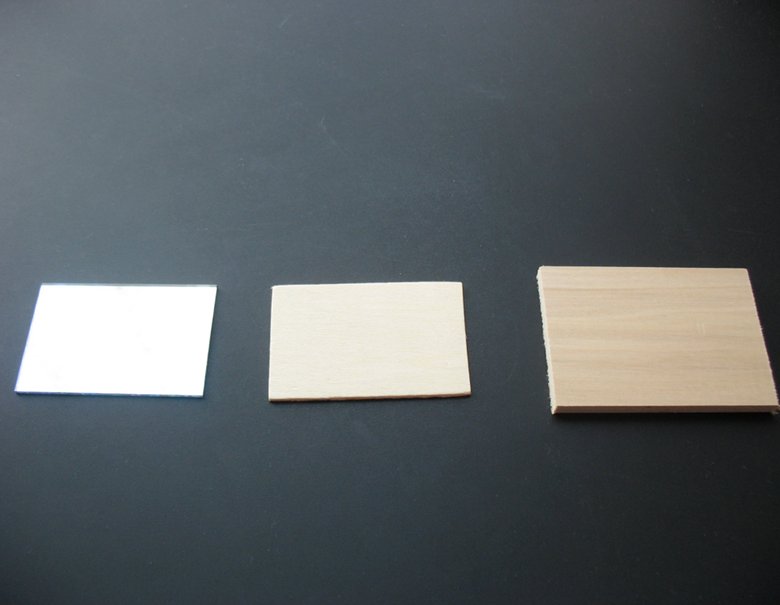
-16-20 small 2x3 inch mirrors. They came in packs of two for $1.49.
-16-20 wood tags (2x3 inch); they were very thin and smooth- 1/8 inch. I got them at Michaels for $0.49/each.
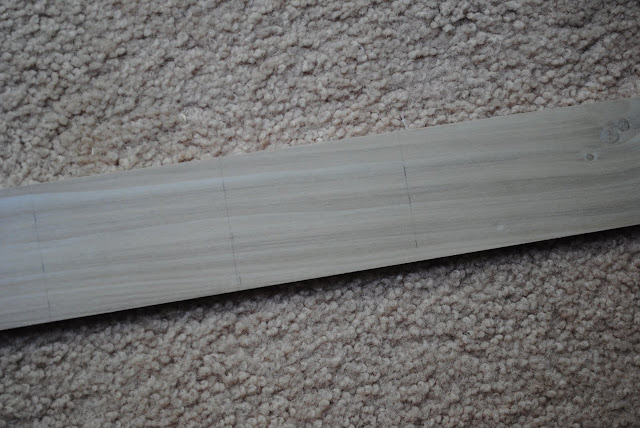
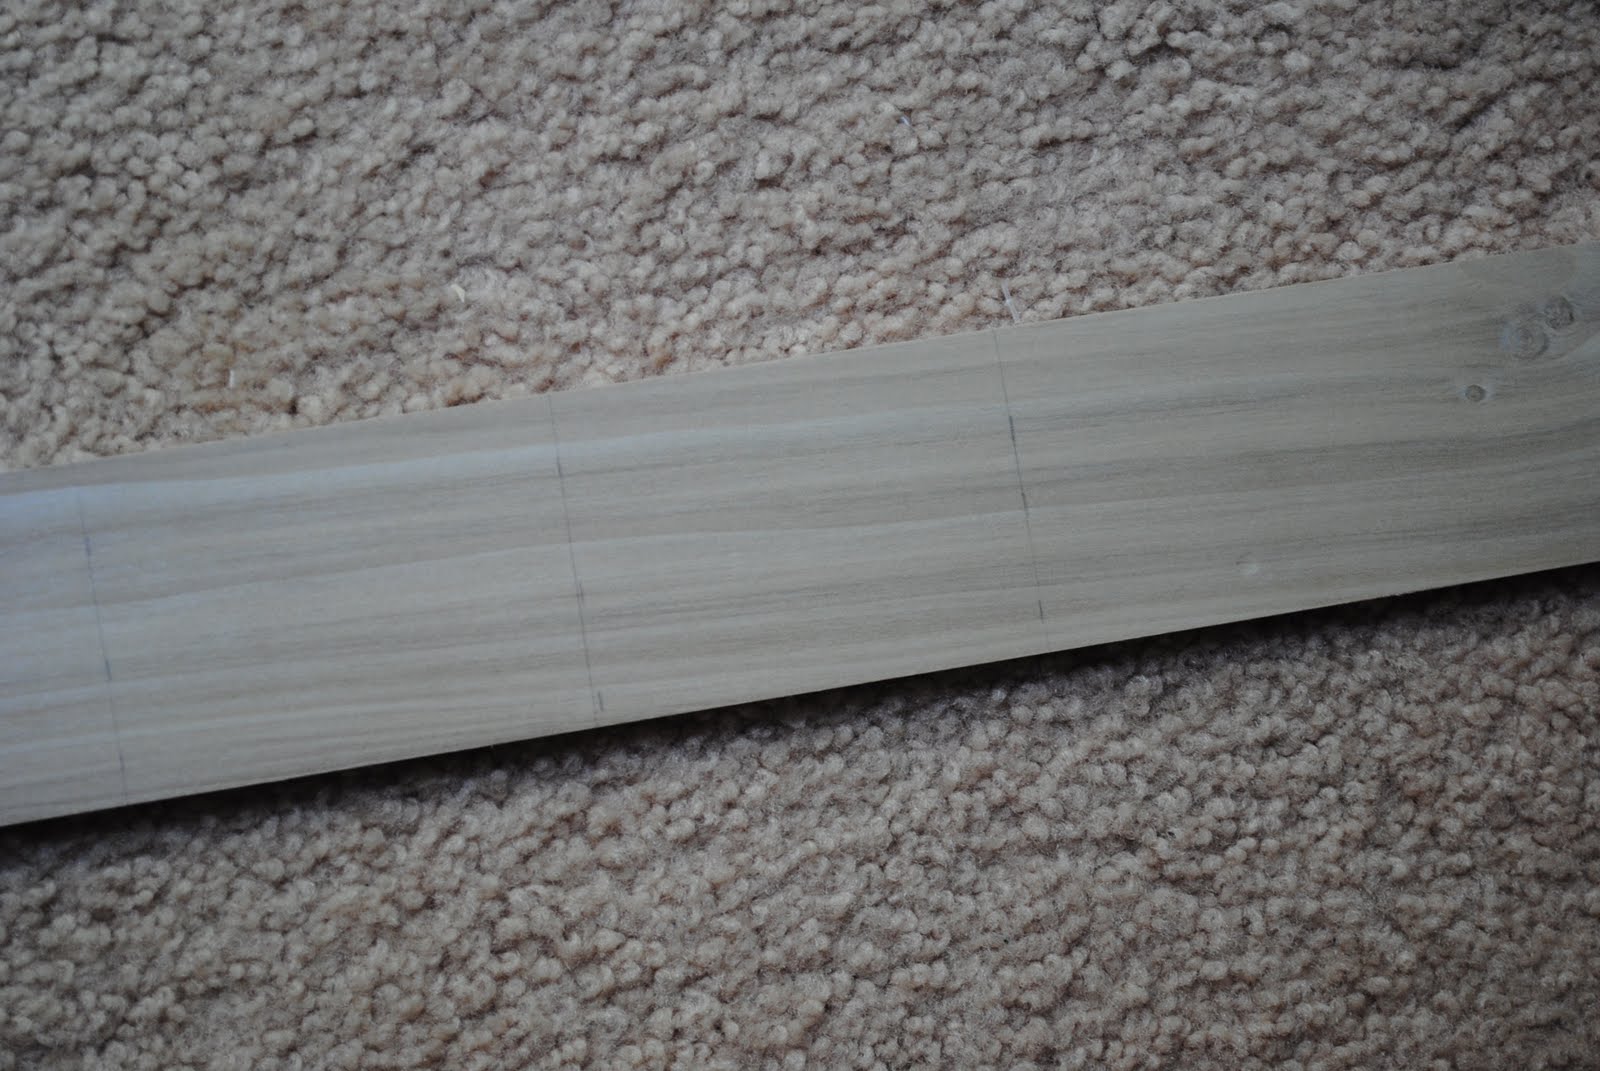
-2 - 1/4”x2.5”x4’ pieces of wood. I bought them at Home Depot for $5.99/each
-14” diameter round mirror ($10)
-14” diameter embroidery hoop ($6)
-plywood or medium density fiberboard (MDF) cut into circle 15” in diameter
-Gorilla glue ($5)
-Craft paints - You can choose your own colours but I chose Folkart Sahara Gold $1.49 a small bottle
-Brushes for paint
-Fine toothed wood saw or jigsaw
-picture hanger (to put on the back)
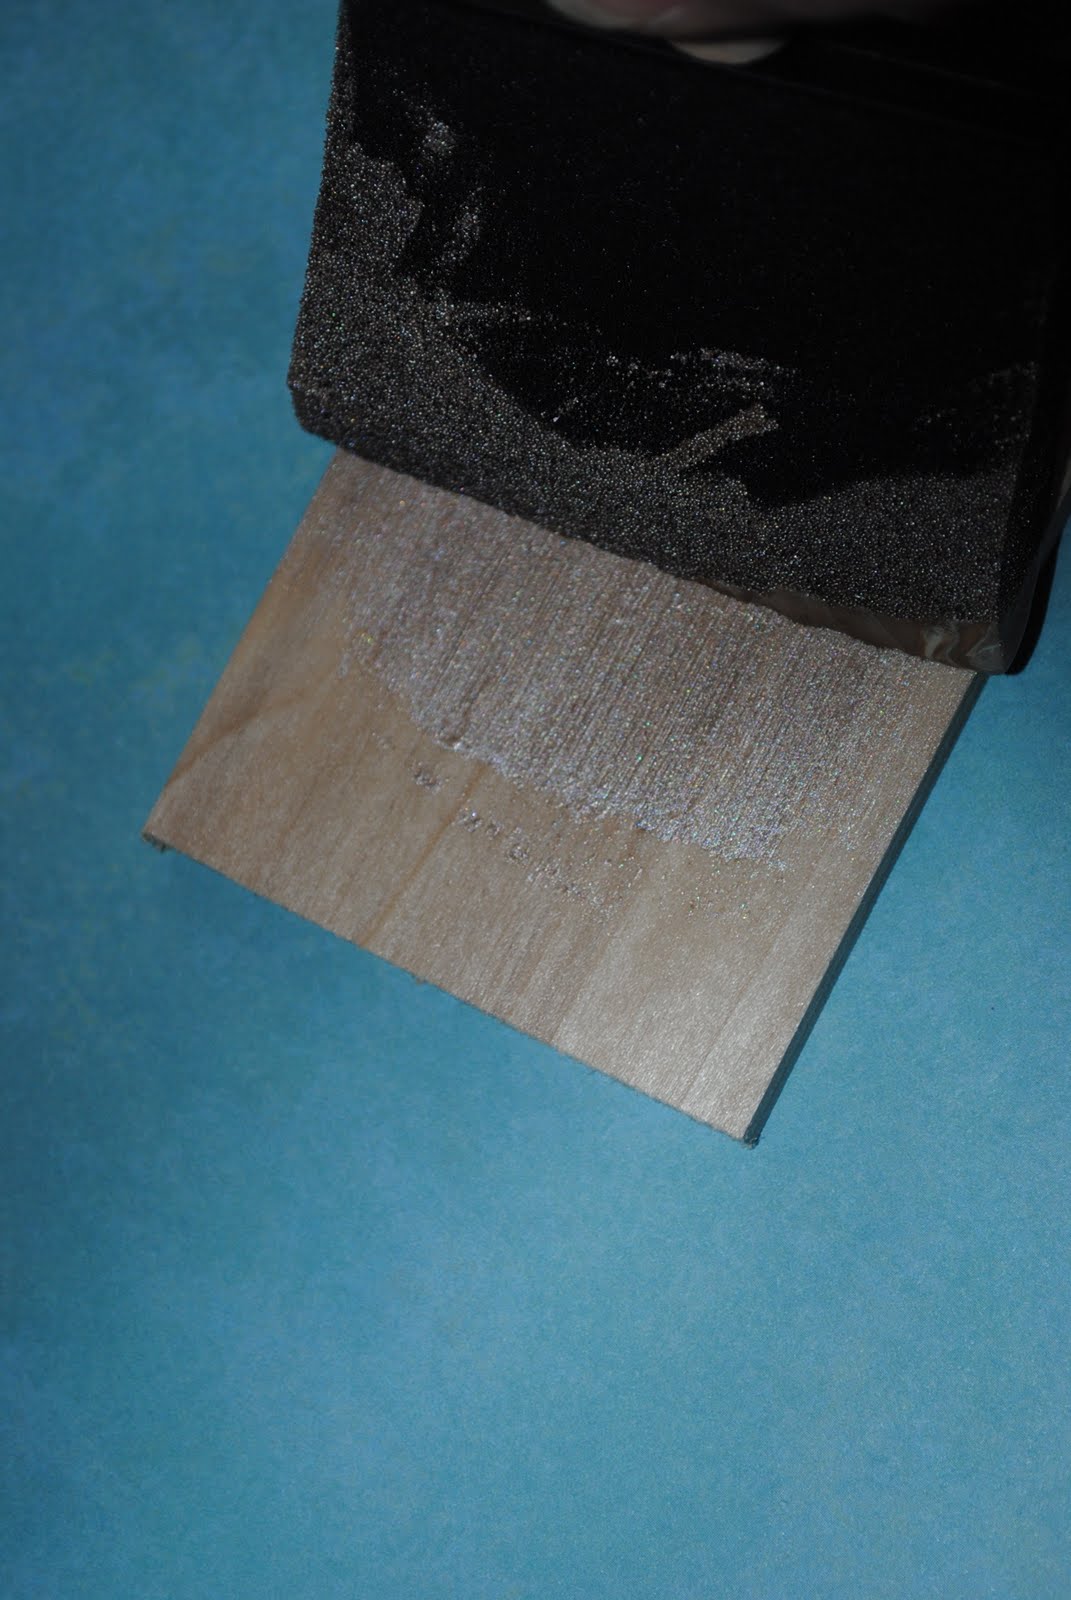
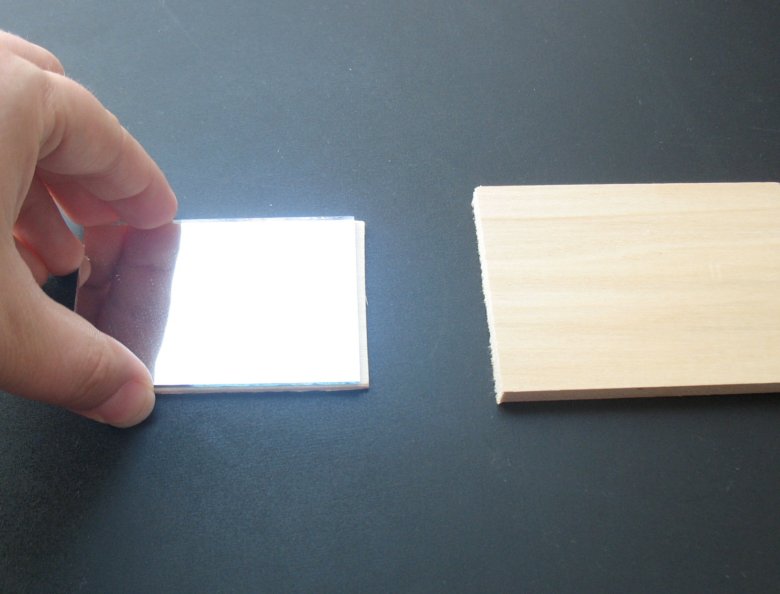
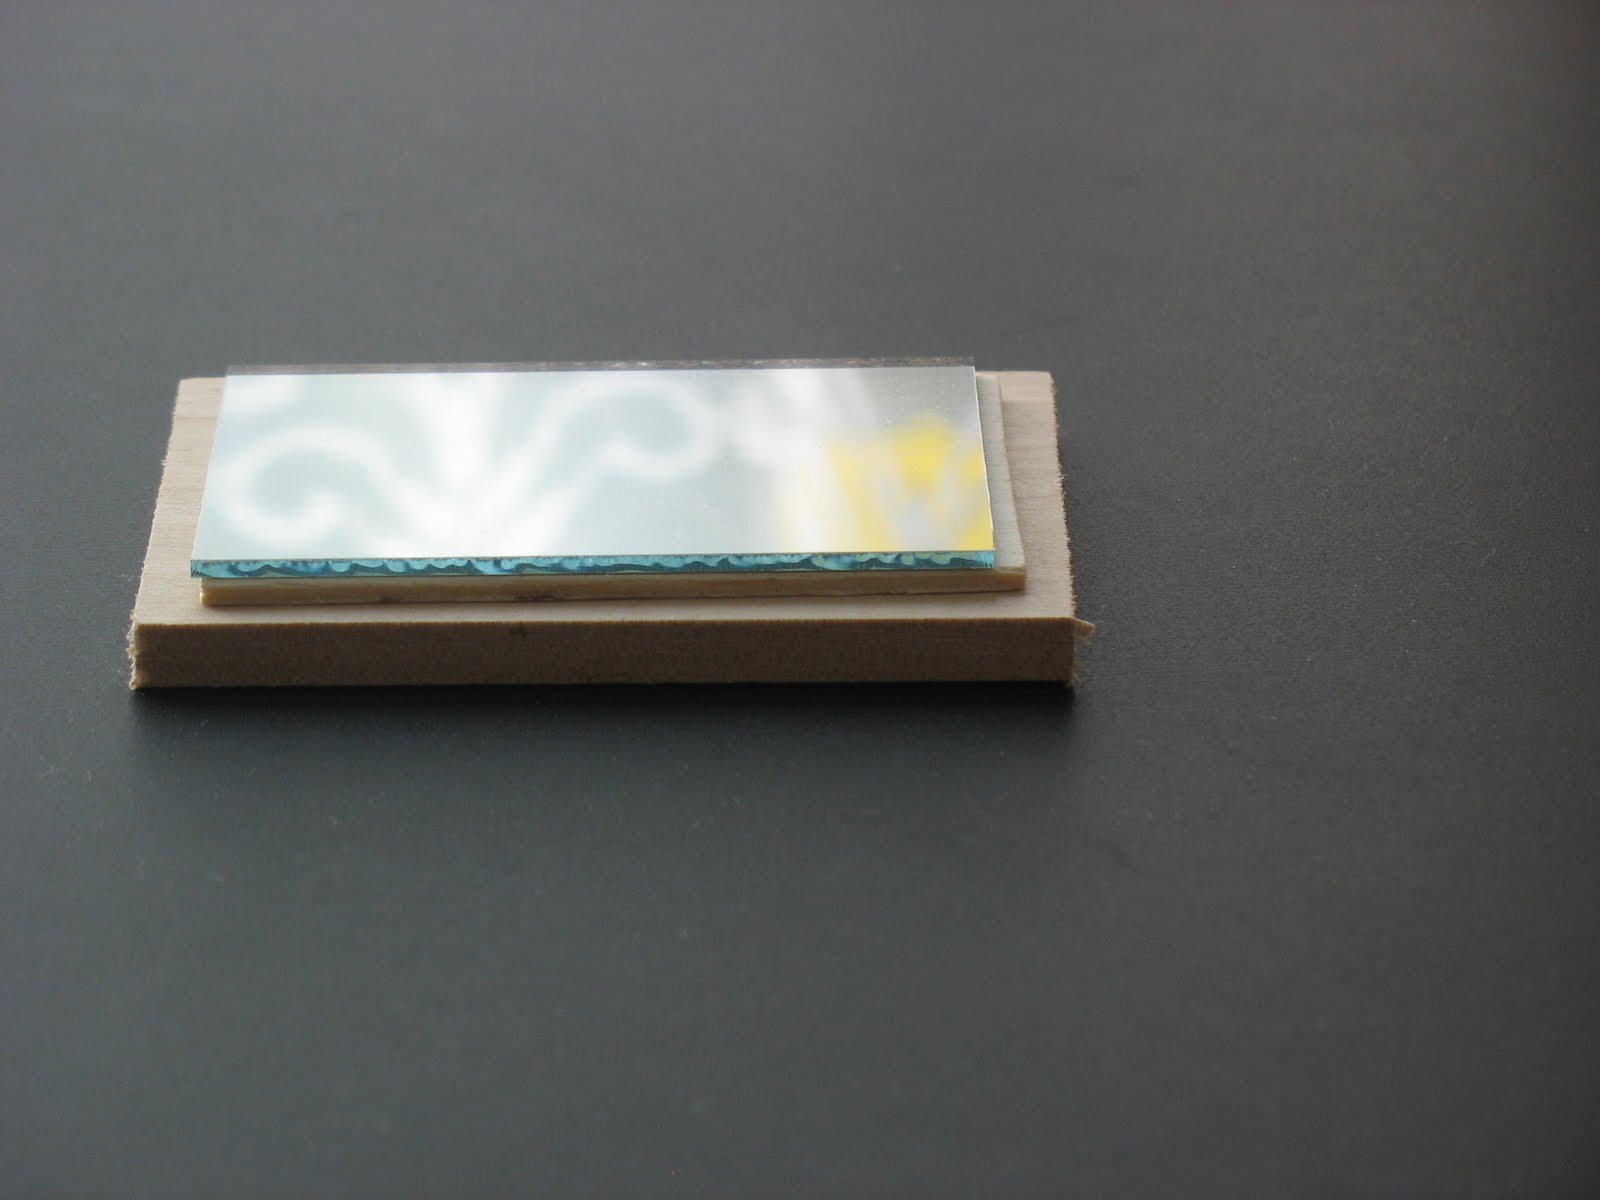
I wanted to give the mirrors a beveled look and needed to add some depth to them. I did this by glueing the mirrors to the two different pieces of wood: first one is a wood tag and the second is a thicker one.


To get the second piece of wood, I bought two 1/4”x2.5”x4’ pieces of wood from Home Depot and cut it to my desired length (2.5”x3.5”) to add 1/4 inch of depth to my 2x3 inch mirror. I used a jigsaw, but you could probably use a hand saw with fine teeth.

Once you do that, you paint all your pieces of wood and your embroidery hoop.

You can now glue your mirror to the wooden tag.
Once that dries you can attach it to your 2.5x3.5 inch piece of wood.
Now off to create the base. I used a leftover piece of plywood that I cut a 15 inch circle out of (you could also use a 14 inch circle, but I wanted an edge for the mirrors to have more support). It may be possible to buy a 15” precut circle, but I was unable to find one that was the right size or lightweight enough. You can also use MDF. Speaking of which, I recommend to put the picture hanger on the back of the base now before the mirrors are added. If you feel comfortable that the gorilla glue will hold the mirrors, you could use a 14 inch circle and you won't have any overlap.
Now it is time to glue the large 14 inch mirror to the 15 inch plywood circle base.

Then you glue the embroidery hoop on top of the mirror. The mirror tends to be slippery, so make sure you have a flat surface to leave it on, and try not to move it around a lot since you leave a glue trail that you will have to wipe up with a Q-tip or scrape off afterwards. The reason for the embroidery hoop is to provide an edge to glue the small mirrors to. Once this has dried, you can start attaching the little mirrors.


A little note about the Gorilla Glue. Gorilla glue is one of the toughest bonding glues I have found but with two small catches: 1) it takes a while to set, so don’t be in a rush and place things so that they can sit there without moving or you holding them; 2) Gorilla glue foams up. This is good for filling spaces but may also overflow. Don’t use too much. You have to let the mirrors set, so come back after a couple of hours.
I suggest you lay out your little mirrors around the big one to see how the spacing will be since no matter how you calculate, it will never go evenly. As you glue the mirrors to the edge of the hoop and the 1/2” overhang of the base, support the weight of the mirrors around the edge with another piece of wood or otherwise they may sag. Here the Gorilla glue is great as it will expand to fill in the space between the straight edge of the mirror piece and the round hoop. With great patience, one by one, it will end up like this.
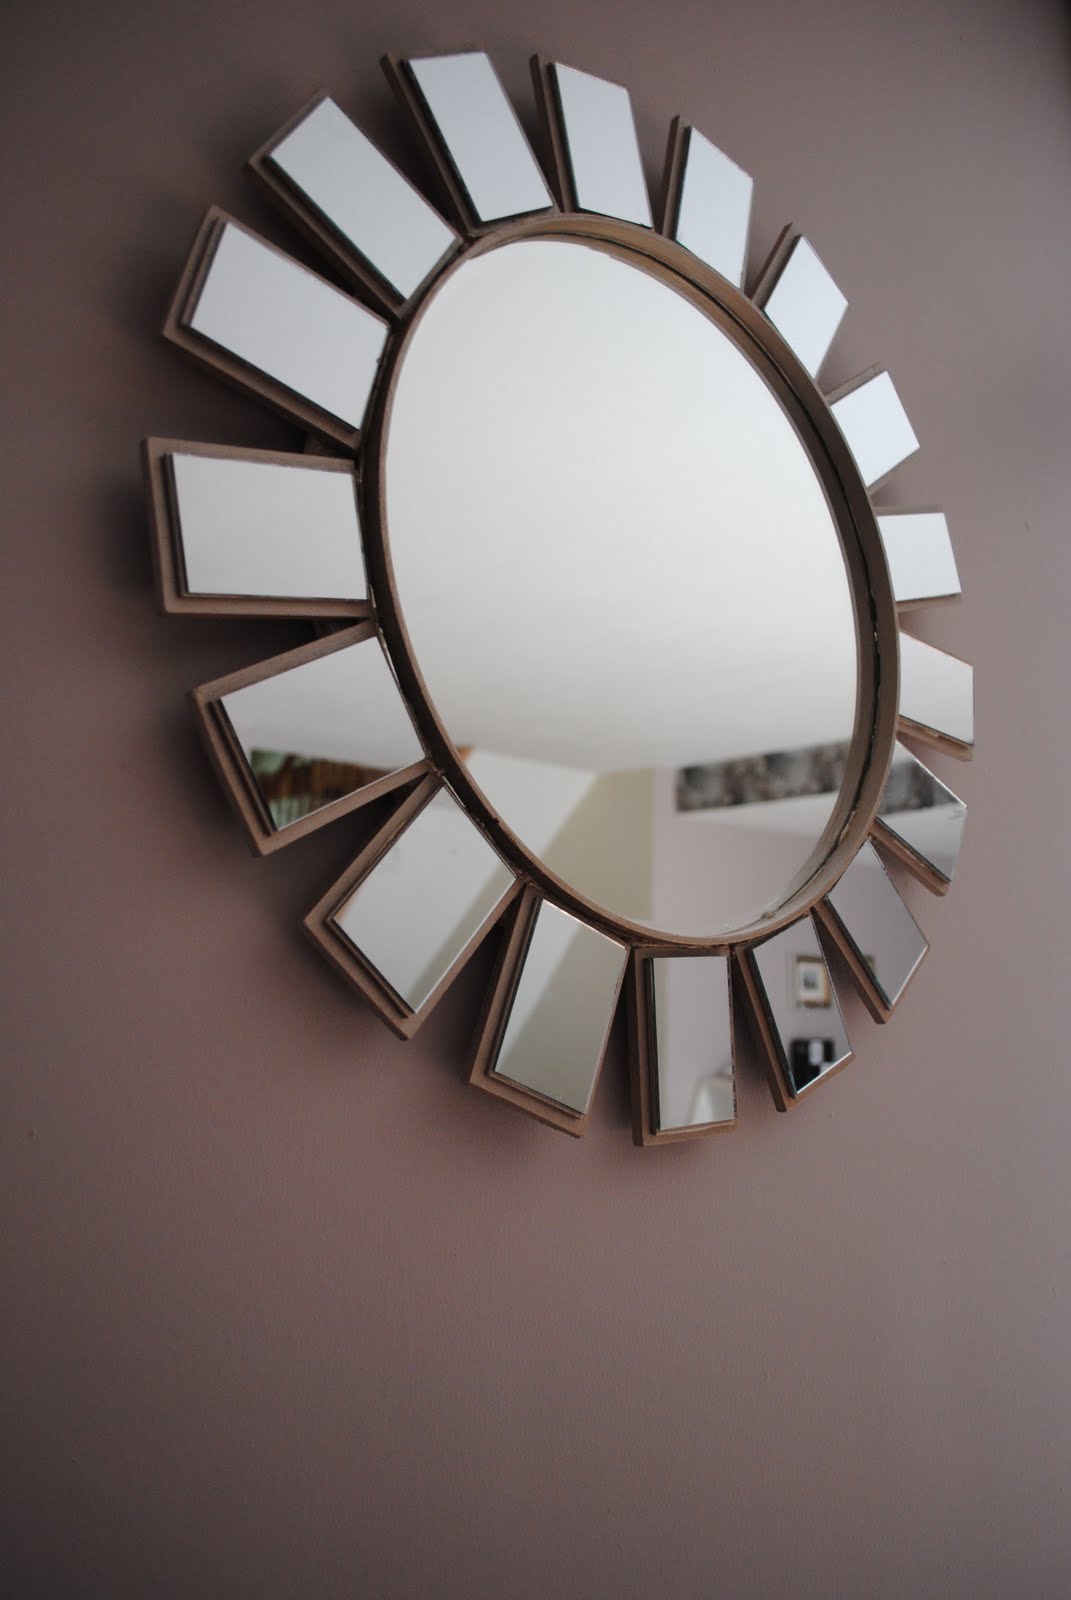
I am very happy with it and it was totally worth it. It did take some time to do (mostly waiting for glue to dry), so maybe have something else on the go at the same time. Most importantly, this is really an attractive functional piece of art that you can customize.
Once again, thanks to Remodelaholic for giving me a chance to share my project with you. If you are interested, come see more ideas at the Crafty Bee Blog.
 This project was contributed by one of our fabulous readers! We love to share your projects with this great blogging community. So, if you have projects from kitchen renovation ideas to small bathroom remodels, overhauled and repurposed furniture, spray paint updates you name it please send it in! Thanks for reading Remodelaholic!
If you like this mirror building tutorial check out these:
 Labels:
Art Tutorials,
Mirrors,
Tutorials
Labels:
Art Tutorials,
Mirrors,
Tutorials


7 comments:
wow this looks really great! :)
Love it! Have any ideas for my living room? Add it here, love to see what you come up with. http://500dollarwedding.blogspot.com/2011/07/contest-remodel-my-living-room.html
Thanks so much for featuring my diy sunburst mirror. I am so glad you like it.
Wow! Very impressive...definitely one of my favorite tutorials out there. It looks like a store bought one!
Wow! Stunning! and really good tutorial!
Fabulous tutorial. Where did you pick up the round mirror?
Hello ladies,
Thank you so much for all your comments. I am very flattered. I wasn't sure how to go about it or how it would turn out, but in the end I love it.
ButterYum- I bought the round mirror at Michaels. They have different sizes. Hope you give it a try.
Post a Comment