


French Farm Style Kitchen Renovation
13 April 2011
French Farm Style Kitchen Renovation
contributed by Shabby French Cottage
I overhauled my drab, dated kitchen for a chic and modern twist on classic French Farm style all on a $1,200.00 budget! Here are some before and after photos, as well as total cost break downs of materials of my budget kitchen remodel.
I promise there are tons of pictures following. If you don't want to read about it, just keep scrolling for more eye candy!
Of course, I couldn't start with a before. . .so here is a photo-mosaic of some of the details.

Here is the before:
Sorry for the poor quality photos!


I had painted my ugly pine cabinets and replaced the counter top, sink, and hardware when I moved in. I also added a bead board back splash and a new vent hood. I hung a favorite vintage Italian tole chandelier. I was making do with it until I could afford to renovate it.

Kitchens and bathrooms are the most expensive rooms to renovate. Knowing that most kitchen renovations start around $10,000.00, I did what any true romantic would and broke down and cried. Alas, the romantic lifestyle embraces everything life throws at us--good and bad. So I counted it a blessing that I could now justify the remodel even though I couldn't afford it!
I liked the before, in fact, I spent quite a bit of money transforming the thing that was my kitchen into the kitchen in the before photos above. Here is a photo (below) from Google showing you a similar kitchen to mine when I first bought the house--I don't know where my photos are! I had similar, but blue, counters, identical cabinets, and uglier hardware. Thankfully my house came with NEW appliances!

I brainstormed what I wanted in my kitchen, made a few sketches, and tried to figure out how much money I could spend. I had saved about $700.00 to start renovations on my hall bathroom--so I started with that. Here are the results of my ordeal! I'm very happy with the outcome!

I re-used my counter top, sink, faucet, light fixtures, and appliances. This alone saved me over $1,000.00! I used stock kitchen cabinets which came to about $350.00 for the base cabinets, including hardware.
I begrudgingly moved the picnic table outdoors because it didn't fit with the addition of a dishwasher. I moved this Hoosier cabinet base to the kitchen from the laundry room to serve as an island and additional storage, as I lost several cabinets and drawers from adding the dishwasher. A dishwasher might sound like too big of a splurge on such a tiny budget, but the cost of a 24" base cabinet was about the same as the dishwasher! You can see my trash can in the background. I put a burlap coffee bag liner into a vintage grocery cart and lined it with a regular plastic garbage can to protect the burlap.

Opting for open shelving was another cost saver. Upper cabinets would have cost close to $600.00 for matching cabinets to my base cabinets. I had the shelf brackets in the hall closet waiting for a project. It was $40.00 for the shelving board.

Because I did remove the upper cabinets--there came the problem of damaged drywall. My solution to this was to use bead board. It took four sheets of bead board to cover the back wall. Not only did it add charming character to the room, it saved me a ton of money. At $20.00 a sheet, $80.00 covered the whole wall without the mess of drywall dust!

My cottage chic vent hood is serendipitous! My friend, Joe, built this from scrap materials leftover from the project. Joe was also responsible for all the carpentry and much of the installation in this project. I am so thankful for good friends like him! The right person can transform ho-hum stock lumber into amazing results!
I was able to save additional money by reusing part of my original bead board back splash and quite a bit of the trim molding. I bought most of the molding, including the solid wood corbels at the Habitat ReStore. FYI the corbels were a buck each!

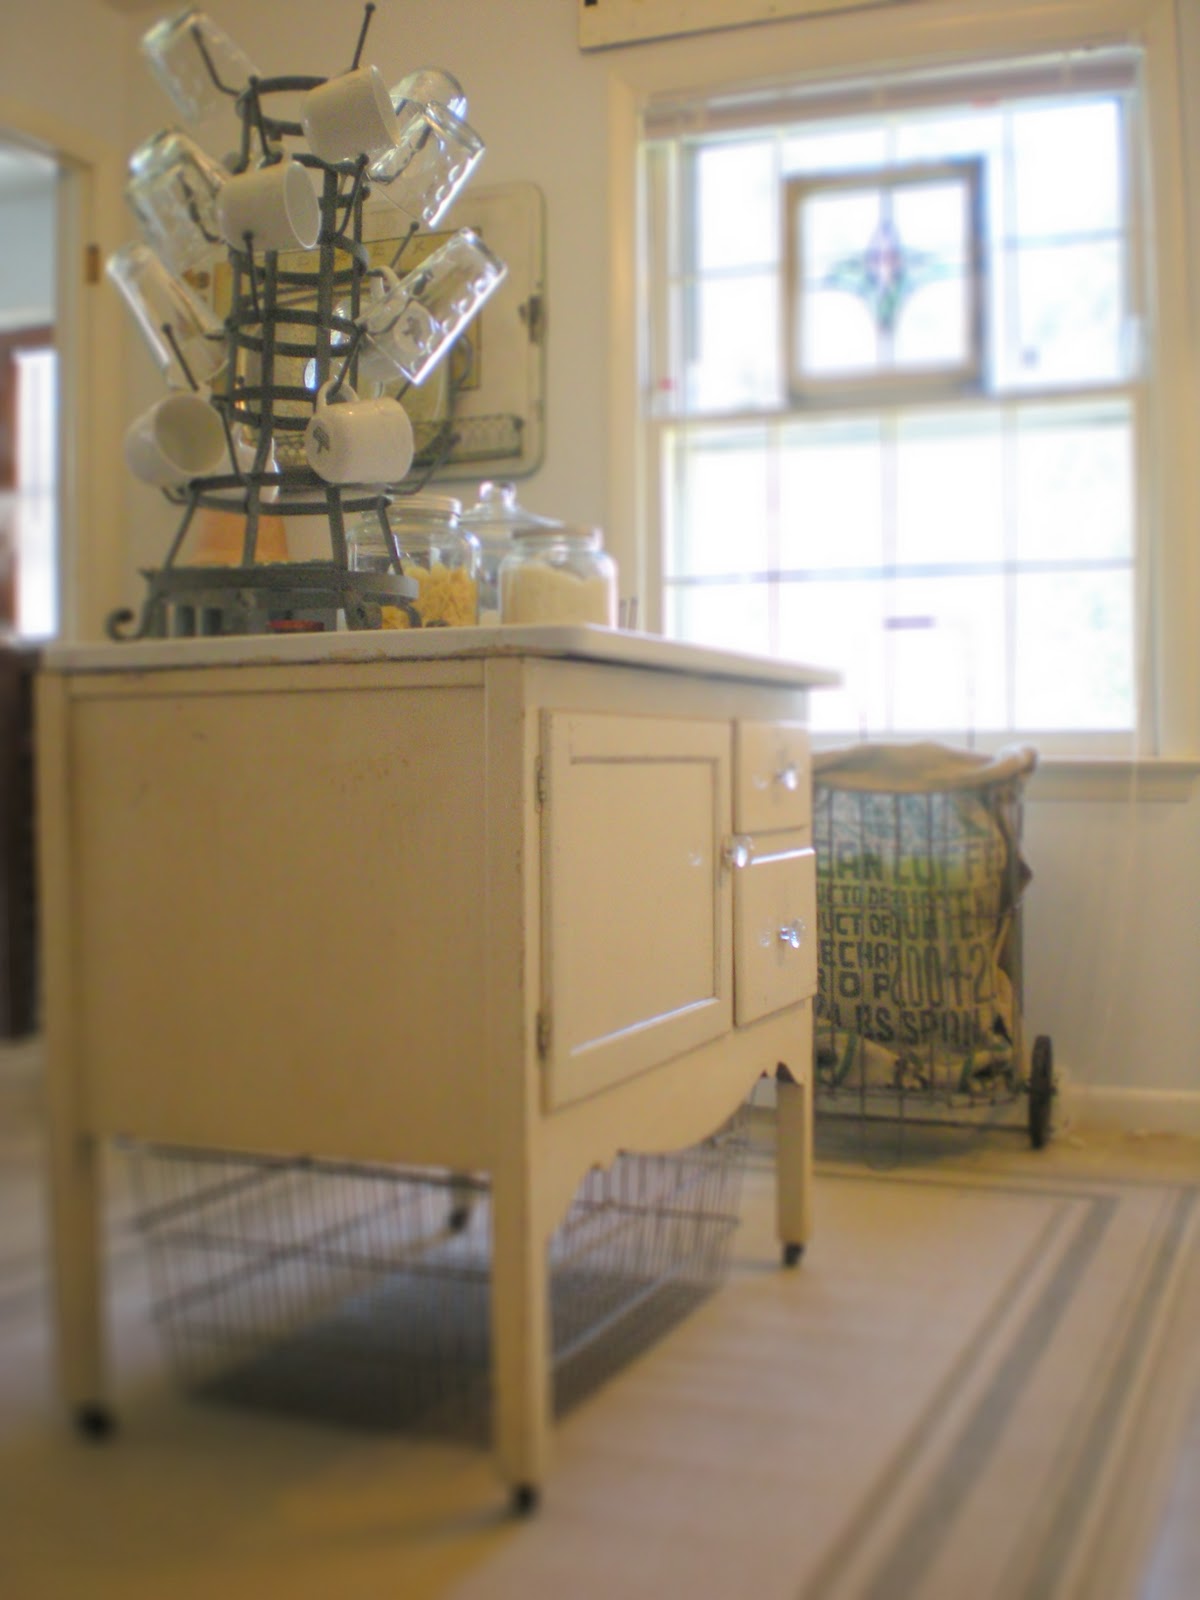
My kitchen island was moved in from the laundry room. It gives me extra prep space and storage. The huge wire postal basket below it was $5.00! I thought about painting the back, but I really like the rawness from it. It helps break up a mostly white room without being to intrusive.

A lovely vintage inspired French wine bottle drying rack serves as decorative storage for mugs and glasses.
Similar wine bottle drying racks are available at Wisteria!

I reused my light fixture behind the sink, as well. This is another vintage Italian tole piece that happens to match my chandelier! In case you're wondering, the gold metal doohickey is a bottle corker! Something you can't see is the garbage disposal I added. That added $80.00 to the total.

If you love my daisy tole chandelier, you're in luck, Land of Nod has a budget friendly reproduction one for sale!
Below is a video slideshow of my kitchen:
Cost Breakdown:
Cabinets: $350.00
Dishwasher: $200.00
Garbage disposal: $68.00
Lumber, trim, paint, materials, etc. $150.00
The rest went to Joe for labor! Thanks again for your help!
 Labels:
Kitchens,
Remodeling,
White
Labels:
Kitchens,
Remodeling,
White


11 comments:
When I tell you I am in LOVE with your kitchen. I am in LOVE! OMG. You did such a fantastic job!!!!!!! :)
That is seriously the best looking kitchen I have ever seen. It just goes to show you you really don't have to spend a lot of money to make things look amazing. Great job!
I love your new kitchen and think you did some ingenious things to save money and add some personality, like the beadboard, the open shelving, and the island. I'm also glad to read that you loved your 'before' kitchen as it looks a lot like mine - you can see it here http://gracie-senseandsimplicity.blogspot.com/2010/08/our-250-kitchen-makeover.html.
that is gorgeous!!! i love the open shelving!
totally gorgeous! love it & all the little details! great job!
I think there's a bruise on the bottom of my chin from it hitting the desk so hard! So many pretty things to look at! And, the $1 per corbel?!?! This will be one I keep going back to to look at over and over.
Great job!!!
Looks wonderful! Thanks for sharing your transformation!
Wow - it looks great! Nice and comfortable country look. I think you did a lovely job.
Thanks so much for the feature!
That is SO beautiful! I was kind of skimming the words, and at first I thought the pictures of the finished product were your inspiration photos. Seriously, this should be in a magazine.
Thanks again for all the lovely compliments! I'm busy getting around visiting everyone who has left me soo many wonderful comments! (over 100 on this post, so far!) If you have any questions about this remodel, please Let me know! I've subscribed to the comments, so they'll come to my email!
Post a Comment