First off Thank you so much to Cassity for asking me to do a house tour!!! I am so excited to be sharing our Home with all the fabulous Remodelaholic readers.
Second, let me introduce myself. I'm Ashli, and my Blog is
The Maillardville Manor. Over at The Manor we believe our homes can be simple, organized and green, all at the same time, while not breaking the bank.
Give me a minute and I'll show you what I mean.
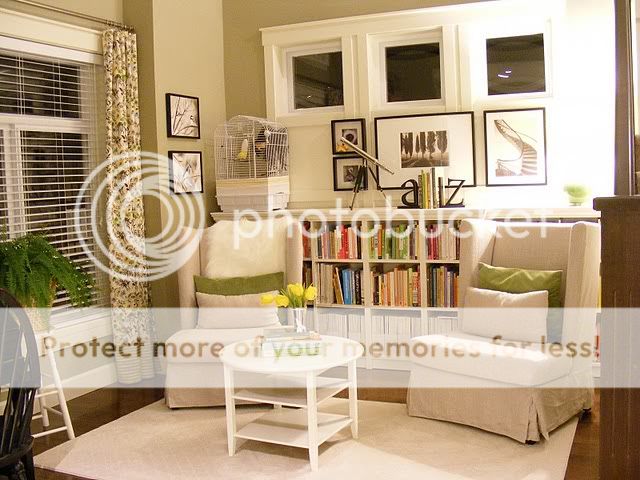
I use books/need books and love books, so first thing when we moved in we installed our bookcases and set up our
library.
We used billy bookcases and fastened them together using wood screws. Then we added crown molding and an MDF top. You can see the full tutorial
HERE.
The Library Curtains are made from tablecloths we found on clearance at Target. It was really simple we used curtain clips and just hung them up. Over at our manor we have extra tall windows so we added on some fabric (also a target tablecloth) to the bottom. Although if you have regular height windows you could use a rectangle tablecloth as is, standard curtain panels are around 84" long and target's rectangle tablecloths are 84" long by 60" wide. We made panels for our library for less then $35 with a lot of extra fabric to spare.
We need to eat/ Love to eat so we tackled our
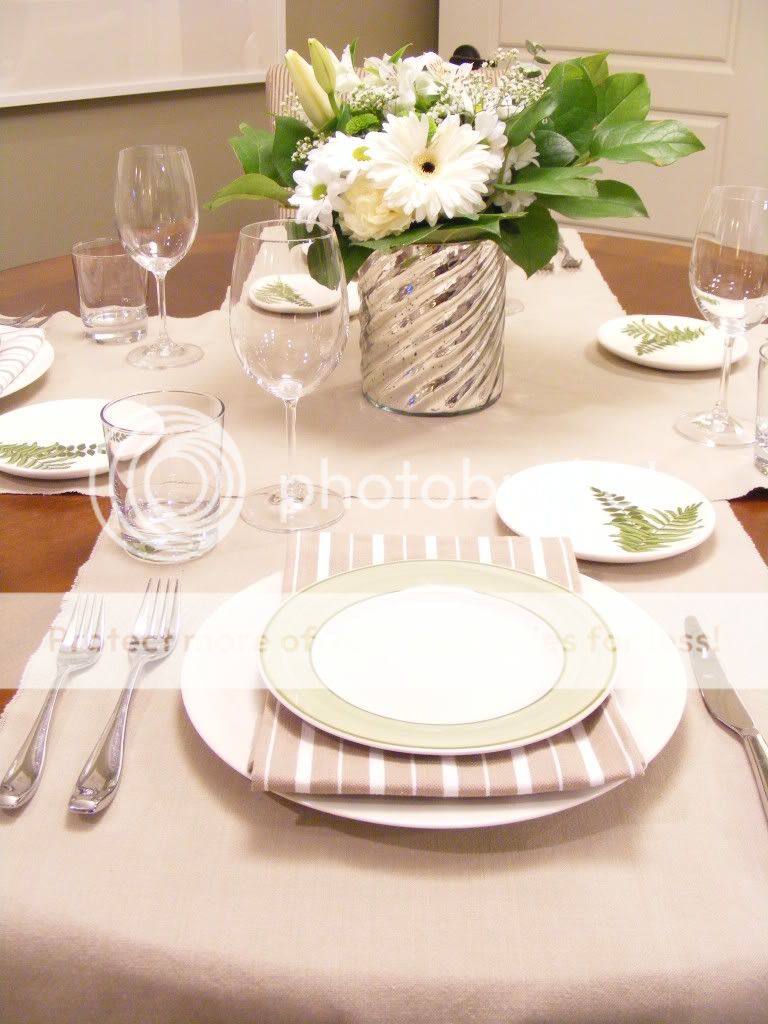
dining room next. We have one set of basic white dishes, and multiple sets of side dishes in different colors and patterns. White dishes go with almost anything and with a few
extra sets of side plates we can decorate for any season or holiday with out storing entire sets.
I went searching for table runners, but what I found was that a tablecloth was about the same price as a runner. So I bought a tablecloth and cut it in half. Instead of hemming the edges I left them raw and frayed.
note: this works really well on cotton but even better on burlap.
Next,
our dining room needed art, something simple, something BIG. We searched high and Low for affordable art to fill our big Ikea Ribba frames. We found a wall decal we both loved but no "art work". So we bought the wall decal from Target ($12.99), and 2 large white poster boards (89cents each). We took the decal and cut it into two parts. One part is 2/3rds and the other is 1/3rd. To read more about our dining room art project Here's the
Link.
Beside our Dining Room is our
Kitchen.
We resisted the urge (for now) to paint the cabinets white, instead we're relying on the counter, back splash and floor to add lightness to the room. The cookbooks that run around the top adds color and interest to an otherwise very dark kitchen. We already had the cookbooks so it was like free accessories :)
We added a few industrial touches,
the pendants
the faucet
and
the stove.
and If you sneak a peek into our cabinets you'll see our recipe cork board, it's how we keep recipes we're dying to try from getting lost or cluttering up our counters.
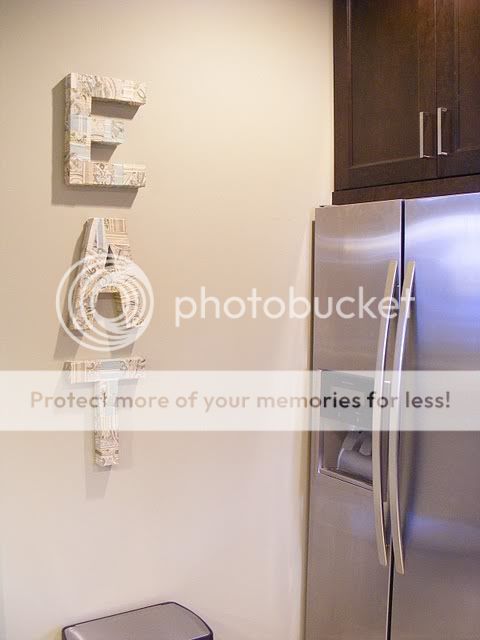
Our kitchen is also home to our EAT sign. It's our take on Cougar Town's sign from Anthropologie. To see the tutorial Follow the
Link.
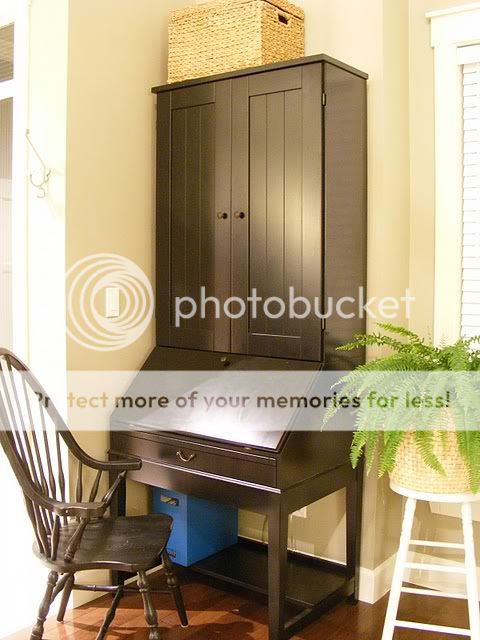
Every smooth running Manor needs a
command center, ours is in this little secretary desk. It's all we need to get the bills paid, keep the blog running and any other paper work that gets thrown our way.
That's the end of the list of "finished" rooms in our house (although is any rooms ever really "finished"?) Here's what we've got in the works around the Manor.
Our Living Room, working with a super neutral color palate has been challenging to say the least, but here's what we've got so far.
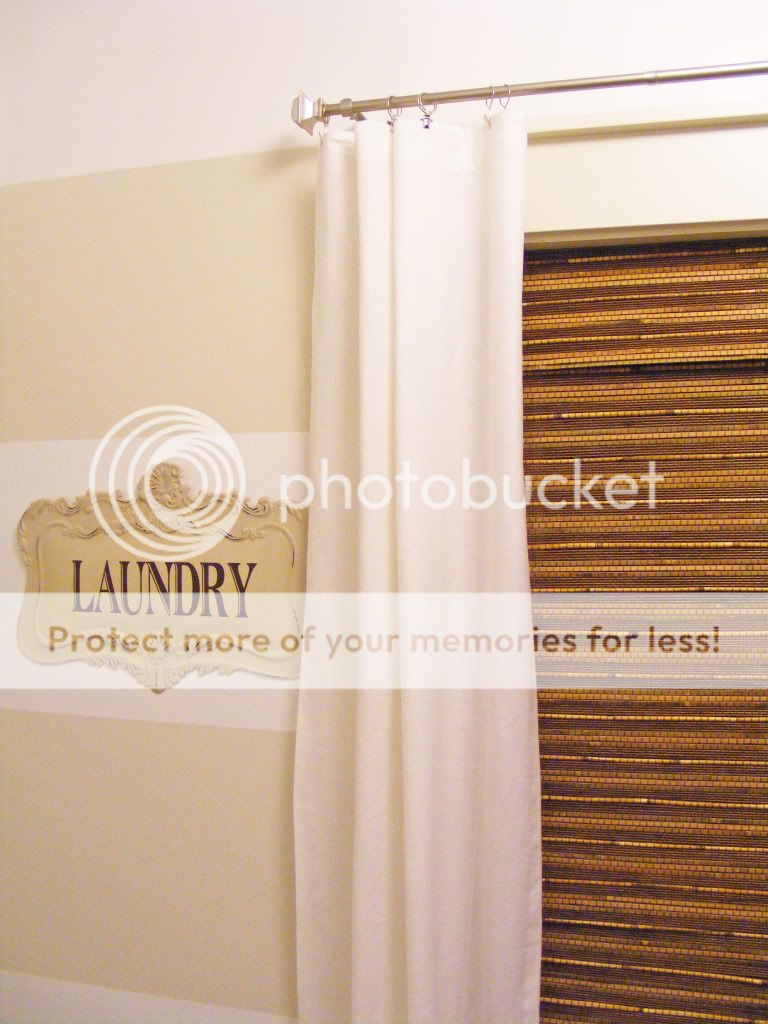
Our laundry Room is a work in progress although the stripes are up and we're loving them.
Thank you so much to Cassity for having me on Remodelaholic today! Maybe we'll be invited back when the top floor of our house is done :)
Thanks so much for reading my guest post, please come visit us over at the Manor there's always lots going on,
Flowers on Friday,
Meal Plans on Monday
and
Max the Dog likes to make an appearance from time to time.
___


 Labels:
House Tours
Labels:
House Tours


8 comments:
Beautiful spaces! I love the library so so much!
Lovely home! And I love that you've linked to all your tutorials! Thanks for sharing with us!
Beautiful Home, I love how bright and airy it feels.
Great post, Ashli! Although, I follow daily, it is nice to see your lovely home all at once. And of course, cute little Max...so glad he got in on the action.
So jealous! I hope someday I can get my home to look as bright and calming as yours.
Love the changes you are making to your home Ashli. I also like the idea of a command center and it has given me an idea of what I can do with an antique secretary desk I have.
Thanks for the tour!
~ Tracy
Congrats on the feature Ashli! You know I love everything you do. Can't wait to see the rest.
Wow! What a lovely home. I just love it all and while it's so pretty, it also seems like someone lives there. Thanks for sharing.
Post a Comment