


Living Room Update 4; Installing Wainscoting and Column Moldings
09 February 2011
Living Room Update 4:
Wainscoting and Columns...
By Remodelaholic
If you wanna read about our current project click here Part 1, Part 2, Part 3 Rugs, and Sofas.
Teaser pic...

If you wanna read about our current project click here Part 1, Part 2, Part 3 Rugs, and Sofas.
Teaser pic...

I am sure you all are ready for the living room to get exciting... and guess what I am about to heat it up! This post is where our living room gets "it's HOT on"!
I know... I am a nerd. A living room loving nerd. I can't help it... I have been waiting for this moment for a while now, and you wanna know the funny part? (we still aren't quite done) but I look back at the before pictures and I am like "Oh my gosh- who would ever do that much work..." I do it every time we have a major change, I live through it, then thank my lucky stars I never have to do that project again! (and move on to the next, what can I say, I am a glutton for punishment!)
SO- DO YOU WANNA KNOW WHAT WE DID?
I really want to tell you, so let's go.
After, months (to a year actaully) of being unable to really decide how to finish the columns, I took an entire day drawing sketches and then construction documents of the columns. This was all we needed to kick start the project.
You see, because these columns are all different, ALL 5 columns had to be custom designed, and planned. And, each one wraps into another "room" so this effected that room's design as well. Meaning, I had to understand a little bit of what I wanted that to do to that room too ...so I was drawing kitchen renovation plans for a few days before this. I also had to have some idea of what will be going on in the stairwell and the entry hall... Phewy... But I think we got it.
Okay how to start the explanation of the project. Let's go back to the original drawing shall we?

When deciding how to go about this, I first had to figure out the cost, and so I have to show you our rather comically colored sketches that define or call out all the different moldings etc:


This gave us an idea of what we wanted or would need for the wainscoting and columns, but then we had to decide exactly how they would look. So, we waited a while. (a year, I think I mentioned that before... it was a long time though)
One of the decisions that we came to was that the top of the column had to be deep enough to make the crown wrapping it look like a significant change, not just some measly half inch jog. Also deciding on the right height for the wainscoting... and the detail of it all, I didn't want the plain version we did in our first house 7 years ago. So, here are the "construction documents" I finally drew and then my hubster was able to take it from there.
I started with the basic look I wanted and thought I could explain how to build it in one drawing, but I learned and the day progressed that each column would be completely different and my first drawing (below) was incorrect. But by drawing this out, Justin had the place to start and I could sit back enjoy seeing him work (just kidding, I had to babysit the munchkin!)!

Individual construction drawings of two of the columns for example:


Also, in order to make all this work, one of the next steps would be the window and doors in the room, cuz they would have to be "updated" so that the thickness of wainscoting would look weird when they butted up to each other , also remember I am a stickler for symmetry so here are their plan drawings.
P.S. I must mention that someone was laughing and my graph paper sketches, but I no longer have Autocad, and can't afford the $3,000 ticket price, BUT if Autodesk is listening, I'd love a free licensed copy of your program!!... In the meantime graph paper works for me people, especially when keeping dimensions real and cost down!


Alright, so we have seen enough of my sketches, how did this all go down? It started right before Thanksgiving, and hasn't quite ended just yet. (still a few more finishing touches) We did take our entire Christmas vacation to work on this project... we have a deadline people in the form of a bundle of joy named Lydia soon to join us on this great earth, so it had to be done!
What are holiday's to Remodelaholic's but a time to work on projects- uninterrupted while getting holiday pay- yay!
Now, this post is not really a tutorial in anyway, I don't have time for that, but if you have any questions, I will try to answer them in the comments, for all to see!
Here are the walls when we started:


First we had to remove all the base boards around the location of the to be columns.

Then, because our wainscoting was going to be a few layers deep, we needed to add spacers behind the columns. We wanted them they needed to be thicker than the wainscoting and have a nice solid feeling. We used scrap wood, and since it was going to be covered up it really didn't need to be solid, why waste all the extra wood, right? Here are the spacers:


The next step, was to wrap the spacers with MDF board.
Here is our little cruiser loaded up, and back from a trip to the Dumpo.


At this point I MUST give props to my detail oriented -hot- MAN for cutting a MILLION 4 x 8 sheets of MDF into perfectly fitted mitered corners. I have no patience oir this detailed work... well hardly. And he does it SUCH a good job at it.
Also, by cutting all the sheets ourselves we saved a lot of money (that being said we have owned the tools required to do this work for years and 3 house remodels, so that initial expense has been long made up for)
Okay, so below is the beginning of the shaker style panel on the columns... Some of this may look a little backward, but we are saving wood, where ever we can, and did what seemed to work for us, and it looks great in the end, so while we may do things differently in another house, at another time, oh well right now!
Oh! I forgot to mention, while I am bad at dealing with building the details, I am very much involved in the details. Justin and I talk about almost every cut, and we discuss how each "seam" will look and strive to be TOTALLY consistent. I will not do something if I think it looks like an amateur job... so, some things that seem strange while building add up to a clean look in the end! And both of us are happy!


At this point, the walls were prepared enough that we could start installing wainscoting, and so the work began. Raise the roof people...

That picture makes me laugh. Anyway, after wrapping the columns, we realized we needed to save some time over money- GASP!! We chose to buy 1x3's pre-cut and primed, and it saved a ton of time getting the molding up. You can see in the image below a few of our funny little secrets and tricks.
For one, trying to get the wainscoting smooth so that it looks like there are no gaps is destined for failure (we learned this in the Logan house) What we have learned is that by just taking off the square edge of the vertical "stile" board with a sanding block, to match the chamfered edge of the horizontal or "rail" piece, it creates a pretty seam that only needs a light going over with caulk to make it look cohesive. In doing this, it actually sort of highlights the seam in a pretty way... (this is hard to explain, I am sure I didn't make any sense there...)
Secondly, you can see some more of our spacers for the second layer of the wainscoting. This way we have a surface to nail to, without wasting cash-money on wood that is not visible.

The next layer goes up on top of the spacers. but unfortunately we had to deal with some of these switches... I know I should just be thankful for electricity and I am, really- truly I am. But I am a designer, and switches are always in the worst places!! Here is how we solved the issue, to make it look clean and thought out.

Some more views of the room, getting all dressed up.


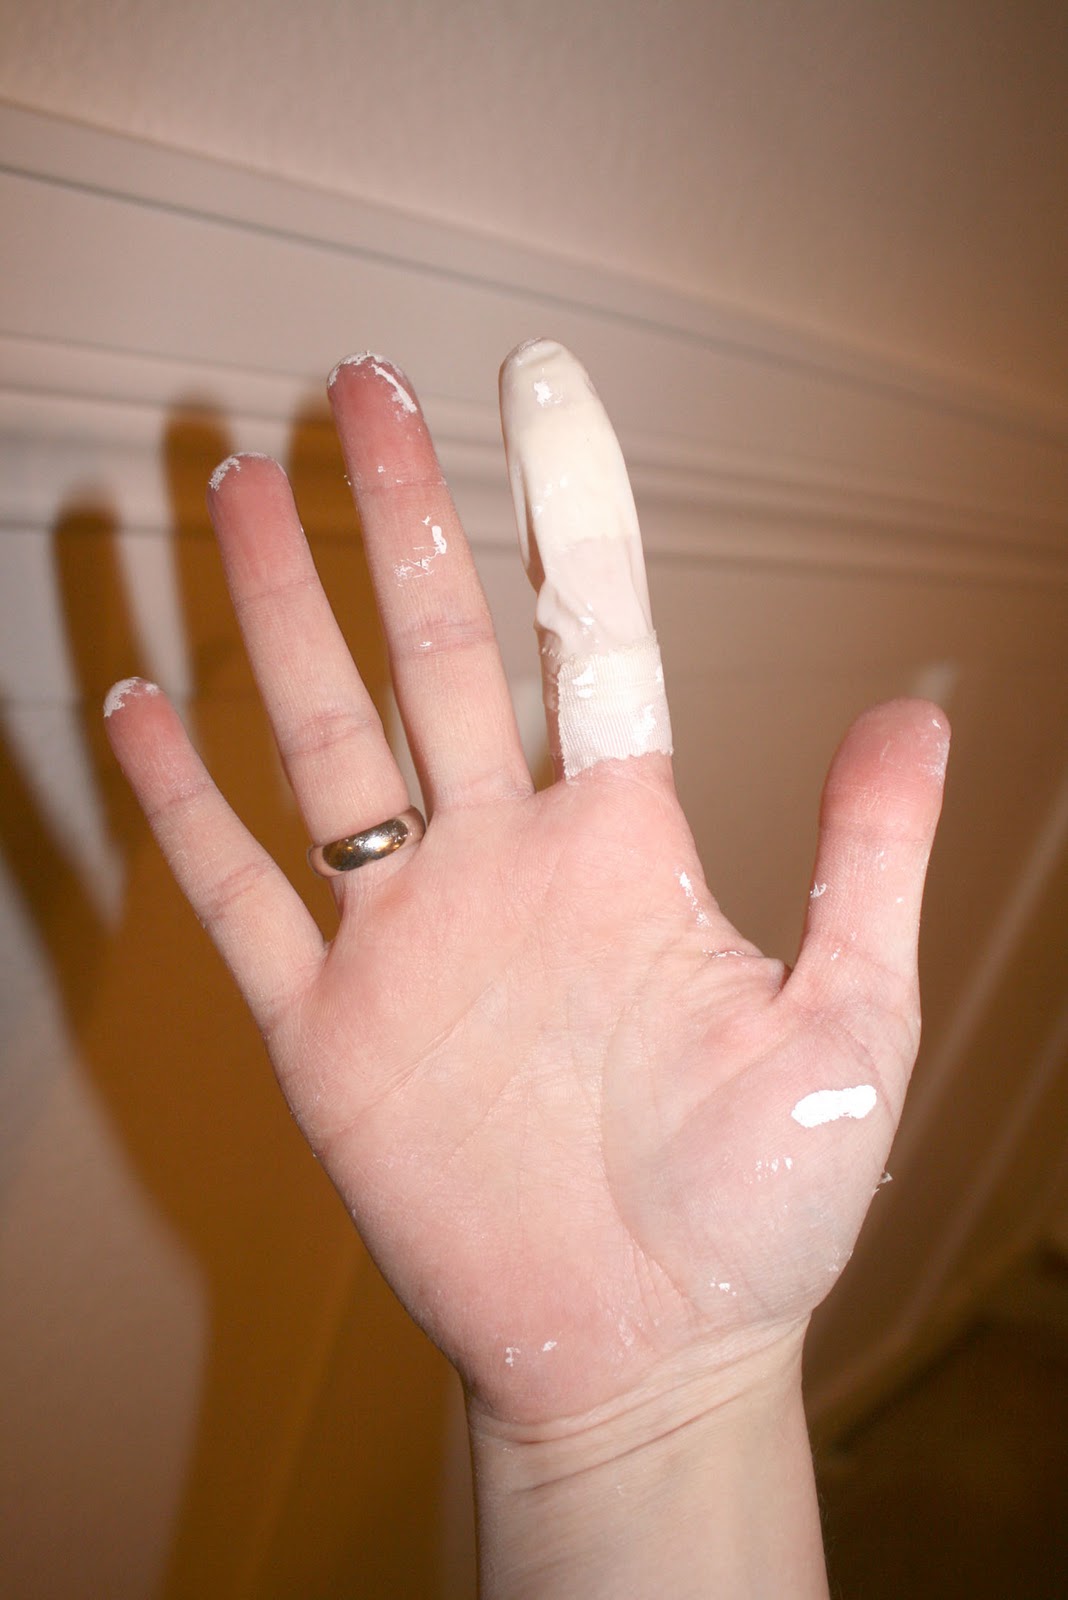
And so my work began, I am the official filler/sander/caulker/painter... I literally wore my fingernail right to the stub of my finger caulking cracks. AND I got a "paper" cut on one of the mitered edges of the wood, OUCH but I had so much to do I couldn't stop, and I was washing my hands off so often a band-aid wouldn't stay on..
What to do? I had to take a picture of my surgical glove taped on finger... (with band-aid underneath so I could finish caulking and painting the room...) I cut off a disposable latex glove finger and bandage taped it to the base of my finger- worked like a charm... until I cut the next finger... and so the story goes.

But the walls did finally get painted, and there are no visible blood stains. By the way, I went through 4 gallons of paint, I will not be buying that brand of paint again- ridiculous!


Starting to look hot? right?


Okay, so I think that is along enough post for tonight and I really need to go to bed before midnight (whoops how about 12:30)! I have been avoiding certain pictures that were also happening at this time, and I don't mean my pregnant belly, here I will prove it!

Yes, that is what I look like when working on these projects- without makeup- wearing paint clothes- 8.5 months pregnant! HOT!
No, what I am avoiding is the last minute design change that I requested and my husband was able to build in to the plans... (did you pick up on that hint?) YES, some built-ins!!!!
Next time I will talk ALL about them... I am in love!
(Also, sorry if this project is taking too long for ya, I am trying not to drag it out, but the posts are seriously hard to shorten and tell the whole story!) If you wanna read about the beginning of our current project click here Part 1, Part 2, Part 3 Rugs, and Sofas.
Until next week then!


12 comments:
Ooh ooh! It's coming together and looking so good!
It's looking great! :) As soon as some warmer weather hits, I have some huge projects coming up...can't wait to start on them all!
have a great week!
Missy
I totally know what you mean about inconvienent located switches. Personally, I think you did the proper thing building out the light switches, but I probably would have relocated the outlet on the back of the kitchen to the center of one of the panels. Otherwise GREAT WORK!
Hey Eric,
I am not sure which switch you are talking about?.. is it the one by the back door?
That is the light switch to the back porch so it needed to stay by the back door, actually it is annoyingly on the wrong side of the door and a little out of reach to begin with so moving it would have been even worse.
But it had been a double switch, with the other one turning on the light in the dining room and so we did move that one to the other side of the column on the kitchen side into the center of the panel. It looks nice and clean and the switches all fit perfectly.
Oh my gosh this looks so fabulous already! Love all the architectural details you are adding. And very impressive that you are doing this all at 8.5 months pregnant! :)
Wow! I can't wait to see it finished. Love it already!
This is gorgeous...I lurve me some detailed trim work! Can't wait to see it all finished and I bet you can't either...hehehe.
Wow. Love it. I've got two rooms painted 2/3 white waiting for their B&B trim and you may have just inspired me to get my rear in gear! It looks fantastic!
It looks great! I can't wait to see the finished product. By the way, I looked like that at about 3 months pregnant, you look fantastic.
Can I rent you and your husband to come do that at my house? I will watch the kids. ;) Great job. Love your blog and this is an idea I may have to put to use when we redo our kitchen. Keep up the good work.
I just came across your site and this post was just what I have been thinking about for our home. I have always wanted to do this to our columns, but couldn't quite figure how.
We have trim on the way up our stairs, and it can't be 3/4" thick MDF, it is some other type of material... thinner, but smooth white. Must be just flat paneling. Have no idea what it's called, but the mitering of the panels around makes perfect sense. Thanks for the post.
Ok I'm totally blog stalking you! I don't know how you have time to post on multiple blogs I can't even keep up with one lol! Congrats on the new baby girl she is beautiful! We live in the Kelller area too so any time you want to drop in and help us with our DIY projects that's fine by me:-)
We are doing this same project in our house separating our kitchen and living. I googled it and came across you blog and I love it! Thanks for posting a step by step it's really helpful!
I'm a new loyal follower :-)))
Post a Comment