


Half Bathroom Face Lift; Before and After
13 January 2011
Half Bathroom Face Lift; Before and After
This was my half bathroom before.
The only bathroom on the main floor.
The most used bathroom and the only one people not living in the house ever use.
The biggest eye sore of the entire house.
 | |||||||||

That is much better.

Another before. Like is usually looks, with a toddler's pull-ups filling the trash. I did not intentionally make it look worse by leaving the toilet paper rack bare. It just happened to be that way. ha!
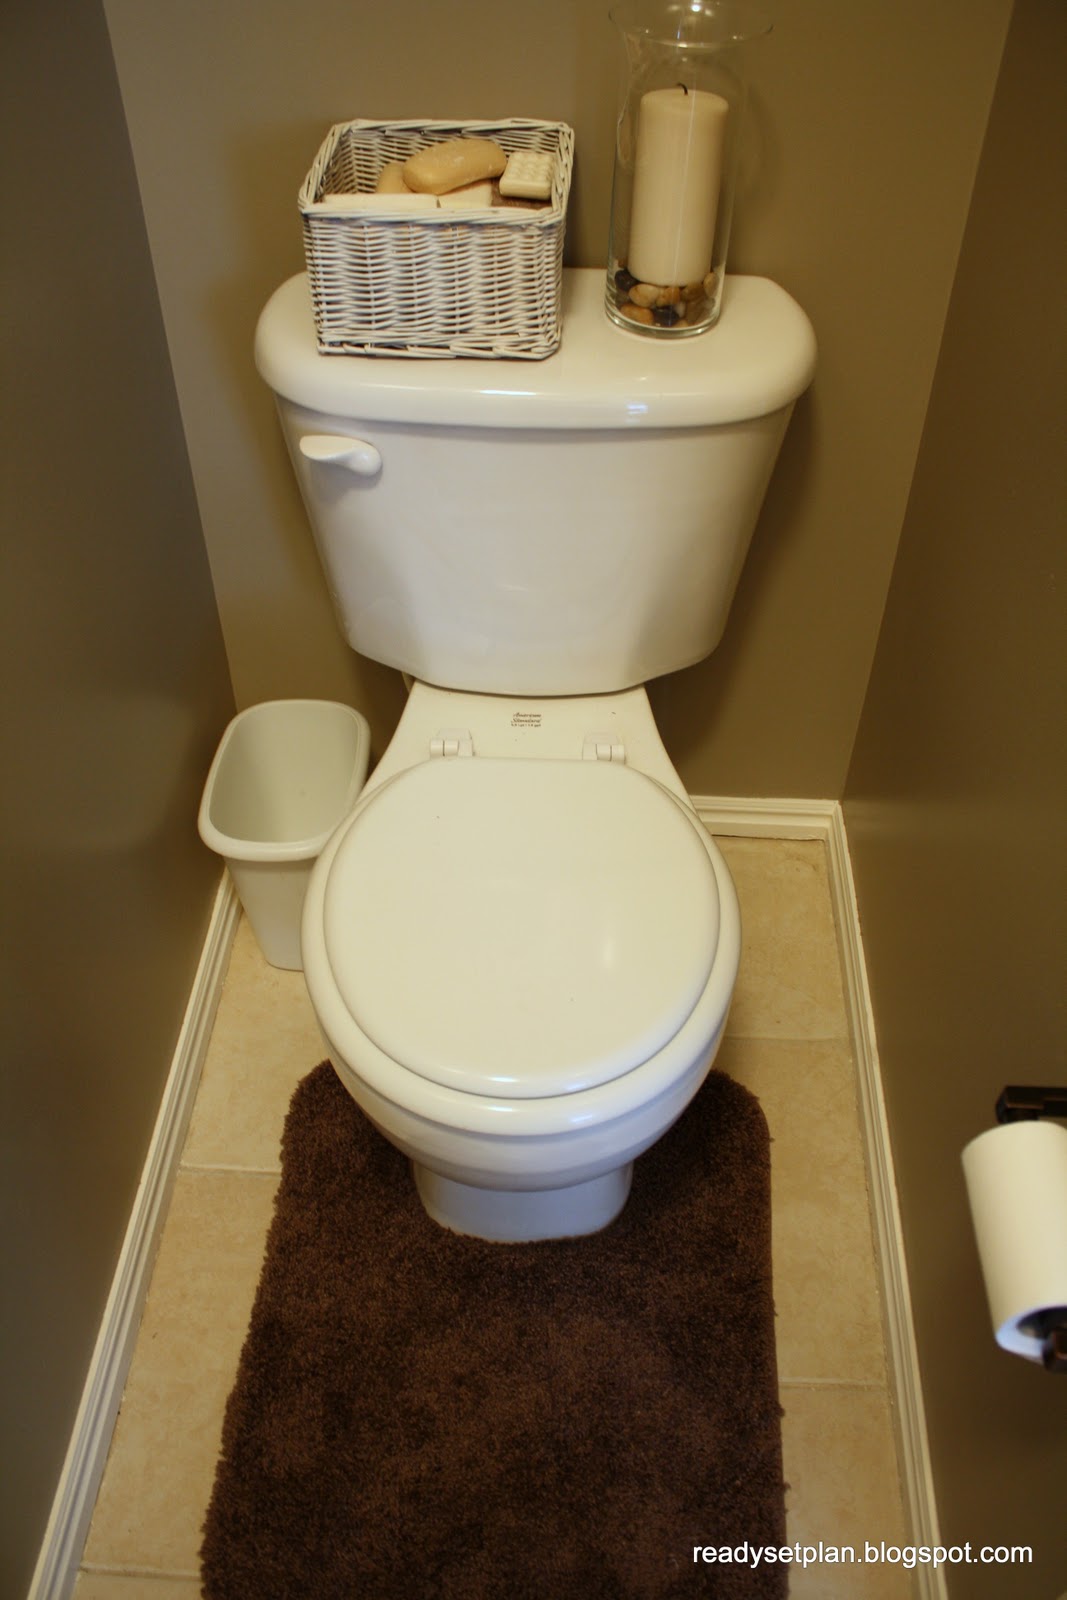
After. It feels funny taking pictures of a toilet.
This is the truest photo in regards to the paint color.
What we did
Re enamel counter tops in better color
Replace faucet, towel ring, and TP holder
Paint cabinet high gloss white
Give cabinet handles
Replace mirror and repair wall behind mirror
Paint trim in new high gloss white
Paint walls so they were not white.
Paint accessorize to match

The details.
1/4 gallon Behr High Gloss in Creamy White. $7.24
1 gallon Behr Semi-Gloss in Garden Wall. $23.47
1 can antique white spray paint for accesorys. $3.44
9 foam brushes and one roller $10.94
Oil Rubbed TP holder $9.99 on Amazon
Oil Rubbed Towel Ring $8.99 on Amazon
Oil Rubbed Faucet $58.23 new on Ebay
Counter Top Enamel Paint in Cobblestone $19.48
Cabinet Handles $0 Left over from Kitchen.
New Mirror $25 (I bought a mirror at TJ Max, that was a better color but a bit smaller. I told my Mom and she said she would trade me this mirror that was on her dresser for my mirror I had purchased for the bathroom. Hers was taller, and I kind of like that it doesn't match perfectly)
Total 166.78

A close-up of what is one the wall. I sprayed this white so that it added some light to the room.

Let me say that this took 10 days to complete.
We ripped everything out, and decided to start with the counter top. We wanted to try to apply new enamel to change the color. But if it didn't work we were willing to buy a new counter for the space. It did work out eventually.I put the 1st coat of enamel on using a sponge brush and fine roller. It went on too thick, it was heavy and started to sluff off the vertical surfaces. I started to cry out of frustration. Jake came, sanded it down and fixed it. Sounds about like every project I start. Then it had to dry for three days before we could do anything else in the bathroom.
Another thing we found out about re finishing this room was that it was too small for both of us to work in at the same time. It was actually hard for me to paint just by myself because the room is too small to really fit a ladder in because it is an L shape. I kept bumping into the walls and would have to touch up the wall over and over again.
The hardest part of the whole thing though was patching up the holes in the sheet rock that bringing down the old mirror caused. It was industrial strength glued on there. When we tore it off we also tore off tons of the wall.
Like when we finish all home projects I am glad it is done, happy with the results, but not sure it was worth all that work and stress.
Also it is a little sad that a bathroom is now the nicest room in the house.
 Labels:
Before and After,
Painting,
Powder Rooms
Labels:
Before and After,
Painting,
Powder Rooms


10 comments:
I love this bathroom makeover. And I love the new countertops!! Beautiful color choice!!
I am right in the middle of renovating our main-level 1/2 bath, and it's that same awkward L-shape. Fun to see what you did with yours!
Aloha,
charlie
This is beautiful! I can't wait to hear how the enamel holds up over time...I'm tempted to try it myself.
I love how it turned out! We are going to attempt the countertop enamel also. What was the trick after it got too thick and was sanded? Did you use a roller to fix it?? Looks great!
What a lovely makeover:)
It Looks Awesome Great Job!!!
I think it looks great. Y'all did a wonderful job! A little tip for you if you ever decide to remove another mirror like that (ours were industrial strength glued, too!) is to squirt all behind the mirror with WD40 and let it soak in for about 24 hours and then it comes off super easy. You will still have to scrape some of the glue off the wall and give it a good sanding and priming, but no holes. I'll take sanding over patching any day!!! Excellent job:o)
I hate builders grade.... I really like the colours you used. I especially like that you choose a lighter colour behind the toilet.
hey Thanks for the feature.
I can't believe I just found this. I check your blog almost every day, but January I spent puking my guts out with morning sickness, and sadly only today recently returned to blogging. I've added your button and listed you in my featured roll. thanks again for the feature, I only wish I had seen it sooner. I'm lame like that.
Post a Comment