Refinished End Table With Stain And Paint
contributed by
Meredith at Welcome To Heardmont
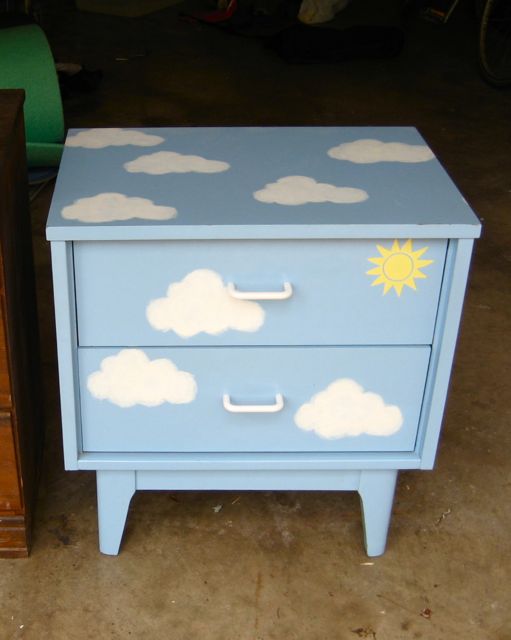
Let me introduce you to my little friend. Everybody, meet end table. End table, meet everybody.
At some point during my tween years, I committed a terrible atrocity. I painted a perfectly good piece of mid century modern furniture sky blue with little clouds and a sun. Be glad I don’t have any photos of the matching “nighttime” dresser painted navy blue with white and gold stars all over it.
I blame the American Girl Magazine for the idea. Let’s just say my design sense has improved slightly in the past decade or so.
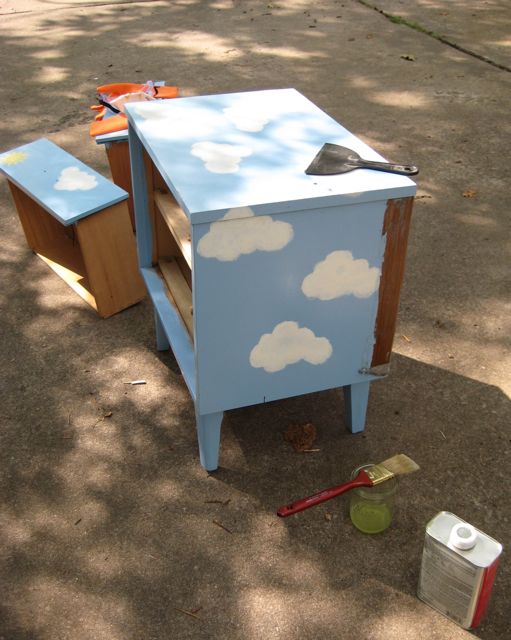
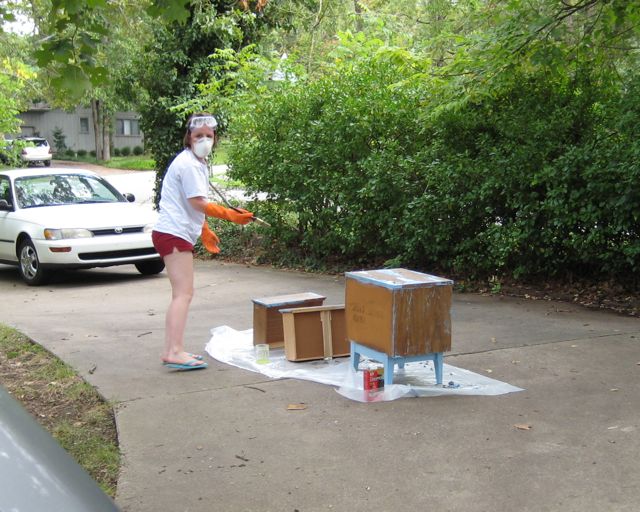
And so I began the process of righting my previous wrongs. Starting with a stripper.
Not THAT kind of stripper, you silly goose! The industrial strength, need to wear gloves and goggles and a face mask to use it kind.
That white leg photo was taken in the spring, before the summer sun came out, just to give you an idea of how long this project was in the works.
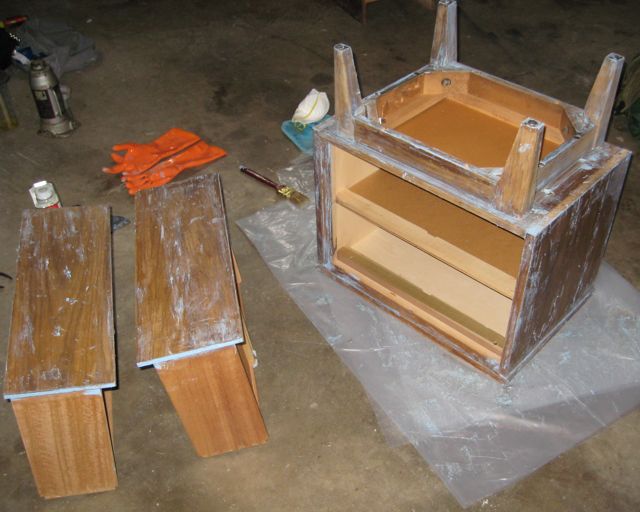
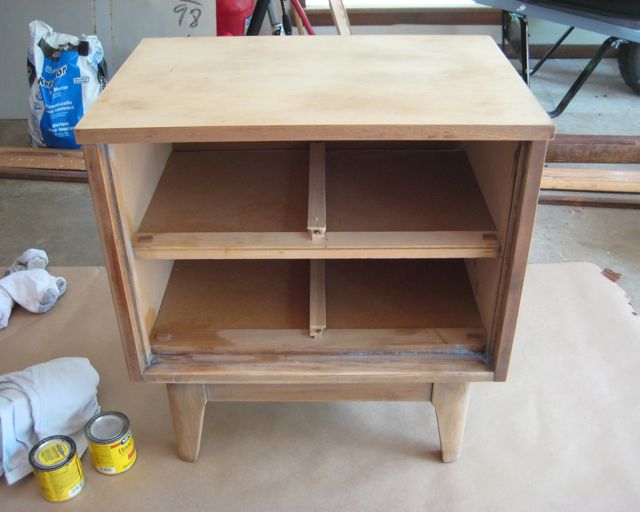
The stripper got 95 percent of the job done, but then it was time for the hubby to get out the electric sander and finish the next 4.5 percent. Team effort, people. That’s how we get things done around Heardmont.
I wasn’t too worried about the bits of blue paint still left in the nooks and crannies because I figured they wouldn’t show once the end table was stained and the drawers were back in. Turns out I was wrong, but I found an easy solution (stay tuned).
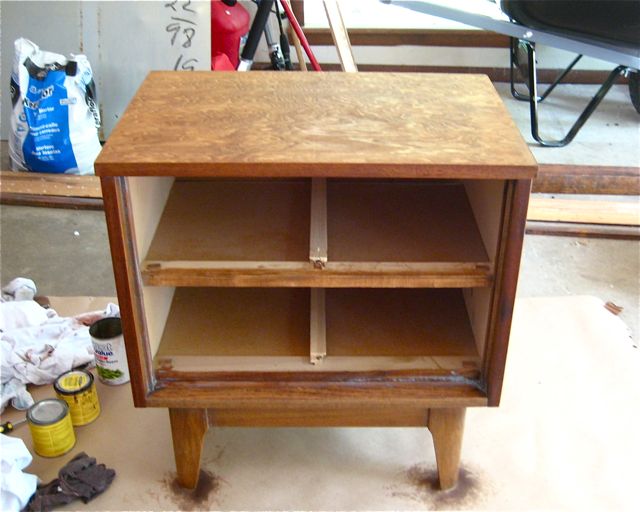
OK back to step number a million… I had two different colors of wood stain laying around, but one was too dark and one was too light for the look I wanted. The solution? Mix them!
It took several coats of stain to get the right color, but this is where we ended up.
Here’s a little secret to “restoring” vintage furniture when you’re not all that worried about the “patina” or “resale value” of the piece (do you like my “excessive use” of “quotation marks” there?)…
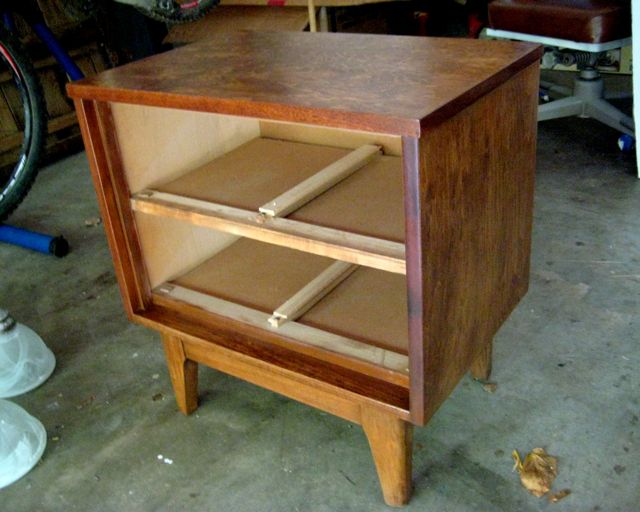
The secret is brown paint.
A quick visit to my craft paint collection resulted in a perfect shade of brown to hide any of those blue imperfections. Here she is, post-paint and a couple quick coats of poly.
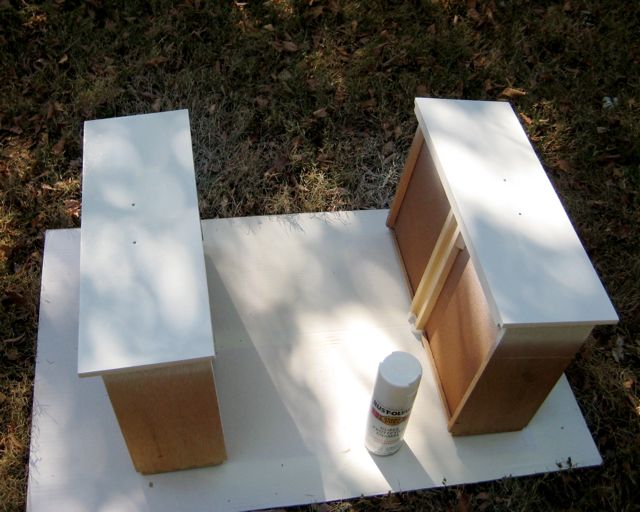
Next it was time to move on to the drawers. You might remember the two-toned look I went for with my craft room desk. I decided another white-on-wood piece would be a perfect nightstand for the craft room/ guest room, so it was time to get out the spray paint!
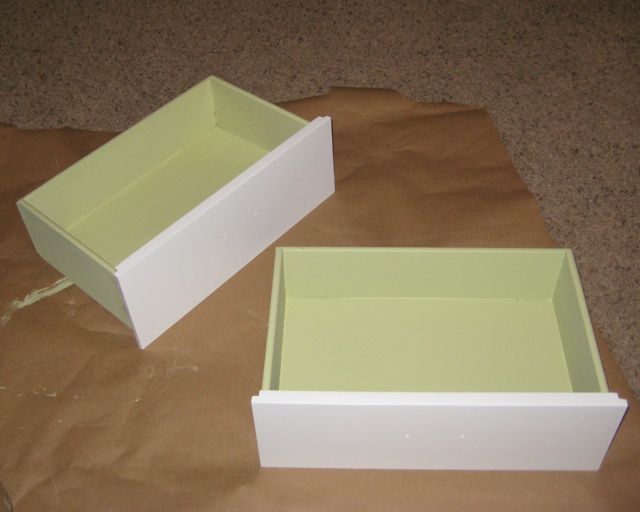
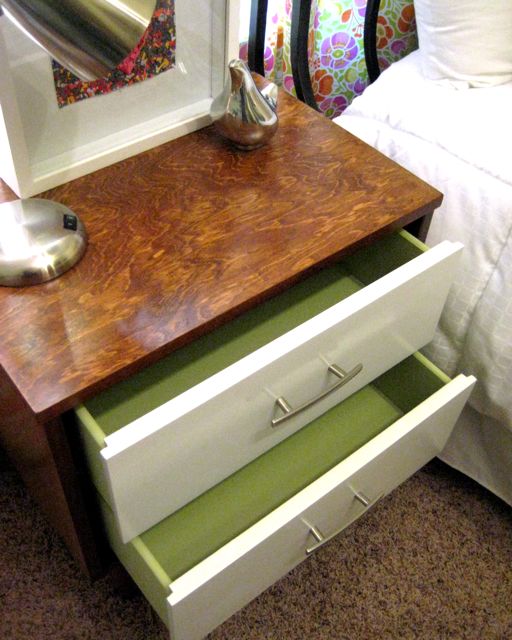
The drawer fronts were done after a coat of primer and a few coats of Rustoleum’s white, but I still had a fun surprise in store for the insides!
Some leftover green paint from our laundry room re-do and craft room accent wall was the perfect addition.
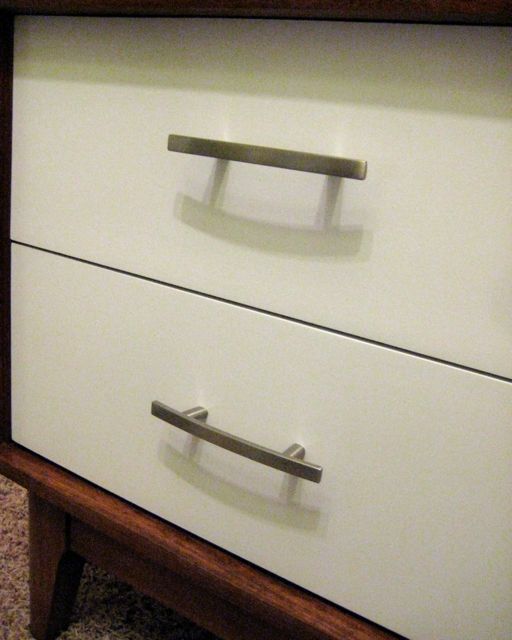
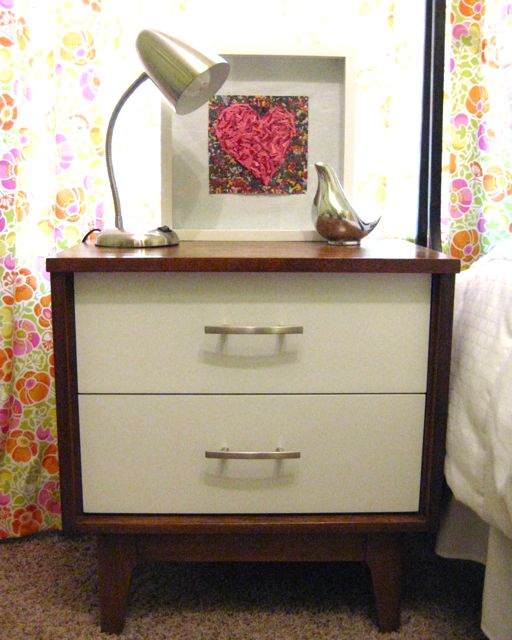
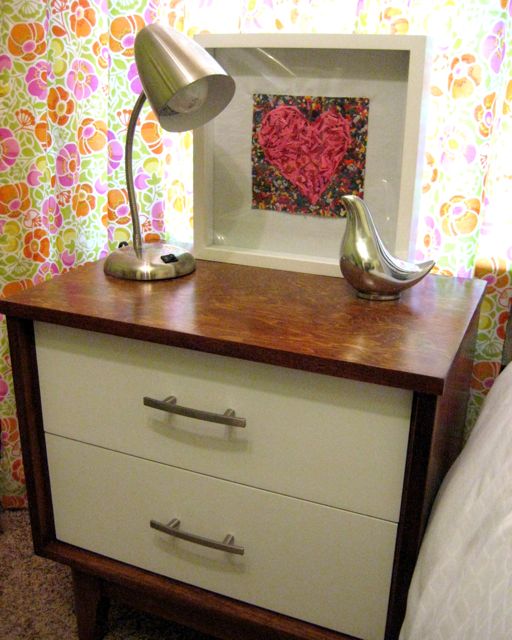
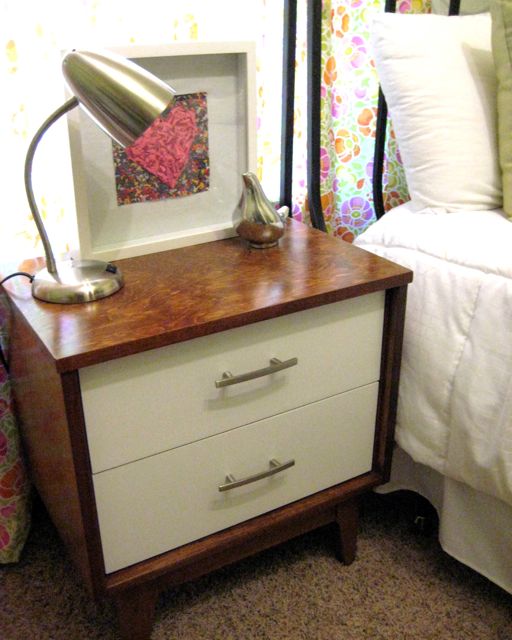
Finally some hardware and it was time to sit back and admire the finished piece!
Viola!
And now for a peek inside those drawers…
Such a fun surprise!
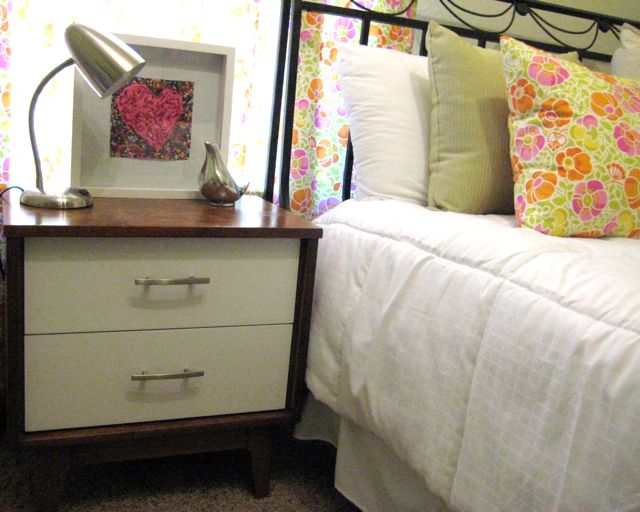
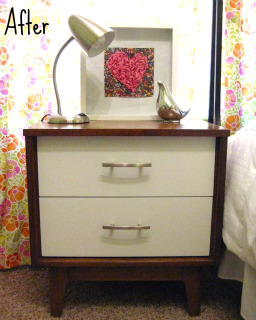
So here’s the final side-by-side. What do you think?
Were you kind of sad to see the blue and white version go? Who knows, maybe someday when I’m decorating a nursery I might be kicking myself for ruining that baby blue paint job, but for right now I’m loving the change!
Post a Comment
I love comments! Thanks for taking your time to tell me what you think! I read them all and enjoy your enthusiasm for the work shown here!
Please remember that people have worked hard on these projects. Each person's budget and goals are different, so please try to make kind, constructive comments. Remember if it isn't nice, please don't say anything at all.
Please no business links. Remodelaholic reserves the right to remove any comment that we feel is malicious, spammy or otherwise inappropriate. Thanks.
Sorry there is no longer the option for anonymous comments, unfortunately people have been abusing that option!
Subscribe to:
Post Comments (Atom)






7 comments:
I LOVE this table! Great job girl!!
The wood on this table is beautiful! It looks great.
Gorgeous wood grain!
I am so impressed! great job on the table!
As always.. Awesome!
I so want to go out and get a piece of furniture and redo it, but them I think about the ugly turquoise green sponge painted end tables and coffee table that I have... Hmmmmm....
Sweet! I have to admit I was afraid the before was the after....although it was cute, the transformation is fantastic.
I WANT!! This turned out so great :)
Post a Comment