


Kids Changing Table Repurposed: Playing Cars
02 October 2010
I thought that this party link form last week was such a fun way to fuel the imagination of your kids! Check out what Helping Little Hands did to this old changing table!

My Boy is loving his new dresser!

This dresser started it's life (with our family) when I found it peaking out of the trash area at our student housing complex in California. I knew if I left it there until Hubby came home to help move it, someone else would claim it, so I moved it by myself across the street and into our apartment. Since that time we used it for toy storage. (Here are the best "before" pictures I could come up with.)


When we moved into our current home, though, Boy got his own room. That means it doesn't work for him to share a dresser with Firecracker anymore, and he needed his own.


The drawers were starting to fall out occassionally because the sides were splitting apart a bit. It's just laminated particle board, so the whole thing needed to be taken apart and put back together and reinforced with glue. I figured as long as (my Mom always said those were dangerous words) I was taking the whole thing apart, I might as well paint some roads on it for him. He's had a love affair with matchbox cars since the first time he held one.

...And while roads are popular at our house, parking lots are even more beloved...

...So we have two layers of parking goodness.

Here's a quick rundown of what I did.
I made the roads approximately the same width as the fabric roads I made a while ago. I measured it with my quilting ruler (they come in handy for a lot of things.) One thing I would do differently next time would be to mark and measure all the roads BEFORE taking it apart. I did it after. After measuring it, I marked it all with blue painters tape and sanded it with a small electric sander.

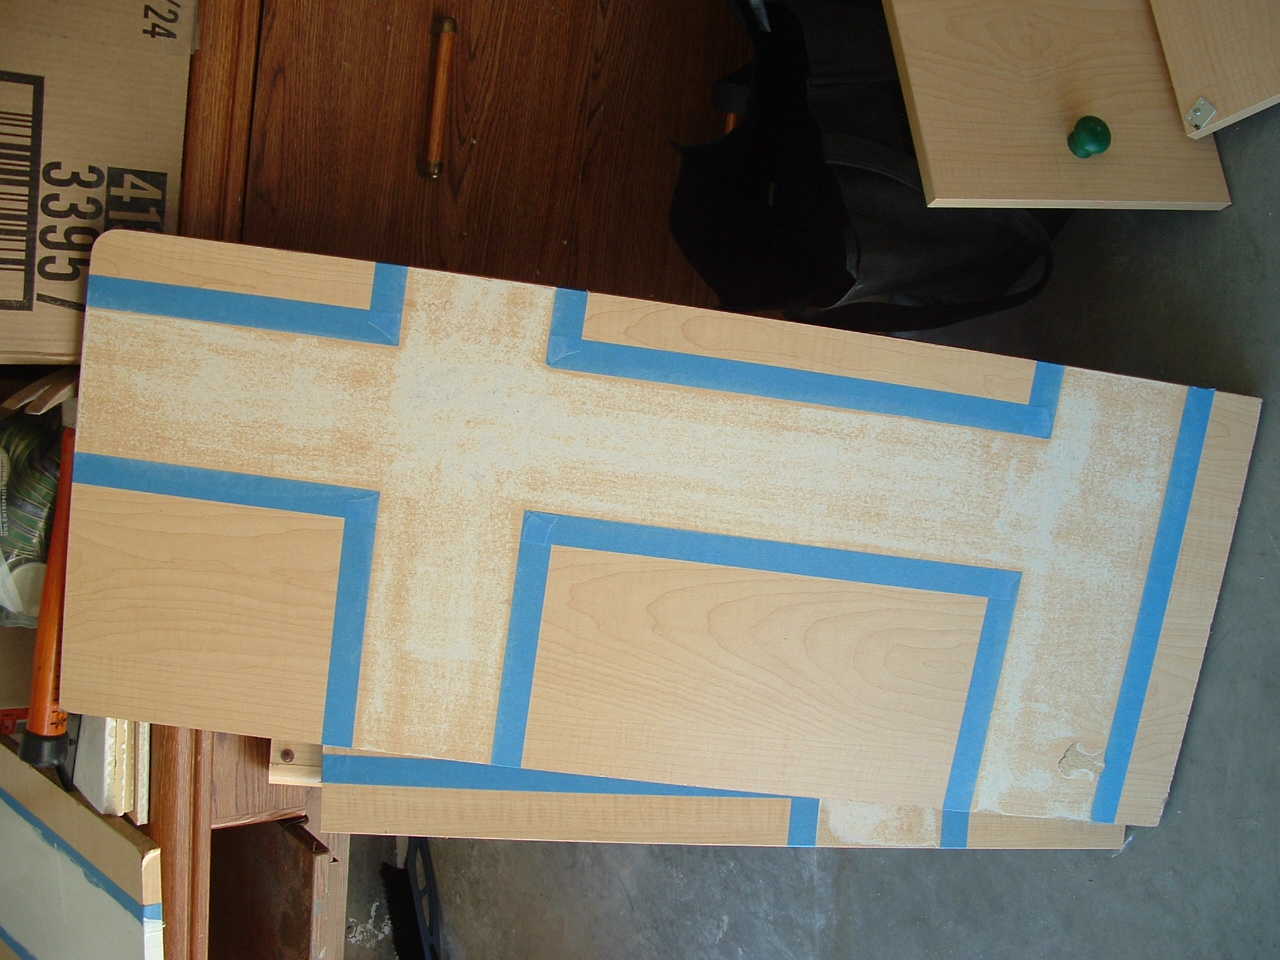
Then I put on a coat of primer. (It probably would have been better to use dark primer, but white was what I had.)


I went over that with two coats yellow acrylic craft paint (or white for the parking lots). The yellow paint seaped under the tape a bit, so at the end I had to touch up those areas with more black paint using a really tiny brush.

The kids were so anxious to play with it, this is what it looked like by the time I was done nailing the backing on.

The handles took about 3 coats of paint because the color underneath was so dark. Then I painted "Stop" and "Yield" on them, and were the last thing to be added.

Drive on...

Such a fun idea! Don't you think?


5 comments:
Absolutely LOVE that!
Thanks so much for the feature! It made my day. :)
I think this is a very creative idea. I love seeing what others do with a piece of furniture that is no longer needed for its original purpose. Such talent.
I love this furniture redo! It's so imaginative and adorable. I wish I had seen this back when my 14yo was a wee one with a "things that go" room. Or that my 5yo hadn't picked extreme sports as a theme for his room so I could copy this great idea.
Here's a tip for painting lines.
To keep the paint from bleeding under the tape, use a gel medium. Place the tape where you want it, then paint a layer of gel medium around the edges to seal it. Let dry and then get to painting. I use Liquitex Artist Acrylic gel medium in gloss, but they have a mat as well. I found it at Hobby Lobby with the more expensive artist paints. I got this tip from watching one of the HGTV shows.
Post a Comment