


From Window To Table Tutorial: Guest
15 June 2010
I just had to share because she gave me some good ideas for some windows that I have.
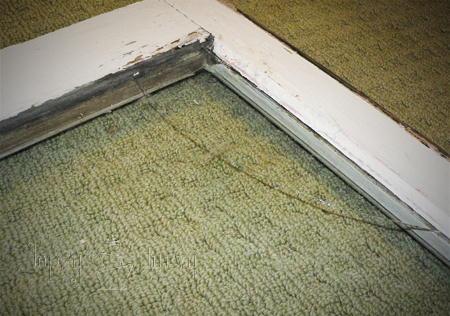
Last week I got to Guest post at Someday Crafts! This week I'm posting it here for my own records. I'm sure you have all already seen it, since this crafts is probably how most of you found me! This craft is actually how I met Michelle (@ Someday Crafts). She mentioned on her blog that she had some old windows from the house they are remodeling that she was selling and she would be in Salt Lake. I didn't have anything in mind, but knew that getting some old windows was just too good to pass up. So met up with her over spring break and picked up 4 of the windows she had available.
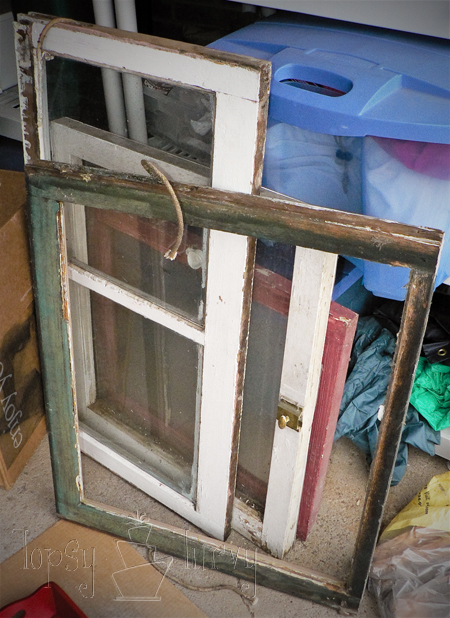
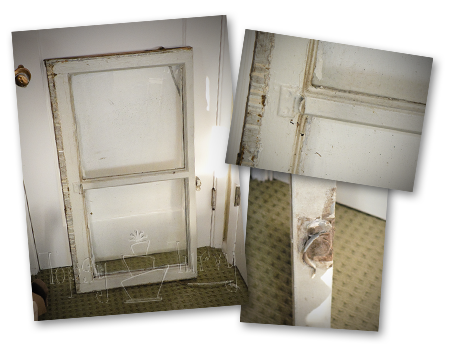
Then it hit me... A table for my family room! So I picked out the longest, double paned, window and got to work! If you find a window that you love JUST THE WAY IT IS than this will be much easier for you than it ended up being for me. the plan was to leave it, but then my husband got all worried about lead paint. And he had a very good point. Our kids tend to bite things, our pet pig chews on things and well it's just not the best idea to have lots of lead paint around. SO I decided to clean it up and repaint it.
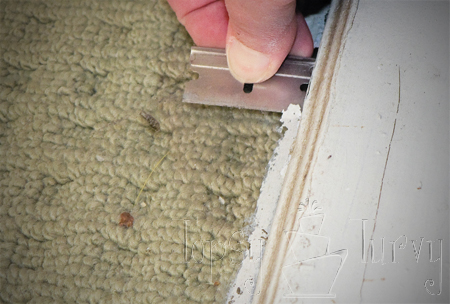
I started by cleaning up the glass, I like to use a razor blade. You can clean anything off glass with a good sharp razor blade. It's better than windex. And it's pretty quick and easy.
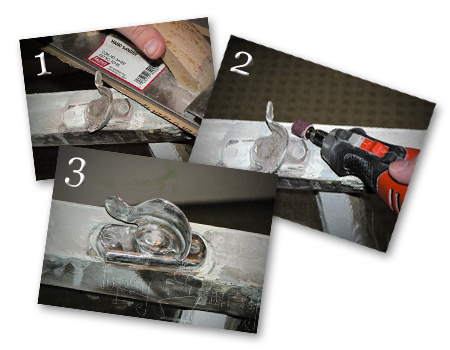
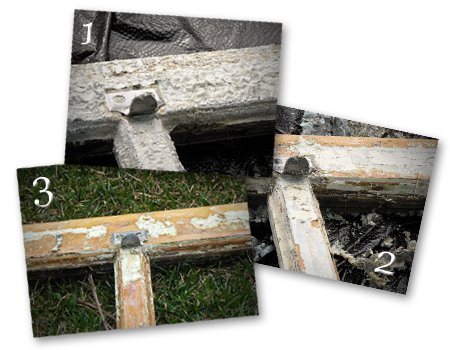
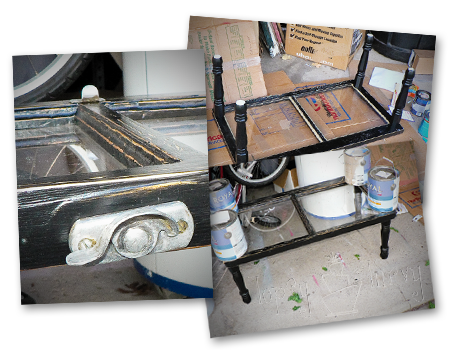
Then I decided to clean up the painted over hardware. I didn't want it too look brand new, but wanted to get the paint off. I started with some gritty sandpaper (1), but quickly moved to my handy dremel (2)! I love this tool, and use it more than I expected to when my husband gave it to me for Christmas 2 years ago!. After using a heavy duty sanding head I moved down to the smoother sanding head. You can see that it didn't make it look new, it still looks worn and old, but at least no paint or rust on it anymore (3).
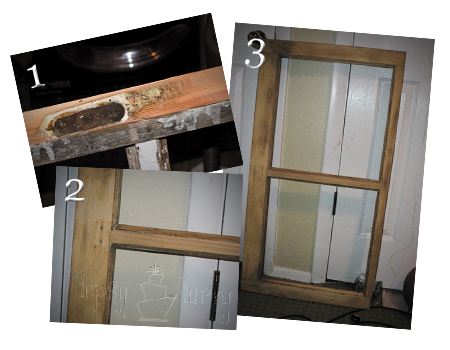
This is where things went from an easy craft to a difficult one. When I was vacuuming up after sanding down the hardware I noticed that the glass had a HUGE crack in it. I guess better that the old, weak glass broke before I finished, but it did add a new dimension to the project. Now that it's over I have to say I'm glad it broke. I decided to take out both glass panes and replace it with thicker, stronger Plexi-glass. Now when my kids climb on the table (which you know they will) I won't have to worry (as much). Since it would make this post WAY to long check out how I replaced the glass with plastic sheeting on my older post!
I didn't want to sand off all the layers of paint (I think there were at LEAST 6 layers of paint), not only because of the lead paint dust, but because I would go through WAY to many sanding belts. So I stripped it. If you've ever stripped something let me tell you it's kind of fun! You paint it on, and let it sit until it blisters (1), then scrape it off (1) and if it needs it (Because the paint was so thick) strip it again (3).
I decided to take off the hardware (1) so I could sand the remaining paint down without the hardware getting in the way or getting damaged (2). Look how pretty (3)! I sanded the top and the sides, but I didn't bother stripping or sanding the underside. This is the point where my husband said I should have just made my own window! Silly man, it's still an old window and very well made at that.
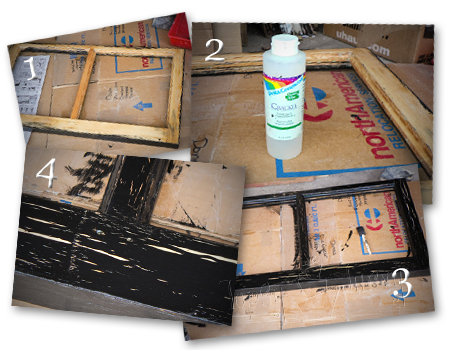
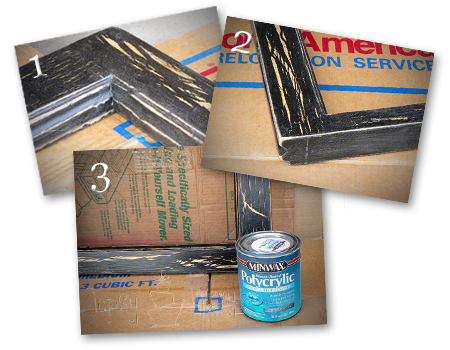
Next comes the fun, the PAINT! I started by sealing the wood with a polyacrylic. I knew that as I aged the piant and window the underneath area would show through and I needed it to be treated correctly. Then I painted the bottom and sides with my acrylic black wood/metal paint (1). I went with black, it's simply my favorite color, and also because I found some black Behr paint in the "as is" paint section at the hardware store for $5! Then I got out my crackle paint (2). This stuff is over 4 years old and still in great shape. You'll want to play around with it to see what results you want. I knew I didn't wan't small crackles, but longer rips, crackles. So I went with a thin layer of the Crackles and I used Acrylic paint over the top instead of water based and I brushed over it more than once. I think it ended up PERFECT (3 & 4)! If the result you want is more crackle you'll want to use a water based paint and only spread on the top layer once, don't over brush.
After it dried for a good 24 hours I sanded down the edges, inside (1) and out (2). Then sealed the whole table with the same polycrylic that I sealed the wood with originally (3). I did 3 layers of the polycrylic, sanding with 220 grit in between each layer.
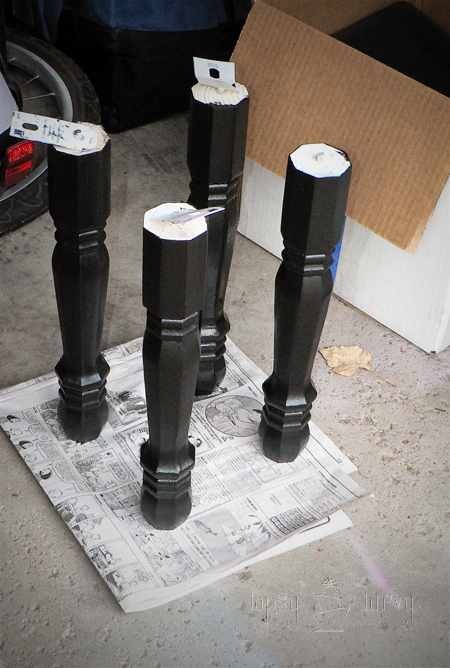
I got my table legs at Home Depot, but I'm sure any hardware store will have them. They had all kinds of heights and options. They had 4 inch, 8 inch, 15 inch and up to 30 inch legs. I went with the 15 inch legs, because I want this to go in front of my couch. I actually loved how this table turned out and am thinking about useing one of the smaller windows I have left and making a taller table to go next to the couch, with the 30 inch legs!
ANYWAY... this is only part of the project I regret. I thought about ageing them with the crackle paint, but decided against it because they are already so detailed AND I wanted the focus on the window. I'm happy with that decision. I went ahead and primed them before painting to save on paint. That is what I regret I wish I had sealed them with the poly acrylic so that I could have sanded the edges down just a bit. Oh well. I used a small 1 inch foam brush to get each of these 8 sides painted smoothly and get the details.
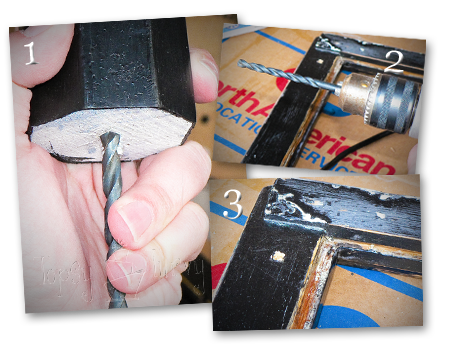
The legs I bought came with screws already installed. So I matched up my drill head with the screw (1). You don't want to go as wide as the teeth, just inside the teeth to the main part of the post (I'm sure it has a proper name, but I don't know, sorry!). Then I marked on the frame (bottom of course) where I needed to place my holes and CAREFULLY drilled in just over 1/4 of an inch (length of the screw on the leg) (2 & 3).
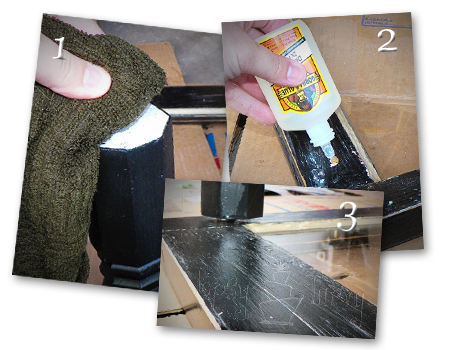
The best way to install the legs is up to you. I decided to go with Gorilla glue. So following the instructions I got the wood on the leg post damp (1). Then squirted the glue into the holes I drilled (2). Remember that the gorilla glue expands so don't use too much! And finally screwed the leg into the pre drilled/glued holes!
To finish up I glued/screwed in all 4 legs. Then flipped it over and added weights. I also put the hardware back on at this point! Then I just had to leave it to dry! It's finished! Yipee!
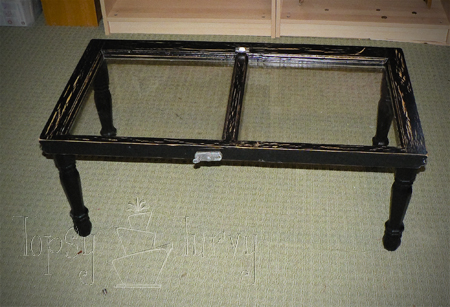
So it's done and time to take the final pretty shot! BUT we're in the middle of moving everything around in the basement we're living in so we can do some remodeling. SO I don't have anyplace to set this up... YET. I know JUST where it's going to go when I'm done, but for now it's sitting stacked in a room with other misc stuff... So here it is, right side up, but sadly not decorated! I am SO pleased with how this turned out! I just love it, it's exactly what I imagined when I started this project! I hope you guys like it, try it and send me the pictures!
What a great use for an old window!
Don't you think so too?
 Labels:
Guest Projects,
Tutorials
Labels:
Guest Projects,
Tutorials


8 comments:
I think it looks wonderful! It is a great idea.
Super smart!
I hope you are linking up to the designer challenge finale party tomorrow. I will be announcing the Living Room Edition then as well. See then. :)
The Shiny Pebble
http://theshinypebble.blogspot.com
I saw the title of your post on my sidebar and thought, WOW another one!!! Then I saw that you were featuring my tutorial! WOW I'm so honored! Thank you so much! I'm glad you liked it and hope your readers do too!
What a total transformation...and great tutorial!!!
Needless to say, a LOT of work! But the results are stunning! I'd be sooooo proud if this were my project!!
what a great idea!
Wow! Now I just need to find a window :)
Love this...how creative!!
Post a Comment