


Gettin' Dressed up! Dresser Revamp, Show and Tell
26 May 2010
Hey everyone, i am Sausha from {show & tell}. I am glad to be back to show you another little project that i have been working on. One of my very favorite things to do is refresh old furniture – this is my easy way of pulling off a quick re-do! Come check out my blog for some other fun projects - after you read this post of course :)
Ok, i have to admit that this is a completely lazy - probably not the right way - super quick little dresser re-do. But i would also have to admit that this is how i do most of my little re-do’s :) And so far it’s worked for me!
**Disclaimer! If this piece was to get a lot of use/wear and tear then i would have done a little sanding to rough up the last layer of paint and i would have put a top coat of poly**
One of the things that i was drawn to when i found this little dresser ($30 @ goodwill) was the shotty paint job and the many layers of paint that it already had. You cant see in the pics, but there is brush marks all over – i LOVE that! That is what, to me, add so much character, and even though i don't think its that old, all those past layers of paint make it look like it has history. Plus, it has casters and who can resist old squeaky casters?!
Ok, on to the re-do. I didn't sand at all, i didn't even wipe it down (how lazy am i?!)
Before…it was white, but yellow white and it was very dirty.


I took off all the old hardware, spray painted them white (Rustoleum flat white), i didn't prime those either.


I just used a 2 in brush to paint the whole thing – i used Valspar semi-gloss white. I only painted one coat because it covered well – i got lucky that it was already white.

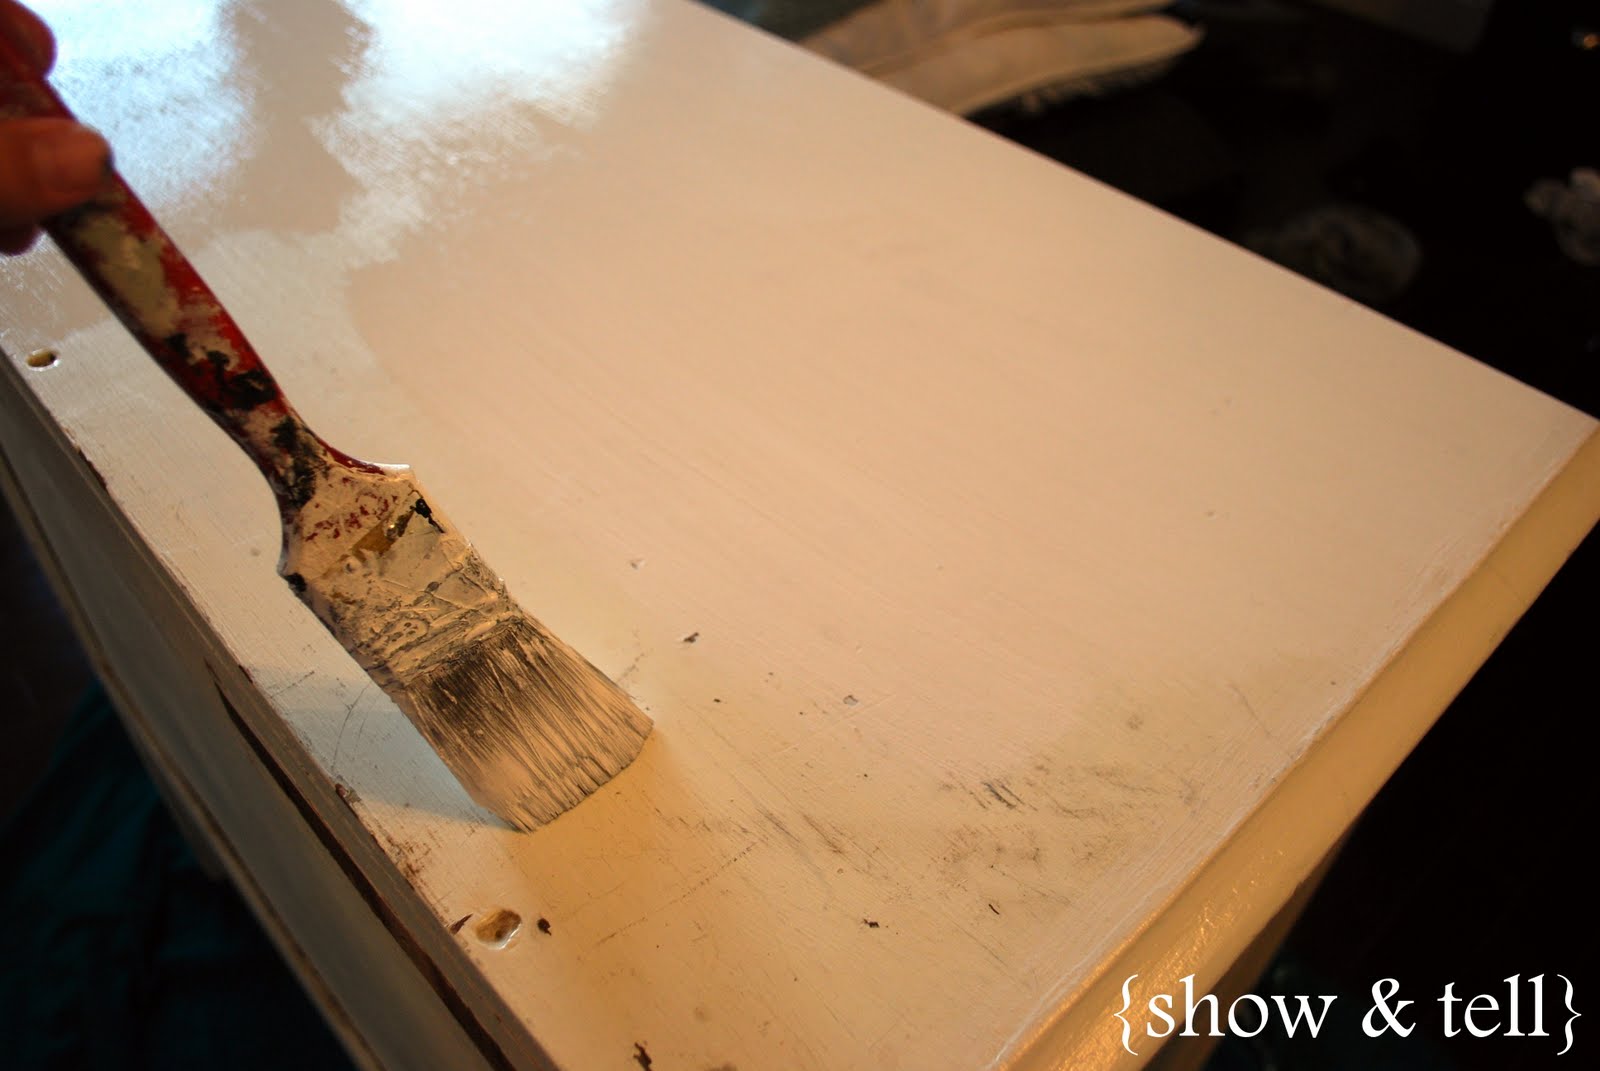
You can see here the difference in the two whites


After i got it all painted i decided that i wanted to all a little somthin-somthin to this cute little dresser – so i went with a little bird & branch stencil that i got a while ago (stencil from Stampin’ Up)

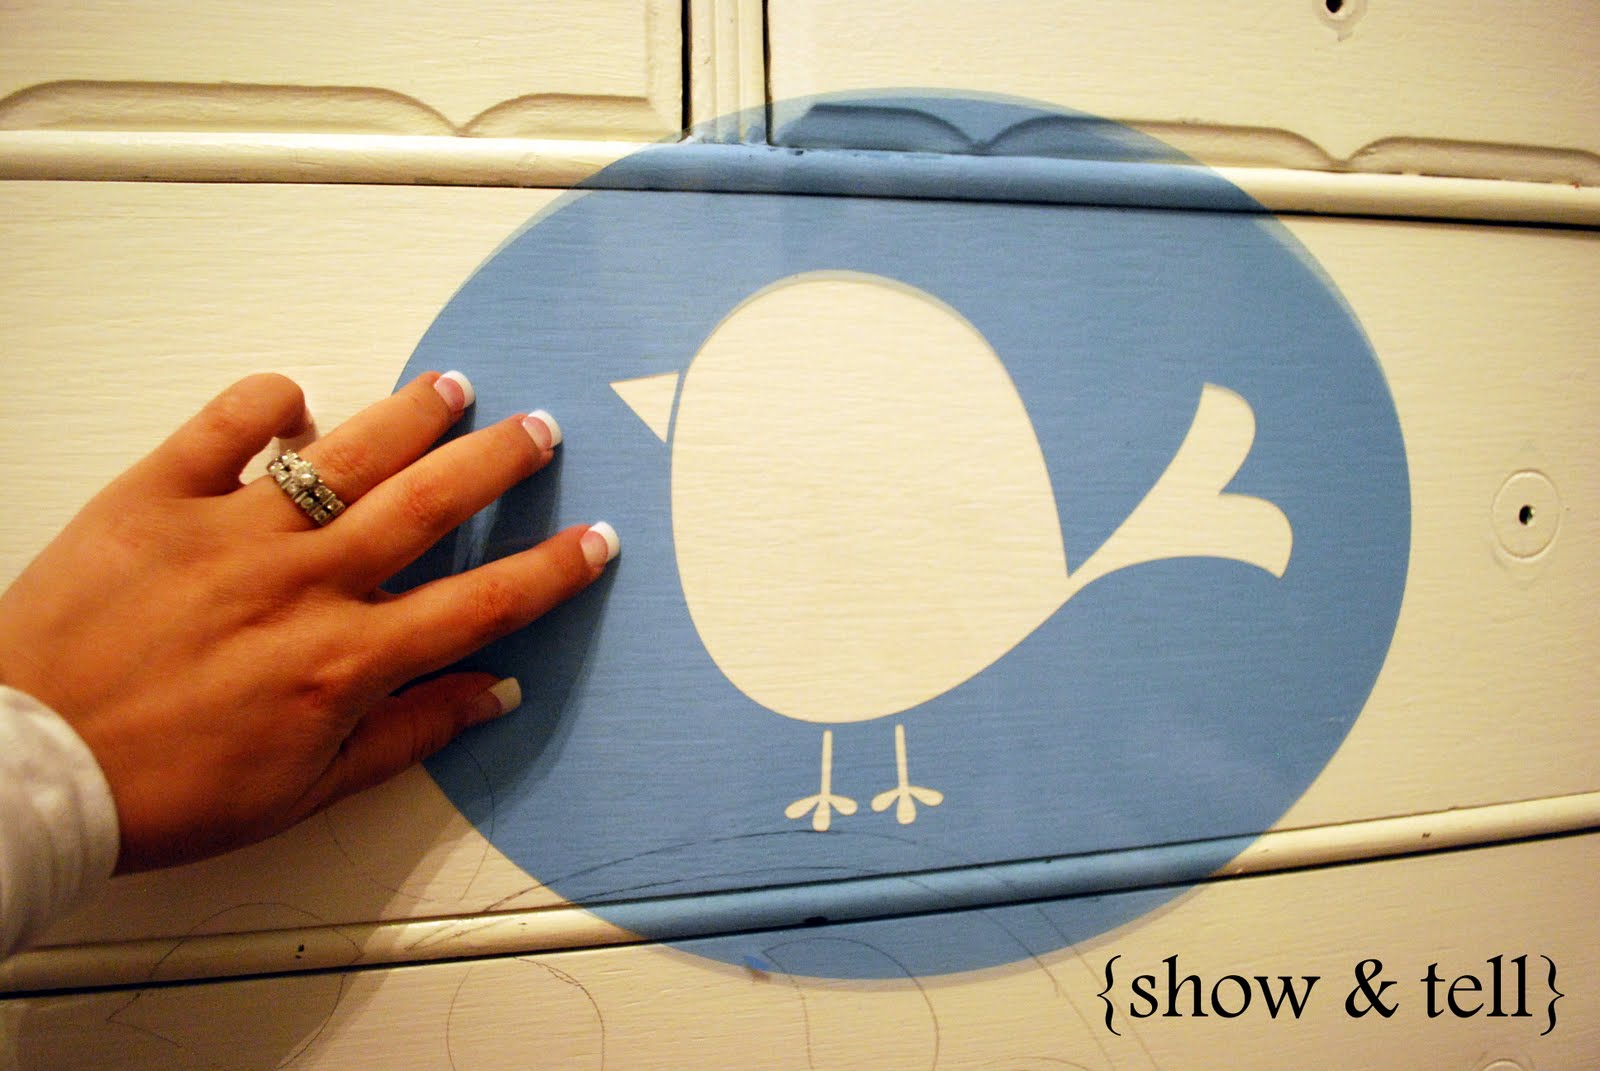
I didn't want to get paint all over the stencil, and i didn't want a “stenciled” look, so i just traced the outline of the stencil and then filled it in with an “oops” paint that i have had layin around. Super easy, took me about 10 minutes.


For the little wing i just mixed the paint with with a little bit of white. The pencil mark blended into the paint – just so you know…


After all that was done i tried to just use my normal 60 grit sand block to distress the cabinet but with so many layers of paint i had to get out the palm sander. I love the distressing part the best – some people read books to relax – i bust out some sandpaper :)
I try to hit all the high marks on the furniture – some people say only to distress where it would normally get marked up with wear and tear, but for me, the more distressed the better. I sand everywhere i can – i love how it brings out all the details in the furniture that otherwise would probably go unnoticed.
I know so many people are intimidated by taking sandpaper to your freshly painted piece, but if you don't like it you can always repaint, right?


After…


When i distressed all the edges, i also sanded the little birdy down so it didn't look so freshly painted… the handles also got a little distressing


Perfectly distressed edges – look at the cute little detailing around the drawers – love it!!!


Look at those castors and those little spindly legs – makes my heart go all a flutter :)


Before:

After:
Well that's its, no pre-sanding, no pre-cleaning, no top coat, no paint stripping. This is my easy (and yes a little lazy) way to give something old and dingy a new life :)
 Labels:
Furniture,
Painting,
Show and Tell
Labels:
Furniture,
Painting,
Show and Tell


20 comments:
SO cute. I love that you gave it a rustic look and the bird is perfect!
Oh, I LOVE what you've done to this dresser...that bird and branch are to die for!! Fabulous...simply Fabulous~~~
So cute! I love the bird stencil paired with the bird house on top of the dresser!
I love the bird! It really adds character to the dresser!
I love this project. Well done!
I LOVE that!! Beautiful! I am your newest follower. Found you through Google when I searched "What to do with an old dresser". I have a dresser and am wondering what I want to do with it. lol Very inspiring, thank you!!
I have a similar dresser and I LOVE this look. You did a fantastic job. OOOooo! I just got an idea on how to do mine - thanks for the inspiration!!
The bird and the cage paired just make it.
OMG, That is like the cutest dresser I have seen in forever! Great Job!
So cute! I love everything about it.
adorable!
I LOVE the bird on the dresser!
Beautiful dresser - I love it!
This is exactly what I needed to see after purchasing a dresser that needs some love. I've got my paint swatches laying out and I just needed someone to shove me into go position. Thanks!
Love that little bird!! So cute!!
Simply yummy!!!!! What grit paper did you use to go over the bird? Thanks
Love this! It's adorable!!
Sausha, this is AWESOME!!! way to go. I Love how you used the stencil.
I love this! I am mid- refinishing my piano right now, and i wish I had read this first!
Oh it's gorgeous!!! Love it! Have a wonderful weekend!
Take Care
Kristin
Post a Comment