We’ve Moved!


If you aren’t redirected here is the link:


Remodelaholic!


THANKS!

Showing posts with label new. Show all posts

White Buffet Table With Wood Top

18 October 2010

White Buffet Table With Wood Top
contributed by Suesan at Frou-Frugal


I love to scour Craigslist for deals. For a long time, I was missing key pieces of furniture, like a dining room table, living room sofa and other things. By watching Craigslist, I was able to find some pieces I liked in a price range I really liked.

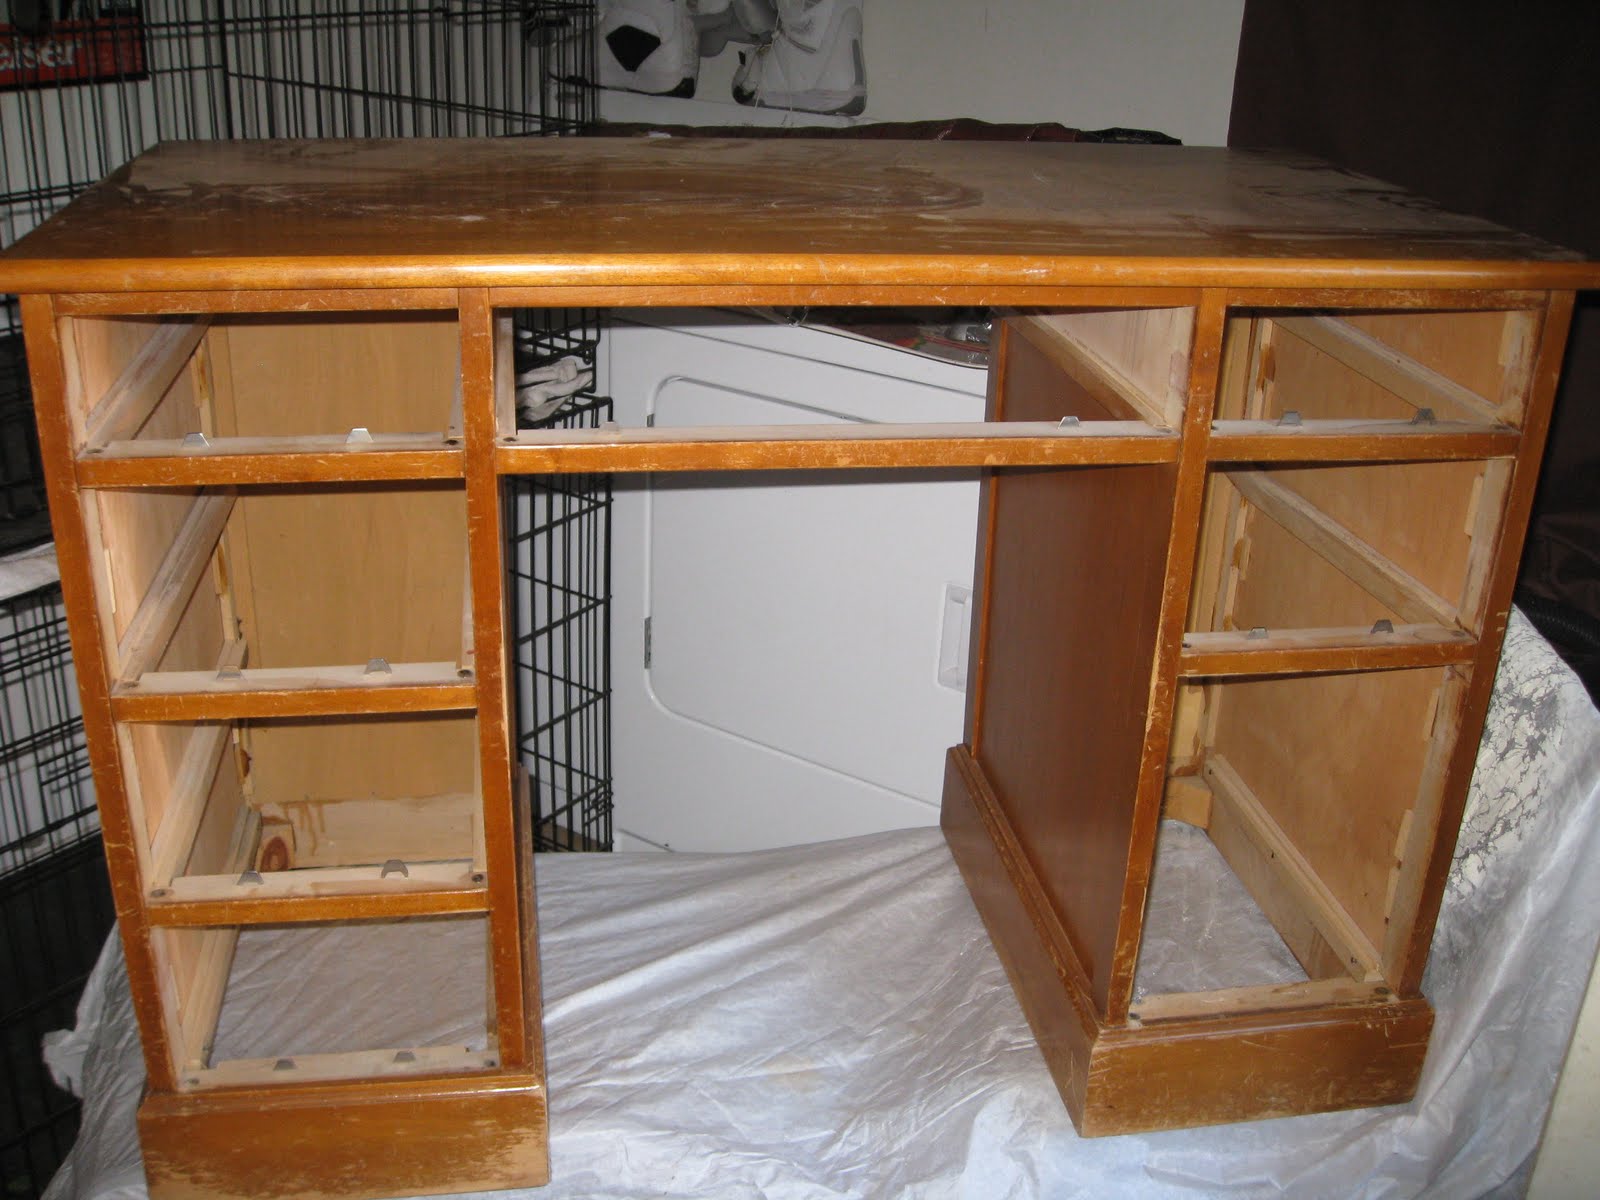
Take this buffet for example. It was posted on Craigslist for $25.


Shut the Front Door! Twenty-five bucks?
I really did not have a burning need for a buffet, but I liked the style of this one and at $25, I figured I could fix it up and resell it if it didn't work out. We had to enlist the help of a friend to get it home, but once I got it home, I managed to find the perfect space for it. Go figure.

I had other projects on my to do list, so the buffet sat patiently waiting for it's turn to get some lovin'. Hubs was not initially on board with my plan for the buffet. He wanted me to simply refinish the piece. He liked the wood finish. Don't let the price tag fool you, this is a mahogany buffet. The legs, drawers, panels, it's all mahogany and I did not make the decision to paint this piece lightly. Here's why I decided to paint.


This teeny, tiny trim work on the door had a big ol' gouge out of it. It would be impossible to fix the gouge without the piece looking like it had a chunk of wood filler there. Plus, there's no way to find this kind of trim. There were some chunks missing from the legs, too. It truly saddened me that I could not keep this buffet in it's original condition, but I did keep the top, even though there is a stain that wouldn't come out.

I won't bore you with all the process pictures, except for this one. I primed the piece with some el cheapo spray paint, and then painted the piece in an Heirloom White-ish paint. I had Lowes match the spray paint. I then used my Valspar Metal and Patina Glaze in Bronze to accent the piece.

Here's a close up of the leg during the glazing process.


After I wiped it off, it looked like this:


I wish that I did not have to take pictures with my cell phone camera and I could show you just how pretty this glaze is. I have a metallic golden/bronze color that is just pretty, Pretty. PRETTY. 
I'm hoping Santa Hubs brings me a new camera for Christmas. 

At any rate, I used my wipe-on Poly and did several coats, got it all back together. Here's what the top looks like.
Don't you love that wood grain? Yum!


I kept the original hardware on the piece, but had to give them a spritz of Oil Rubbed Bronze after a slight sanding incident took the finish off of one of the handles. They are still very close to the original color.


The top drawer is velvet lined and divided into three sections. I'm not sure if I'll take out the antique silver and put it in these sections or not. I have a couple of boxes for the silver, so I'll have to decide.


The little detail work under the drawers has the nicest touch of shimmer from the glaze. It's so pretty.

Here's the door that had the gouge in the trim. It's all smooth now and I can't even tell where I fixed it.


 I need to dig out the box with my Currier and Ives Ironstone in it and put it in their new home. I inherited that set from the in-laws, which truth be told, is not my favorite, but it's growing on me. Several of the pieces are chipped and I'm slowly working on replacing those pieces and getting a full set.

I simply could not be happier with how the piece turned out. 


If you want to see more details about the Fall Display on my buffet, click here.


Cost Breakdown:
Buffet - $25.00
Paint - $13.00
Glaze - Free. Left over from another project.
Oil-Rubbed Bronze Spray Paint - Free. Also left over.
Wipe on Poly - $8.00 

Total Project Cost: $43.00
Total Project Time: About 12 hours spread out over a couple of weeks.

Read more...

Old Writers Desk & Chair Remodel

08 October 2010

Kate at Weekend Charm found an old writer's desk and chair and remodeled it to their own taste.

We snagged this old writer's desk and chair off of Craigslist for $20!  Of course they didn't look like this when we got them, but look below for their absolute transformation!


To begin with......


1st step, remove drawers


2nd, remove pulls for painting.


3rd, 4th, 5th & 6th....sand, clean, prime, and paint (x3)!


7th, remove ugly tan vinyl cover from beaten up little chair and recover with cute fabric.  (Sorry I forgot to get a before photo of the chair, it was in worse condition than the desk!)


And..........................................

TA DA!


We used Minwax Polyshade Bombay Mahogany stain on the top.  I just LOVE the color and LOVE a stain and poly in one!!!!


Off-white on the rest including the chair, original hardware back into place, and finished!!!


The top coat is such a beautiful rich color, I can't stop staring at it!!!


This will probably come in handy while I try to keep up with my continuing education in Physical Therapy!!


I was supposed to refinish her and give her up....I just don't see that happening now!

I love the white desk with the wood top!  
What do like about it?

Read more...

New White Book Shelves and Cabinets

Saw Dust and Paper Scraps is always up to some kind of build in.  See what they did here with a book shelves and cabinets.

Since tomorrow is Party day, I better deliver on my promise to show you this room by the end of the week.  I'm calling it the "Whatever Room" because it has no purpose other than storing books but I wouldn't exactly call it a library.

 {Before}

It's not exactly perfect, but it's good enough for now.

*I built the bookshelves out of MDF and used pine for the face frame and doors. 
*I painted the bookshelves and trim the same colors as the trim and cabinets in the rest of the house and you can find that info on my Q and A Page.

Maddie is going to be dragging up all the Halloween boxes first thing in the morning on Oct.1.  She is a little Halloween obsessed and can hardly wait to decorate so next time you see this room it will be all Spookified!


 Nice job on the bookshelves and cabinets!
How do you like it?

Read more...

Repainting an Old White Dresser; Awesome Craig's List Find

06 October 2010

Erin at 3 Meadow Lake Cottage has made a wonderful change to an old white dresser.


FINALLY finished the rehab project on my Craigslist dresser.
It was hard work.
But it only took me 3 months :)

Here's a reminder of how it looked when I bought it...


It was in such sad shape: peeling paint, missing knobs, red stains from an unknown substance, and drawers that didn't work. 

But it had great bones. 

So I scraped
and scraped
and scraped.

Then I sanded
and sanded
and sanded.

  
Then I painted two coats of primer and three coats of semi-gloss white paint on it.


I managed to fix almost all of the drawers glides by using a screw driver to some WD-40.
I only had to replace one of the glides because it was beyond repair. 
Thank goodness because they run about $5.00/each for new glides!

After scrubbing the heck out of the insides of the drawers to get them clean, 
I added some contact paper {from Target} to the bottoms to make them look super crisp and clean.


I picked out and ordered some classic oil rubbed bronze knobs and handles off of Ebay 
{Ebay has GREAT deals on cabinet hardware if you are ever in the market for some!}.

I chose hardware that looks really simple and classic since there are a lot of details on the dresser itself.

And after ALL of that hard work, here is how the dresser turned out...


Here is a before and after for comparison...


Oh and here's my old piece-o-junk that it replaced...


Much better, don't ya think??
{Hopefully I can get someone to buy that old thing!}


I am so in love with how it turned out.
Thank goodness I didn't toss in the towel half way through the project.
In the future, however, if I see a piece of furniture that needs massive rehab like this one did, 
I probably will run the other direction!


Here's the cost breakdown:
Dresser: $20
Stripping Supplies: $36
Paint Supplies: $37
Knobs/Pulls: $20 {included shipping}
Contact Paper: $5
Drawer Glide: $5
TOTAL: $123

My new dresser kinda reminds me of the one of been drooling over at Pottery Barn... 


 Except that one is priced at $1,199.

I think I like mine better anyways.

Wow I can't believe the savings!  Wait, I can!  
Great job on the white dresser rehab!

Read more...

How to Paint Your Kitchen Cabinets

03 October 2010

I love the difference paint makes on some dated oak cabinets...  And am dreaming of the day that I too can paint our current kitchen, for now, I have to be content with admiring other peoples hard work.  For example  here is Jessica of Running with Scissors new white painted kitchen cabinets!  And she outlined how she did it for everyones benefit, here is what she had to say:

This was a daunting task for me, but our new house had a dark kitchen.  We scored new counters, wood floors, and appliances, but the honey colored cabinets seemed dated to me.  So after reading a bunch of info on painting cabinets, it seemed like a project I could tackle.  It seemed worth the hassle to transform our kitchen so the cabinets would look modern to match the flooring, counter, white tile back splash and appliances.  Another bonus would be to brighten up the space to feel more fresh, clean and airy.
Here's the before, the day we signed the papers.
Oh yes, also the bright yellow paint also made it feel old and musty to me. 

I can't wait, so I'll give you the AFTER right away, before the instructions!
The only thing that changed was the paint on the cabinets and walls.  To me it makes the space look so much newer and up to date.

So if you also need to update your kitchen cabinets for a total kitchen change:
HOW TO PAINT YOUR KITCHEN CABINETS

1. Remove all hardware from the doors and drawers 
I put all the knobs in a gallon ziplock bag.
Remove all the doors and hinges.  All the hinges and screws went in another ziplock bag.
2. Wash all the doors and frames with warm soapy water.
I found it easiest to use the sink and really scrub the grime off and rinse the doors well.
Allow to totally dry.

**May need to fill holes/ sand at this point
If you're replacing your knobs/ hardware with new, you'll probably have to fill all the old holes with wood filler at this point, unless your new knobs have the same measurements for holes as the old.
ALSO
If your cabinets have a thick layer of polyurethane and feel super glossy, you may want to sand them to remove the sealing finish.  My cabinets felt like wood, not plastic, so I didn't sand.

3. Prime
This important according to all my research to use OIL BASED PRIMER! It is thick and stinky, (well you can pay more for odorless but I didn't) and you can only get it off with mineral spirits/ paint thinner.  So it is a pain to work with.  But it is more durable and stain blocking to provide the base for your cabinets.

So I began by laying all the doors face down on a plastic drop cloth.
I started by priming the backs of all the doors, or the "inside" of the cabinet.  I used a good quality roller, Purdy brand that is for flat surfaces--3/8" nap. 
Don't forget to also prime the cabinet frames in the actual kitchen.

*In all my painting these last weeks, I actually could tell a big difference in the quality of rollers.  We used the cheap "economy" rollers for the walls, but on the cabinets and doors, used the high end rollers and it made a difference for a smooth, seamless finish. Also, painting walls, I'd wrap the roller in plastic wrap and use the same one again 4 hours later for the second coat.  But with cabinets, I broke down and used a brand new roller with each coat.  Also with brushes. I actually used a cheap brush for the primer, but used a nice angled brush for paint on the corners of the cabinet doors.***

4. Paint
After primer has dried according to the instructions on the can, paint your first of two coats latex paint.

Everything I read recommended using semi-gloss paint, so it's got enough gloss you can clean them, being in the kitchen, but high gloss shows imperfections more.

So I used Behr semi-gloss paint and the color was Popped Corn.

Once again, I used a brand new fancy Purdy brand roller for each coat.

Behr brand paint has you wait 4 hours before repainting, so 4 hours later, paint your second and final coat.
**Due to the fact I was painting both the inside of the cabinets and the outside, I painted in 2 sessions.
SESSION 1: prime, 2 coats paint on drawers, cabinet frames in kitchen, and backs of cabinet doors on the drop cloth, allowing the doors to dry overnight before session 2
SESSION 2: carefully flipped doors over so my fresh painted backs were now down touching the plastic, which is why it's important to let them dry overnight before flipping, minimizing the chance of ruining your first paint job.
prime, paint 2 coats on fronts of doors, dry overnight.

So for the whole project, with the 2 separate sessions I used:
1 primer cheap-o brush
1 paint nice= expensive angled brush
6 nice Purdy rollers

5. Rehang Doors
It's recommended you wait anywhere from overnight to 5 days before you hang the doors back up to give the paint time to cure so when you're hanging you won't get finger prints or anything imprinted in the paint.  We didn't have a week to wait, so we let them dry overnight and put them back on without any noticeable blemishes to my tedious paint job.

At this point if you're using new hardware, you'd need to drill your new holes on everything, making sure to measure accurately!
Other wise, just rehang all the doors, put the drawers back in, and get all the hardware back on and you're finished!
Once again, just paint makes such a big difference!
Just in case anyone is wondering, the paint on the walls:
Glidden: Gentle Tide

I hope you all gleaned some useful tips for your kitchen makeovers!  
Great Job Jessica!

Read more...
Related Posts with Thumbnails
Emealz - Easy Meals for Busy People!
Home & Garden Blogs Home & Garden Blogs - Blog Rankings

Blogging  tips, tutorials and SEO

From Here to Eternity

  © Blogger template On The Road by Ourblogtemplates.com 2009

Back to TOP