
Ahhhhhhhh, I just LOVE it!!!!!
It feels brighter, calmer. My 8 year old even said, "Mommy, your room looks like a hotel room now"....I am assuming she meant a LUXURY hotel room, right?!?! :)
Here is another view of the OLD room..
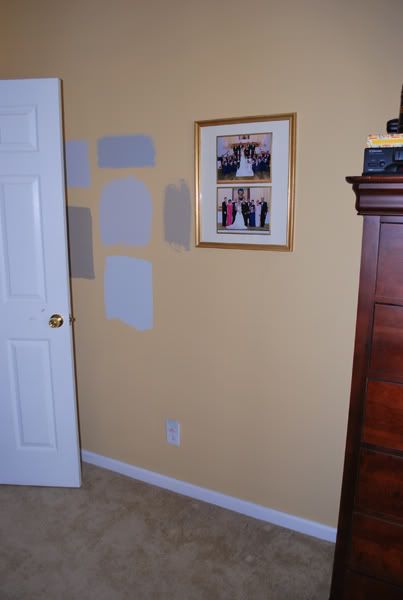
..I was trying out paint samples (hence the swatches on the wall)

...and the AFTER of the same space....
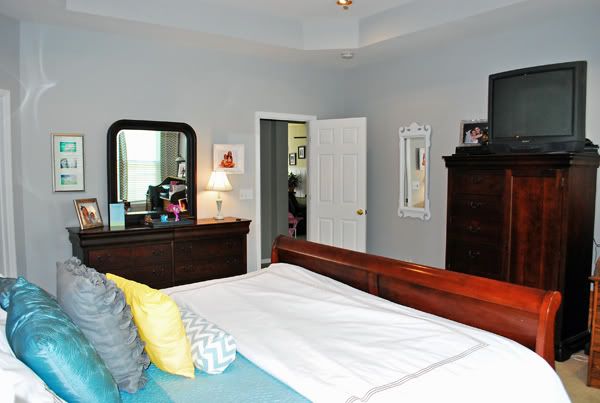
BEFORE...
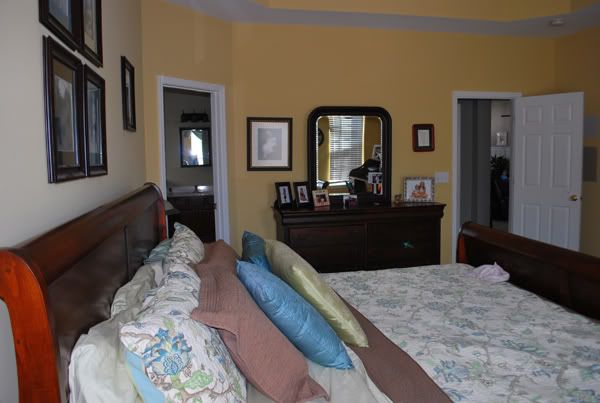
...AFTER
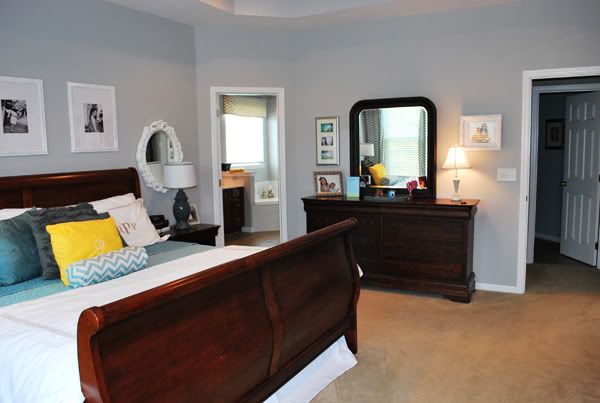
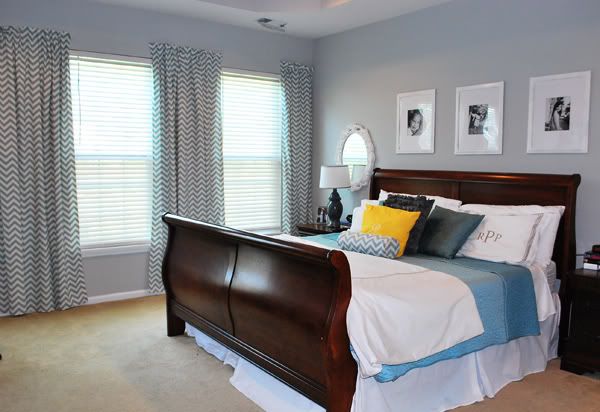
I love how the gray paint (Stonington Gray by Benjamin Moore) looks. I hit a home run with this color!!!!
And the good news is, I can change up the bedding color if I want and the walls will match....
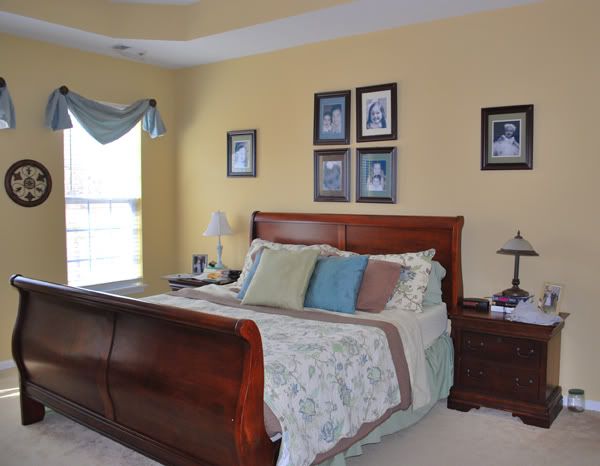
the yellow was soooo hard to match it with anything!!!

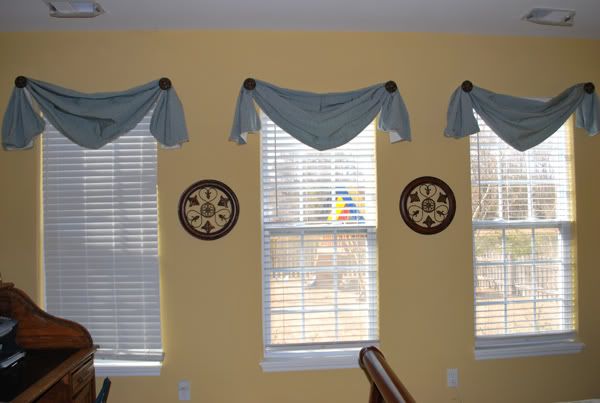
I made these swags a few years back....but had grown tired of them. The windows still looked bare, even with the swags.
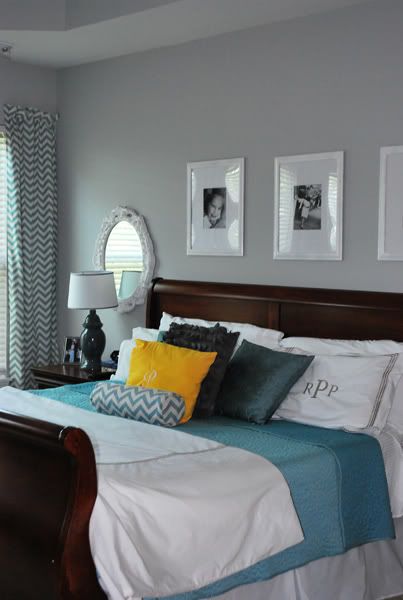
I hung this chevron fabric to make the walls look taller and more sophisticated.
Another BEFORE shot...
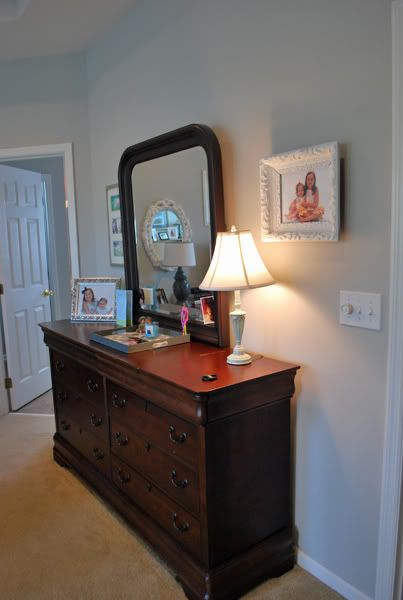
....and the AFTER. My plan is to put a chair here in this space under the mirror, but I just haven't gotten around to that yet....
(You can read about the mirror
HERE)

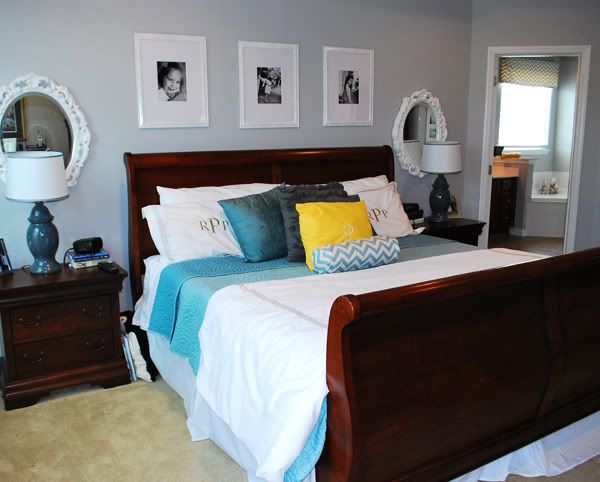
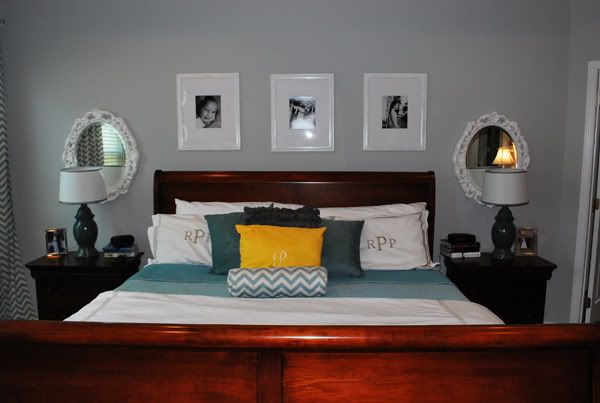
Here are a few more photos of the room.... I am just so happy with the way this space turned out!
One of my favorite features of this room are the 2 matching mirrors I hung above the nightstands. I LOVE it!
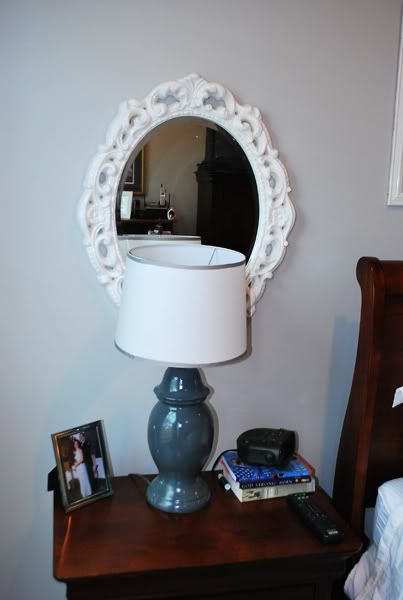
(Read about the lamp redo
HERE)
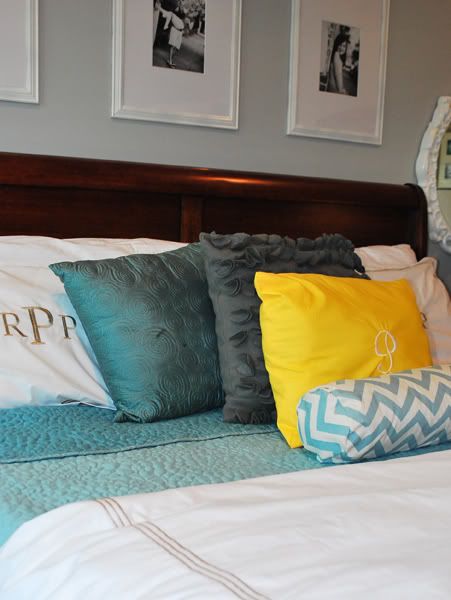

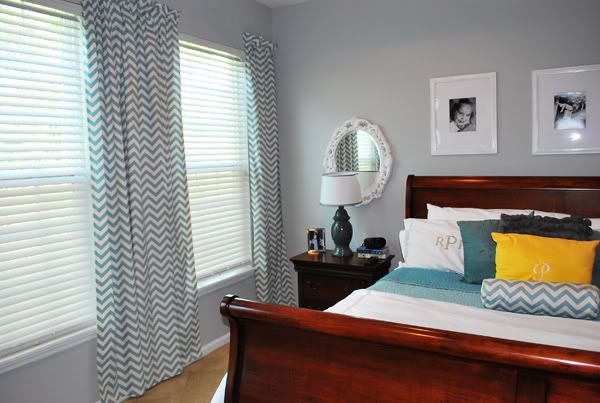
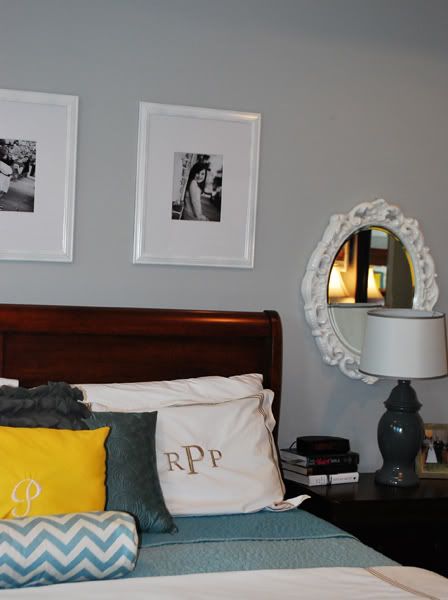
I love the grays, blues and whites and the POP of yellow!!!
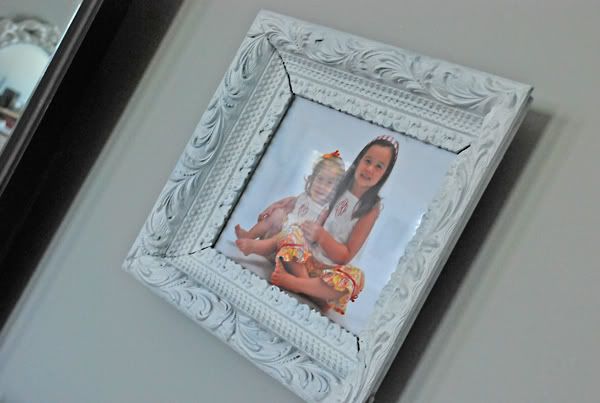
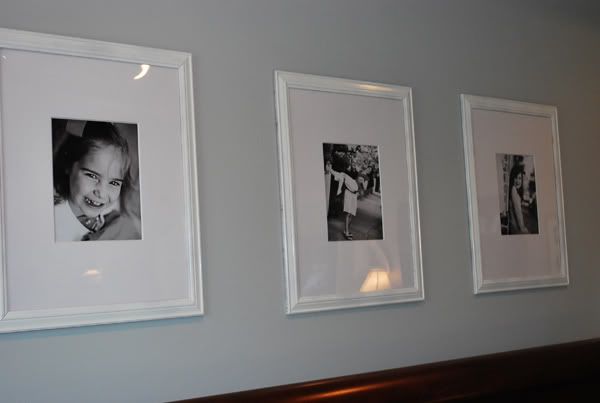
(You can read about the frame
HERE)
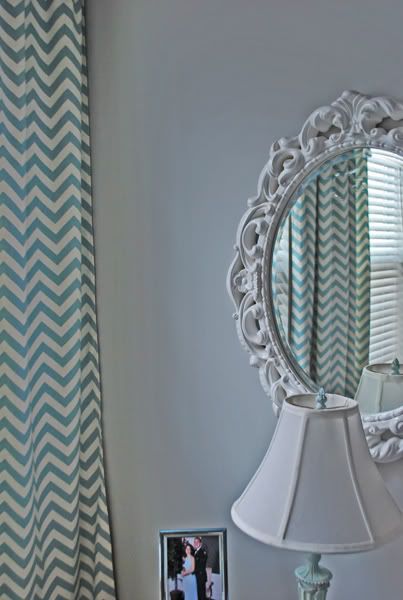
(Read about the no-sew curtains
HERE)
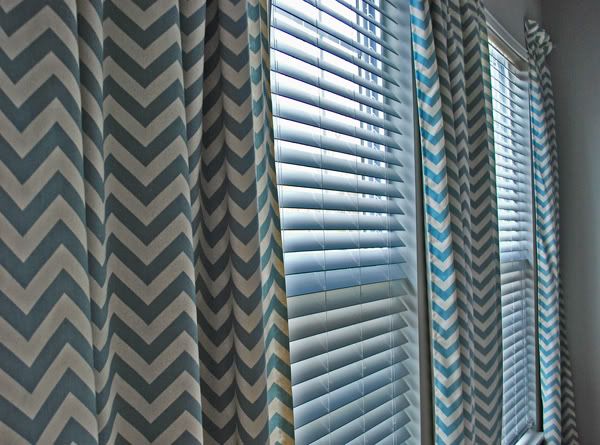
Just for dramatic effects, let's look one more time at the
BEFORE..
...and the AFTER

There are a few things I want to do to have this 100%, but it's come SUCH a long way....and I am happy with it!!!
What do you think??
Items used..
Bedding - Pottery Barn
Mirrors - TJ Maxx
Paint - "Stonington Gray" by Benjamin Moore
Frames about bed - Wal-Mart
Fabric for curtains - Fabric.com
Blue bed quilt - Target
19" bedskirt - ordered from E-Bay


 This project was contributed by one of our fabulous readers! We love to share your projects with this great blogging community. So, if you have projects from kitchen renovation ideas to small bathroom remodels, overhauled and repurposed furniture, spray paint updates you name it please send it in! Thanks for reading Remodelaholic!


10 comments:
What a difference. Even the furniture looks different. I love the gray color on the walls. I have written it down and will have to find somewhere to use that color. It's perfect.
it's perfect!!!!
I love the color. Gorgeous room!
Love the new window treatments and pillows! Looks great!
Jenny
www.simcoestreet.blogspot.com
I think the chevron curtains are a MAJOR improvement. Changes the whole look. Plus....loving the way you changed up the framed photography over the headboard. The consistant size and frames is a huge upgrade. This before and after is a great example of how blogging really does help us improve our design sense. There was nothing wrong with the before. The after is just that much of an upgrade. Looks awesome. Hope you are enjoying it.
I'd love to know where you got the monogrammed pillow cases or did you make them? I love them!
It looks great! Such a good before & after. I'm working hard on my bedroom now too :)
Turned out so pretty! I need to get off my butt and get my bedroom up to speed:)
Love it!
I love it! The change in curtains is my favorite!
Post a Comment