Black and Blue (and BEAUTIFUL!) Bathroom Remodel
It’s done!!!! If you’re new here,
then take a look at this post, which did a pretty good job of rounding up all of the dirty details that we’ve been doing over the past 6 months! There’s also a chapter run down at the END of
this post if you need more information. I am SOOO excited to show you this makeover and thank you generously for your patience during this renovation! This is by far the most amazing makeover we’ve done to this house –
and we’ve done a LOT. I’ll keep the commentary to a minimum and let the photos speak for themselves…
The Vanity
Before
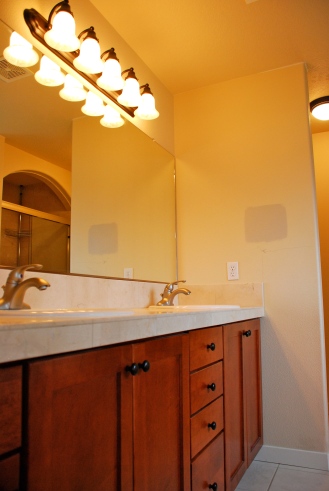
As you walked in the door, the first thing you saw was the vanity to the left. Before it was a pretty builder’s basic set up with stock cabinetry, off-centered plumbing and lighting, a wall-to-wall mirror and damaged marble countertops. The finishes were also mismatched (Oil-Rubbed Bronze lighting and door hardware + brushed nickel faucets = ick!). I could go on, but you get the point.
After
We replaced EVERYTHING! Nothing here is original. New cabinets, lighting, counters – slam-damn EVERYTHING! There’s so much going on here that I’ll just let you look at the pictures to take it all in.
The Tub
Before
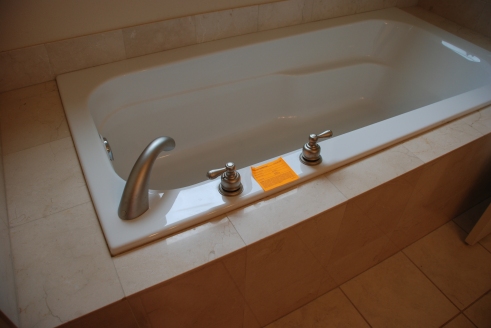
To the right of the door and facing the vanity, we find the tub. The tub was fine – good size, good placement, good condition. But that tile surround simply had to go. It was cracked, damaged and just plain ugly.
After
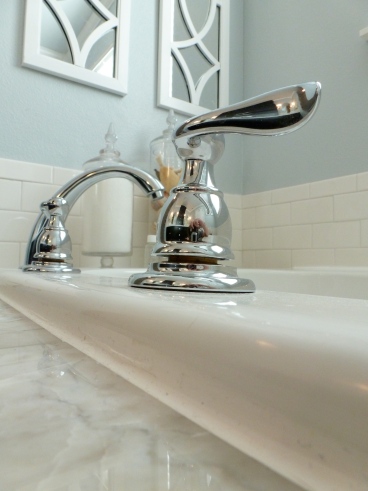
We kept the tub but replaced everything else, including the backsplash and tub deck tile. We opted for a board and batten treatment on the face of the tub deck rather than more tile (it’s an easier and cheaper installation that honestly looks more “custom”). We kept things feeling serene and restful by limiting the color palettes to whites, pale blues and grays. Though you can’t see it in the pictures, we also added a can light above the tub for more lighting. Here is the tub area after our renovation:
The Loo
Before
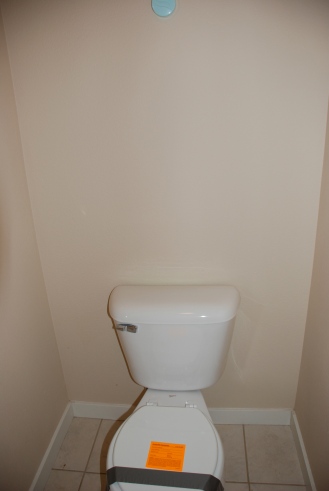
I don’t have a ton of pictures of this area – it’s just not one of those things people really want to take pictures of. Regardless, this toilet was never going to stay – it wasn’t a comfortable toilet to sit on and could barely handle the job it was designed to do if you know what I’m sayin’ (*wink*wink*). Also, in the process of foreclosure, they had installed that air freshener above the toilet, which left a sticky residue behind that we had to *cut*out*of*the*wall* in order to remove, so some patching work was definitely in order:
After:
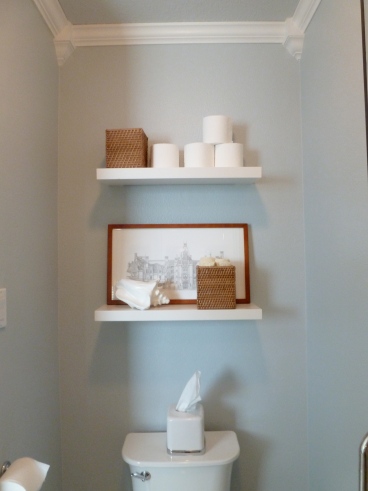
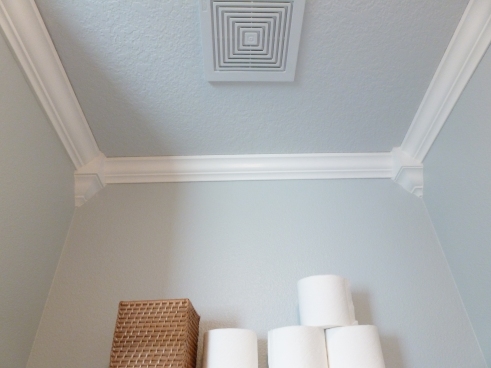
We replaced the loo with an elongated bowl, which is much more comfortable for my hubby and dudes in general. Then we added some modern open storage shelves from West Elm and topped the whole area off with beautiful crown molding. There wasn’t much to look at before and I’m not one to really get all giddy about a toilet, but, boy, is it pretty now!
The Shower
Before
Ahh….the space that pretty much started it all. I did a pretty extensive post on this area back in June when we finished it (
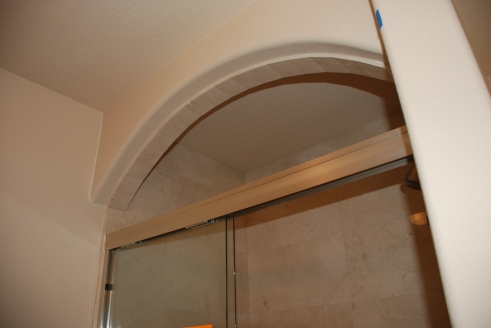
which you can read about by clicking here). But it’s worth it to see what it was like before. Cramped, dark and growing black mold – ick! We had a light-blocking arch that didn’t do much except make that area feel smaller – as if that was possible! We had no storage in the shower – not even a decent place to put our soap! We pined for something larger, grander and more functional…and I apologize on the quality of these pictures – it really was a difficult place to photograph before…
After
I saved the best for last. Wow, what a difference 6 months make! NOTHING here is original. And this shower is absolutely bee-you-tee-ful. You can read more about this process by
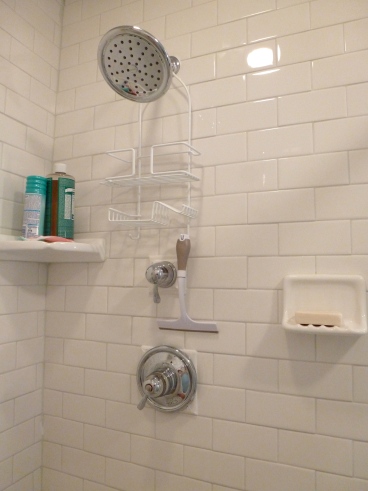
clicking here. Essentially, we demoed this area down to the studs, added more plumbing so we could have a dual shower head system, built a custom shower pan (it’s easier than it sounds – more on that in another post), tiled floor to ceiling with crisp white Subway tile, added some soap dishes and storage shelves and installed a gorgeous Carrera Marble tumbled stone floor that has a nice flat and smooth finish – super easy on the feet! Check out this after – it literally takes my breath away every time I see it!
Other Views
…anything that wasn’t covered above will be here. Enjoy!
That’s it! Thank you to everyone for your patience and encouragement during this journey. It’s been a process and I’m sooooo glad we’ve done it. I’ll work on a source list and our overall budget breakdown in the coming weeks. But in the short term, I’m exhausted. I’m so glad it’s done. I’m so glad we did it. Would we do it again? Not in this house, no. But in a future house?? If it needed it, then yes, definitely! We learned so much doing this bathroom and I was continually surprised at what my husband and I were able to accomplish with our own four hands. It certainly has given us a good deal of confidence that if you put your mind to it (and your back INTO it), you really CAN accomplish anything…
But now I’m off to take a long soak in my tub. I think I’ve earned it, don’t you??
We remodeled our master bathroom and it was a doozy that took 6 months! We did absolutely EVERthing ourselves except for installing the countertops and shower doors. Here are some links to read more about the process and maybe it’ll give you the confidence to tackle your own renovation!
 This project was contributed by one of our fabulous readers! We love to share your projects with this great blogging community. So, if you have projects from kitchen renovation ideas to small bathroom remodels, overhauled and repurposed furniture, spray paint updates you name it please send it in! Thanks for reading Remodelaholic!












6 comments:
It looks lovely! What a beautiful space! I love your new banner too! Have a wonderful evening! Angie xo
Absolutely fabulous... time and money very well spent!
I love love LOVE this space!! Very well done in making this room not only enjoyable to use, but functional!! I Love it!!
Looks absolutely beautiful! x
I love the colors and how open it feels even with a black vanity! One day I'll have a bathroom this nice!
I've been looking for inspiration for our master bath reno. I found it today! Must Pin this for the future.
Post a Comment