


How to Make a Fabric Rug Tutorial
02 May 2011
How to Make a Fabric Rug Tutorial by Jaqueline
Hello Remodelaholic Readers! I'm Jacqueline from Simple Home Life and I'm very excited to be guest posting today! Thank you Cassity for asking me to share this on your lovely blog.
I'm even more excited to be able to share my tutorial on how I made a Fabric rug, but first let me tell you a little bit about my blog. I started writing my blog in October 2010 and I enjoy every bit of it so very much. If I dont do some kind of creative project each day to share during the week I go into withdrawal. I enjoy sharing my cheap furniture renovations, room makeovers, craft projects and sewing. More important I want my creativeness to inspire others.
Now lets talk about my fabric rug. I love rugs with fun designs but they are just to costly and I knew I could paint a rug since I already did, but I wanted something soft for our living room and knew there had to be a way I could make my own without it being to difficult. I then searched on Google for fabric rugs and found this Chevron fabric rug by High heel foot in the door. So I knew it was possible.
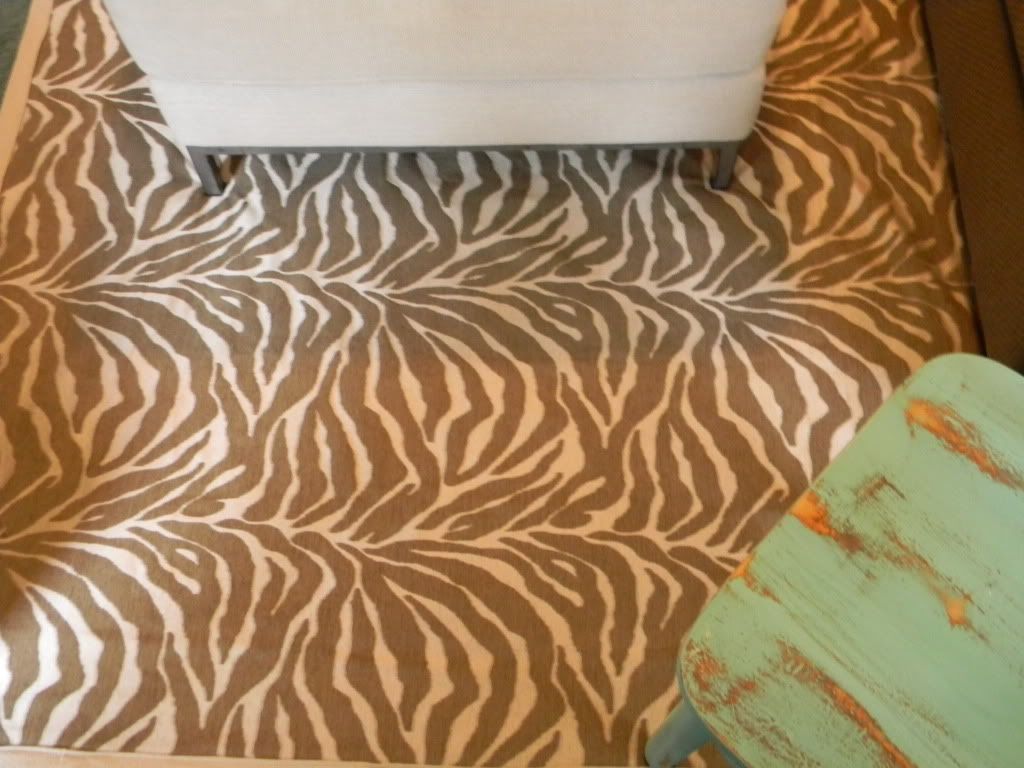
When I found this fun zebra print upholstery fabric at a discount fabric store I knew this would be perfect for a rug and for $6.99 a yard it was.

and 6 by 9 canvas drop cloth
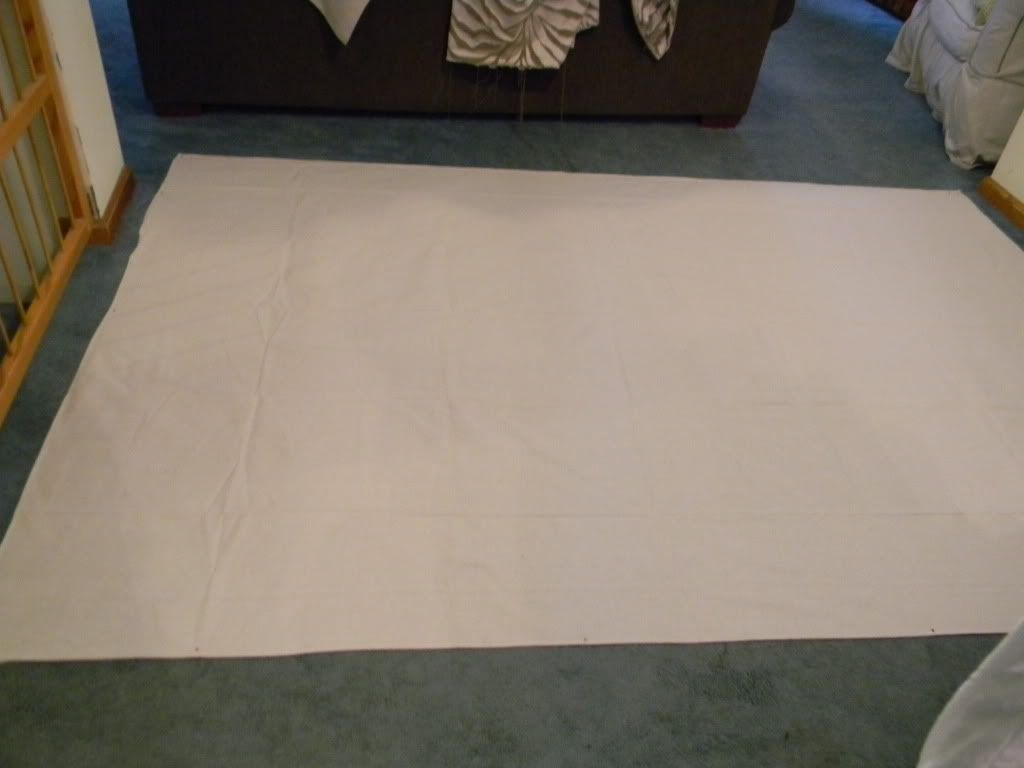
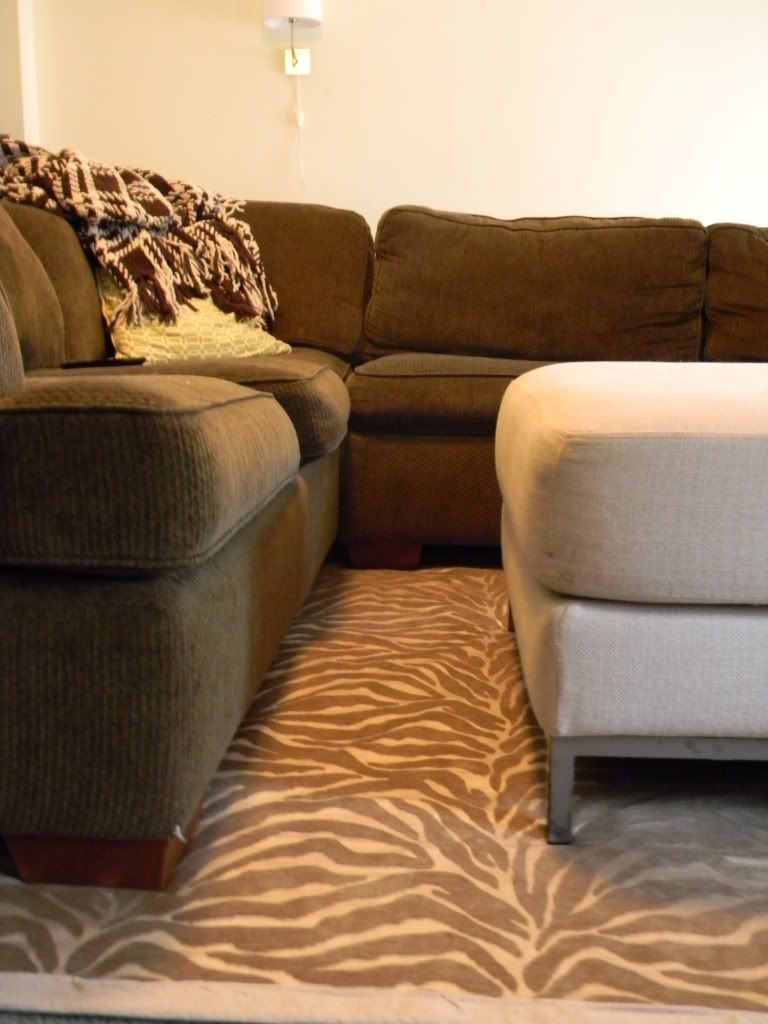
My kind of before photos
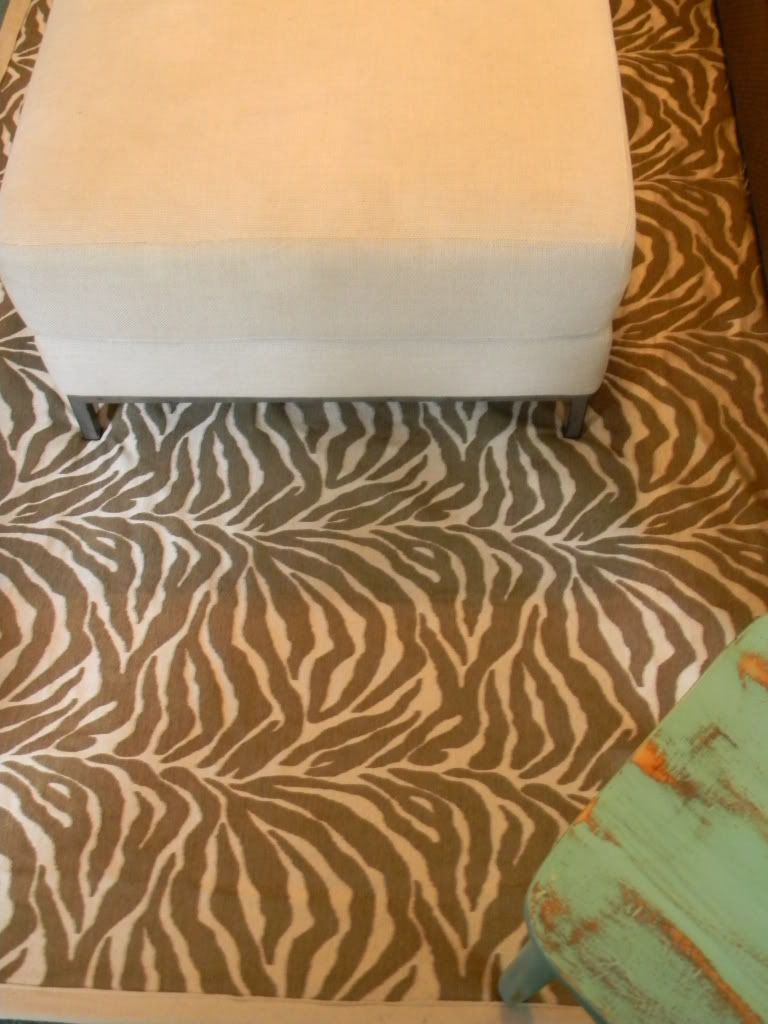
Here is the after

What do you need to make a fabric rug?
{1} Heavy fabric like upholstery fabric, I used 4 yards
{2} Canvas drop cloth for backing and for the edges
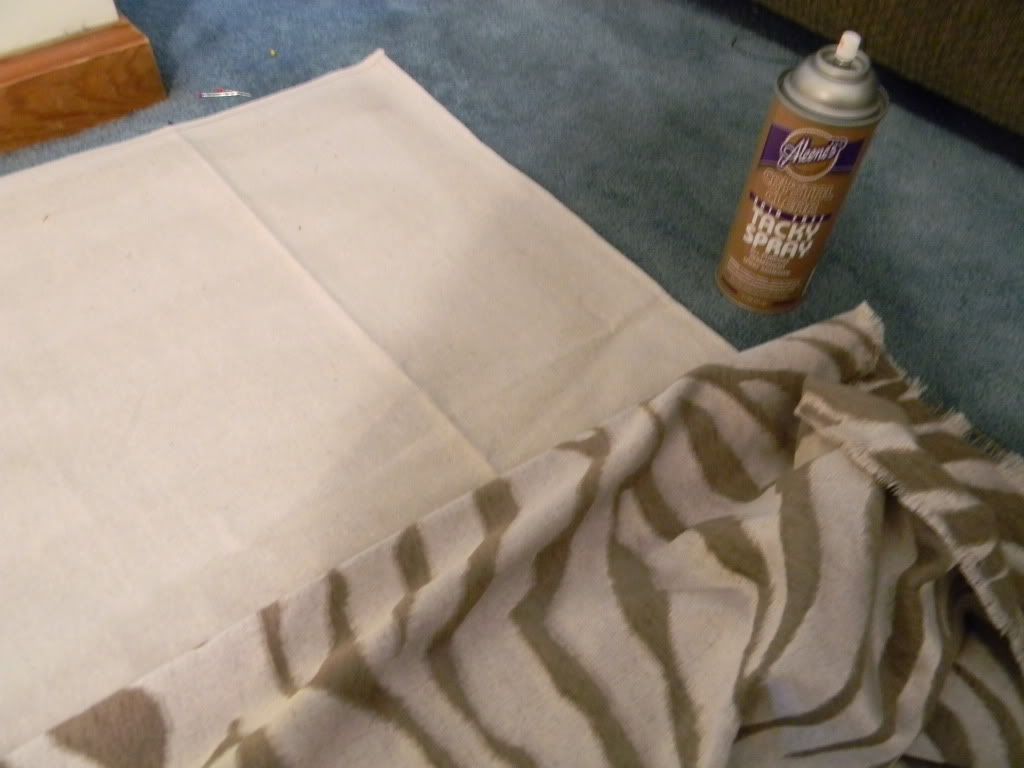
{3} spray adhesive for fabric, it helps keep it together while working
{4} lots of fabric glue
{5}heavy duty thread
{6}pins and a sewing machine
The rug I made is 6 by 9
I first lay out my canvas and use pins to hold it down, if you dont have a rug use something heavy to keep it from moving.
Then I lay out my 4 yards of fabric (all one piece) and cut it in half, then I matched it to fit side by side and sewed it together, this way it was wider and not long.
Then I lay it on top of the canvas
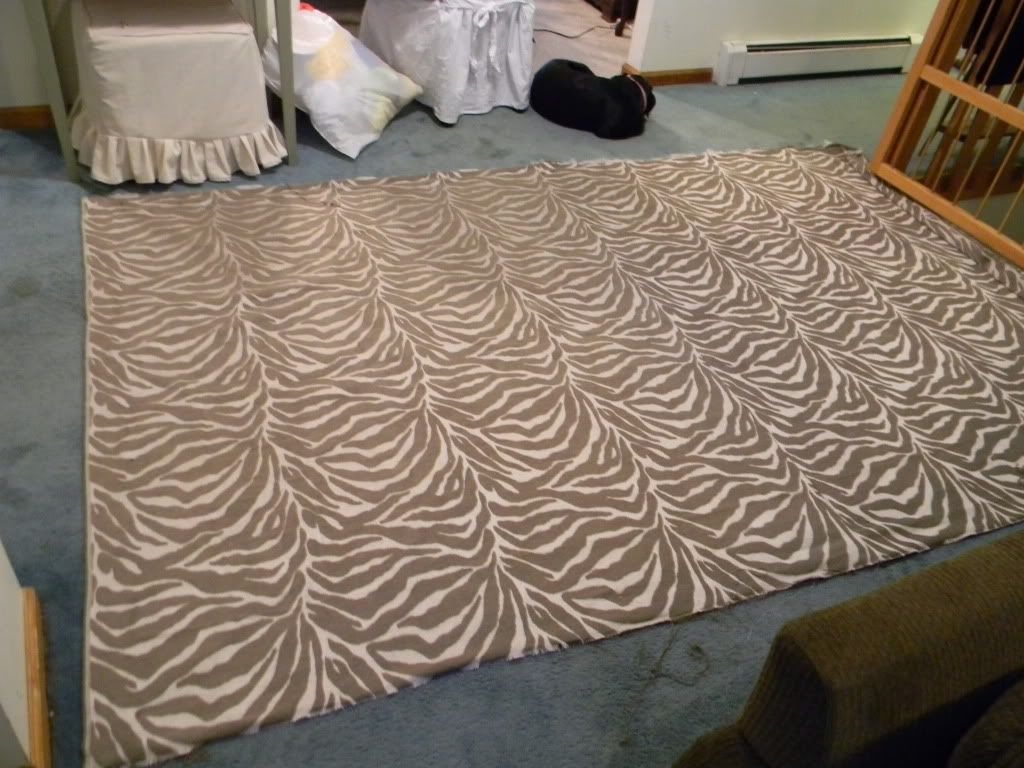
My puppy behaved while making this for the most part.
Now I take the spray adhesive and started in a corner and lifted the fabric and sprayed, waited a minute to let it get sticky and placed the fabric out and smoothed out the wrinkles, then finished one end and worked my way up.
Then I folded the edges of the excess fabric under the drop cloth with fabric glue.
While that drys I take my extra drop cloth and cut in strips for the edging, you can skip this, or use less fabric and fold the drop cloth over the fabric.

On my strip of drop cloth I used glue to fold about half a inch of it over to make a neat line, I do this on both sides with glue and then add more glue to the strip and place the rug on top of half of the strip and and add more glue and fold the other half of the strip on top of the rug.
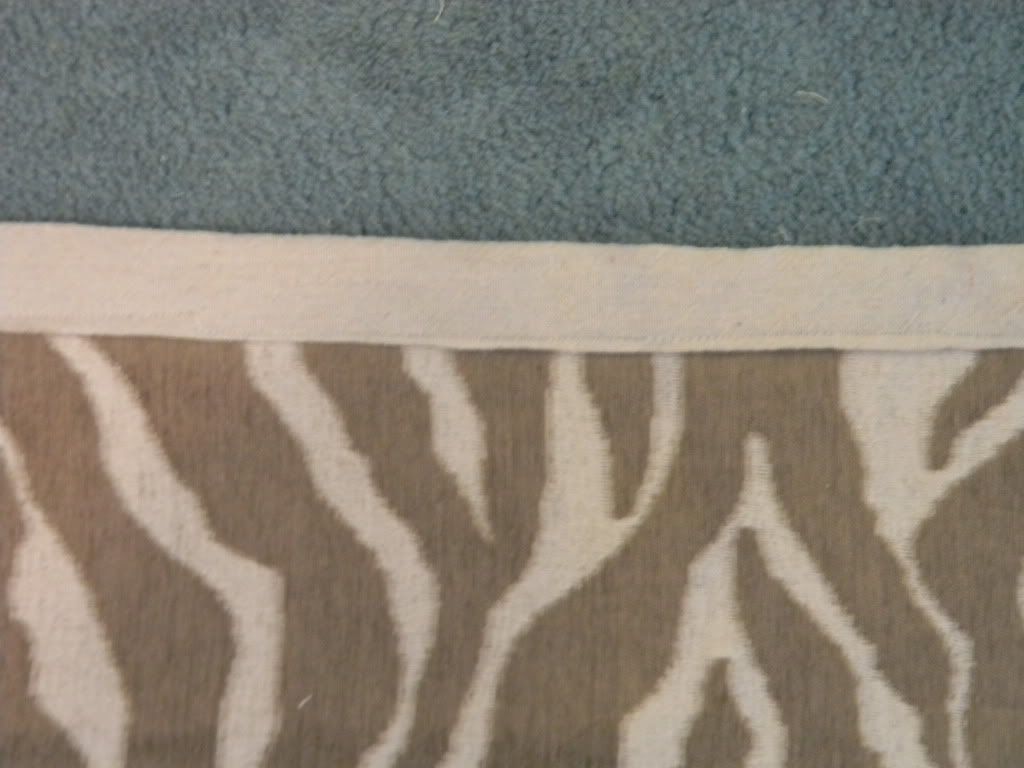
It doesn't take a lot of time, and it gives it a nice clean edge
The corners were a little hard for me and I wish I did it differently but didn't figure that out till after
I wasn't going to take it apart o fix it, your eyes look at the zebra print more.
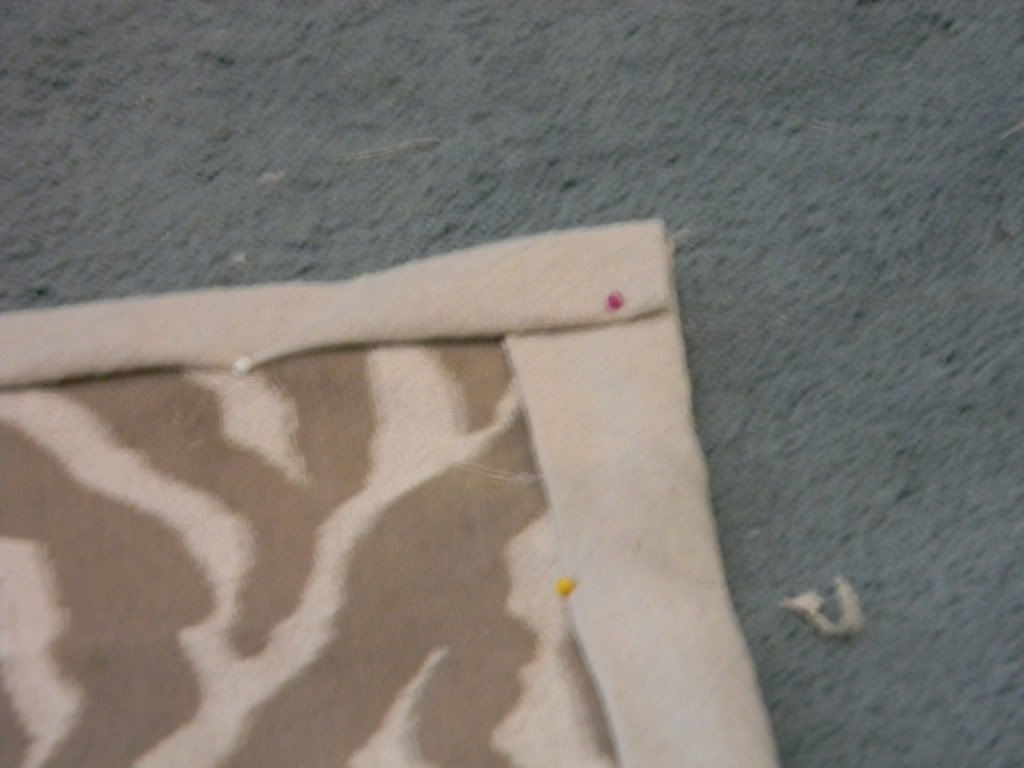
I should have folded them into triangles to make them neater.
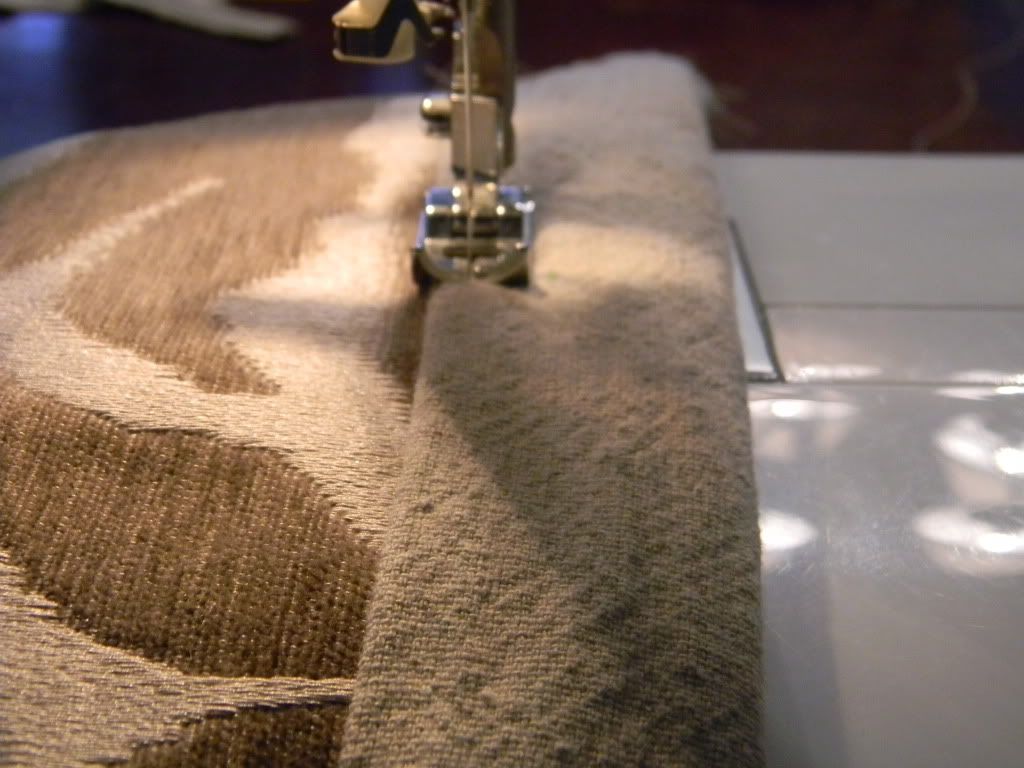
Okay so once I have my edging complete I take it to the sewing machine, I used heavy duty thread and needles is a must to go through the layers.
This is a basic stitch and easy to do.
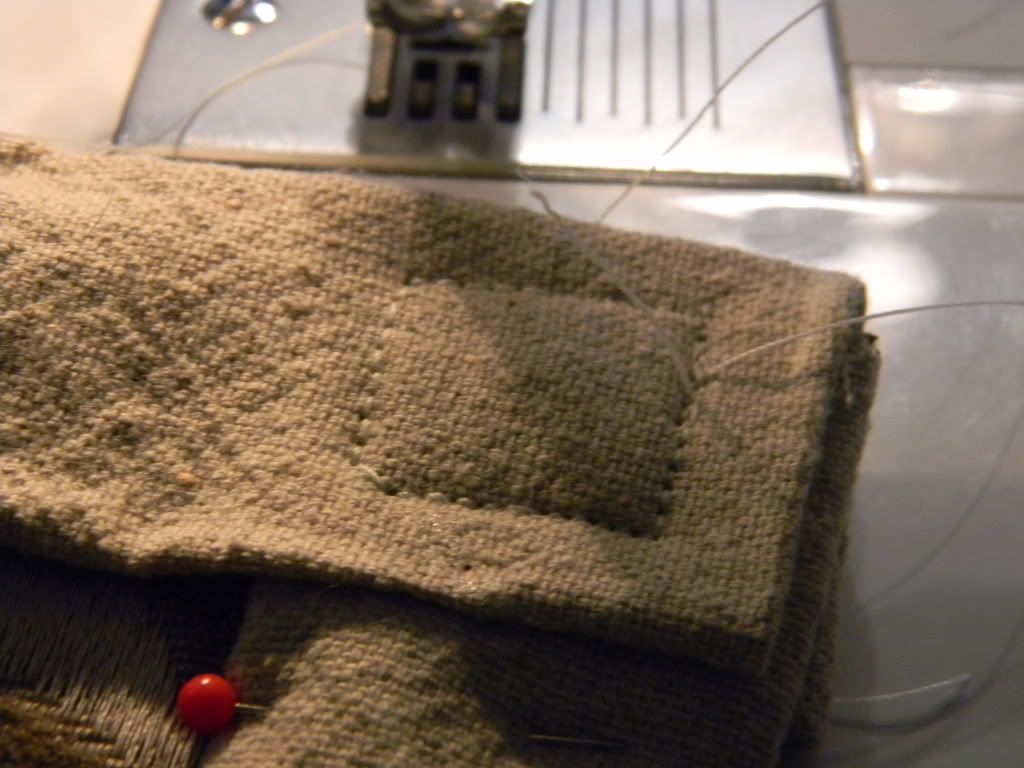
I ended up doing this for my corners.
To make sure the rug and the canvas stays together in the middle I sewed small knots through out. I used the same thread and a curved needle.
Then I was done!
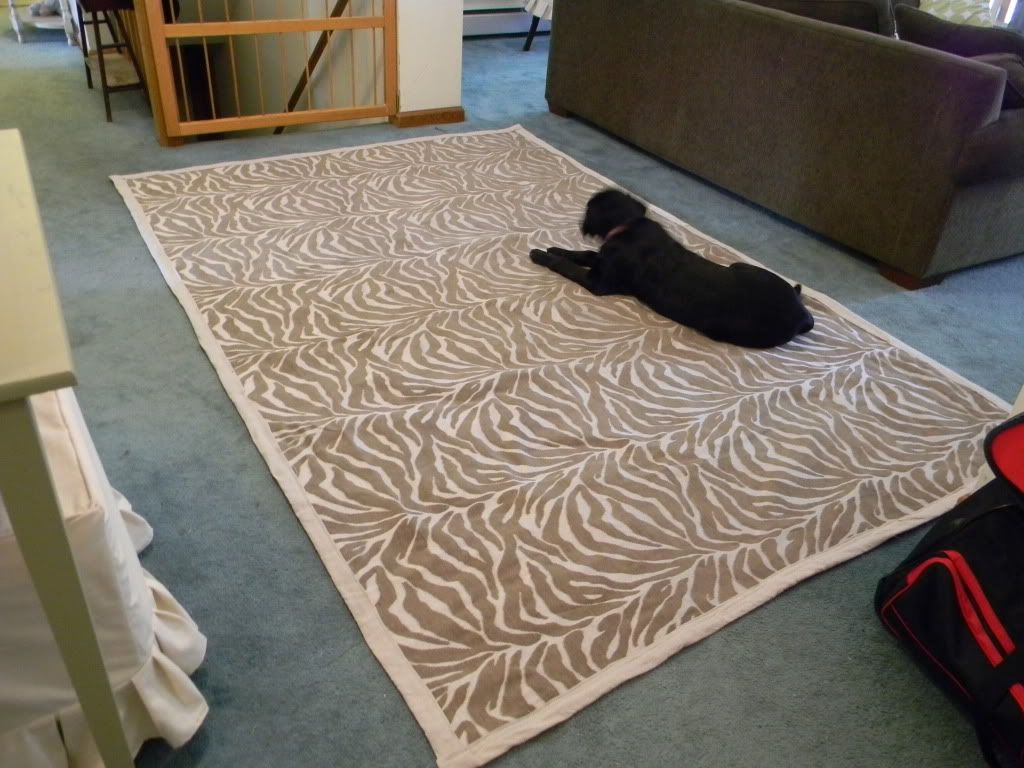
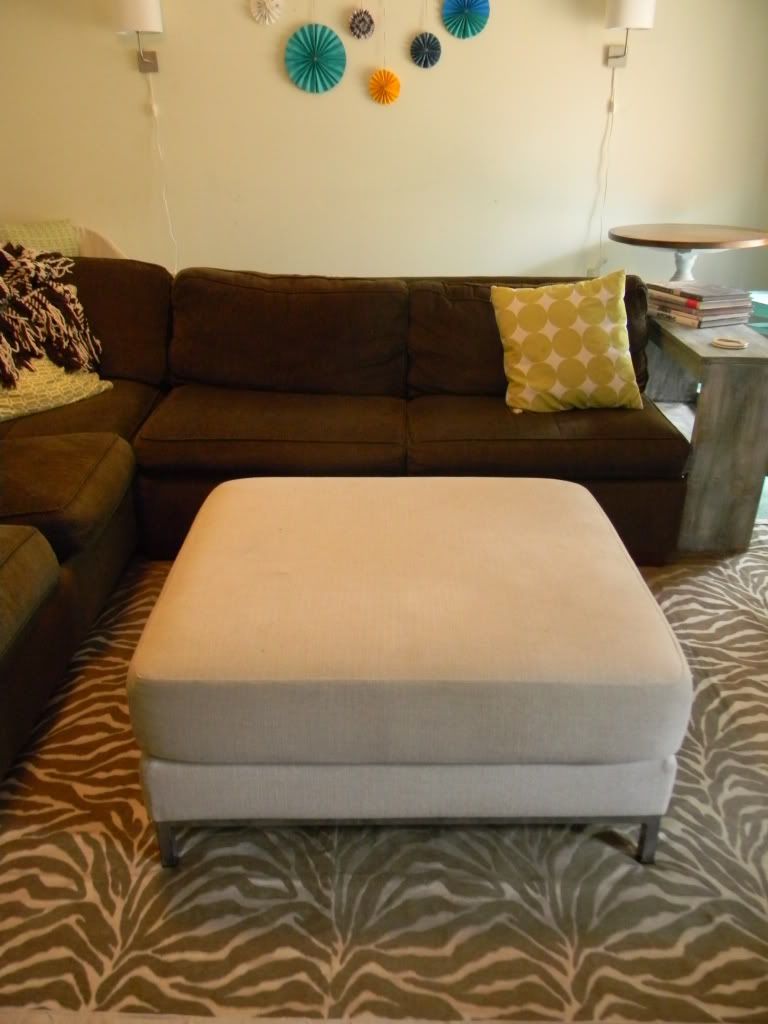
And very proud about my new rug I quickly moved my furniture and placed it in the living room.

Is was about a half of a days project (in between picking kids up) and I'm so thrilled with it. It will look even better on top of hardwood floors someday.
I didn't need a anti slip because its on a rug, but if you make your own rug and need one they are cheap at Ikea.
What it cost for me?
Fabric- $27.96 for 4 yards at $6.99 a yard
Canvas Drop-cloth- about 10.00
extra drop cloth for edging-already had
fabric glue-6.00
everything else I already had so it was
total-
$50.96
Not bad at all!
So that's it, hope you enjoyed my tutorial and maybe you will make your own rug and thanks to Cassity for having me.
Come on over to my Simple Home Life to see more pictures and other creations.


10 comments:
I love this project!! It looks amazing!
Wow, the rug turned out great! Big look for a small price.
This is so awesome! We are ripping out our carpet next year and will need lots of rugs and this will save me a bunch of money! Thanks so much for sharing!
Wow this is awesome!!! I am so going to try this!!! :)
so you bought upholstery fabric and basically put it on top of a drop cloth??? ARE YOU A GENIUS OR WHAT! What a great way to match curtains!!
I love this idea! How brilliant!
Oh my god, this GENIUS! Looks fabulous!
So great!!! This looks like exactly what I need for my toddlers' rooms. I long for comfy cotton rag braided rugs, but not willing to pay Pottery Barn prices. This is a great idea!
This is unbelievable..I love it! Thank you so much for the inspiration!
Well aren't you a genious! It never occured to me that you could make a rug out of fabric! So totally going to try this! Thanks so much!
Post a Comment