New Ikea Kitchen Island
20 April 2011
Hello fellow Remodelaholics! I'm Meredith Heard from Welcome to Heardmont and I'm thrilled to be here today. I guess you could say remodeling is in my blood - I've watched my parents renovate homes for the past 25 years, so naturally when my husband and I bought our first home 3 years ago it had to be a fixer-upper! We nicknamed our house Heardmont before it was even ours, and the day we signed the papers we tore out a wall.
We've done 99% of the renovations at Heardmont ourselves. Three years later, we have learned a little about a lot of things, from installing can lights to remodeling bathrooms, and we get better and better with every project we do. One room that required a lot of attention when we moved in was our VERY 1980s kitchen. Here's how our kitchen looked before we lifted a hammer or paintbrush.

And here's how it looks today!
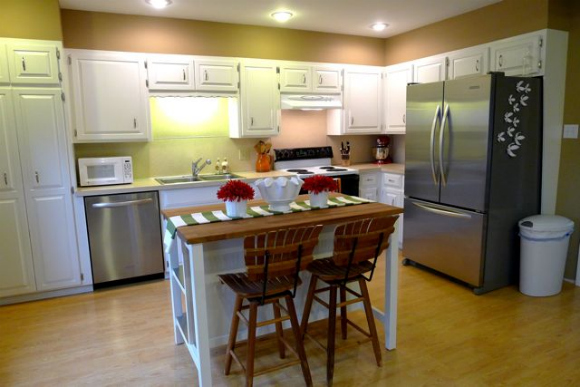
The road to updating our kitchen was a long one. We scraped popcorn ceilings, installed recessed lighting, painted our kitchen cabinets and replaced the appliances. We felt like we were finally getting somewhere with the room, but even after we painted our old kitchen island, my husband wasn't sold on its looks or functionality.
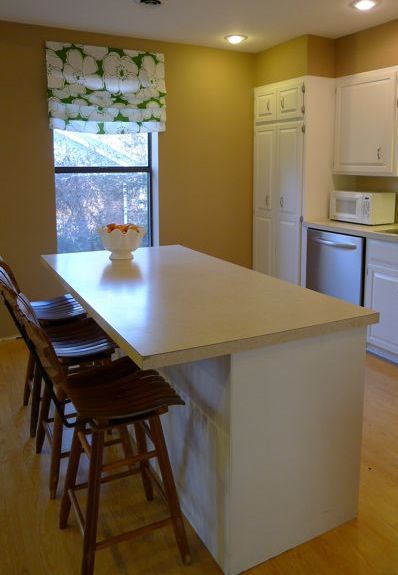
We also realized it would cost a fortune to replace that countertop later down the road, so we decided a whole new island was in order.
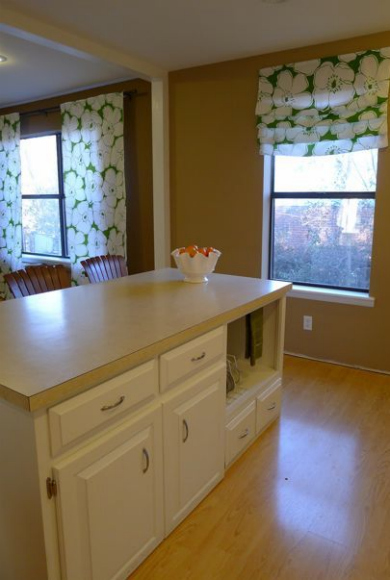
So what's a girl to do? Browse a million different websites, conclude that a $1500 new island was waaaay out of her price range, and then stumble upon the STENSTORP island from Ikea for under $400. Since the nearest Ikea to our home in Northwest Arkansas was 6 hours away, we had to exercise a lot of patience before it was time to bring our new island home.
This was one of our first experiences with Ikea furniture, so I was happy to find that the island was a breeze to assemble and seemed to be really high quality and very sturdy.
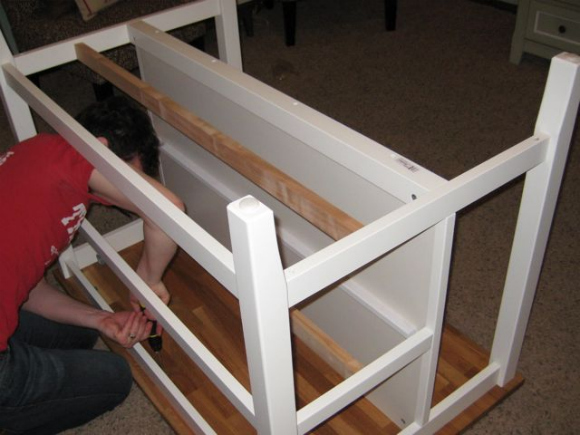
Less than 30 minutes of assembling later, and we had our new island.
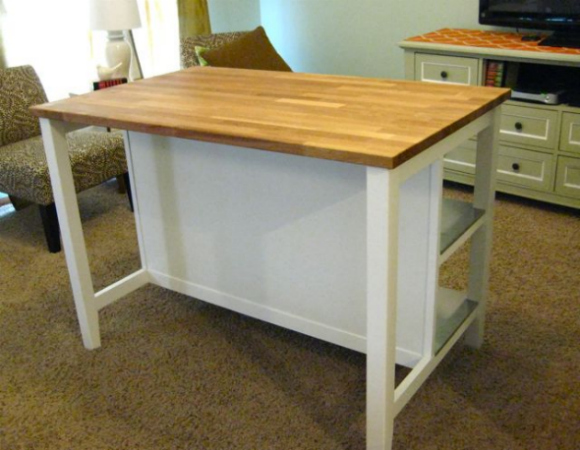
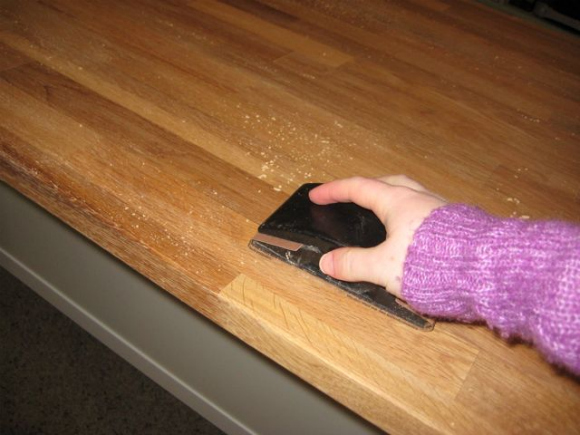
We'd never had butcher block in a kitchen before, so I decided just to use the wood oil Ikea sells to treat it. The instructions tell you to sand first, then apply a coat of the oil, let it dry, and repeat up to 5 times.
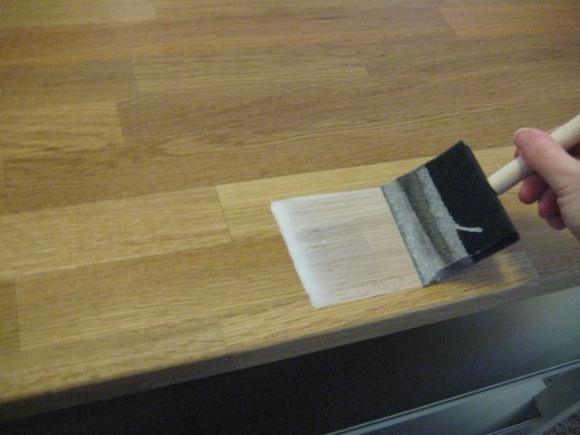
I don't know about you, but this is NOT what I expected the oil to look like when I opened the can. I guess I was picturing something more the color of olive oil.

It goes on white and then soaks into the wood. You can see I used a foam brush to apply the oil.
One thing I noticed after applying the oil the first few times was that the wood became very rough as it soaked up the oil - the grain was raised and there were little slivers of wood standing up all along the surface.
You can see the remnants of the wood slivers on my sanding block below.
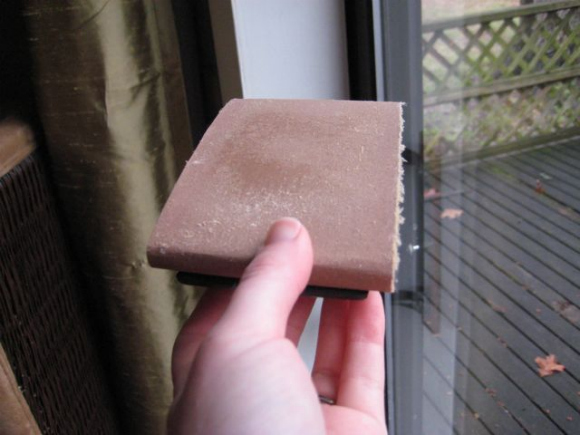
After every coat, the counter got more and more smooth. Luckily by the 4th coat, the wood only needed a slight sanding before it was ready to use.
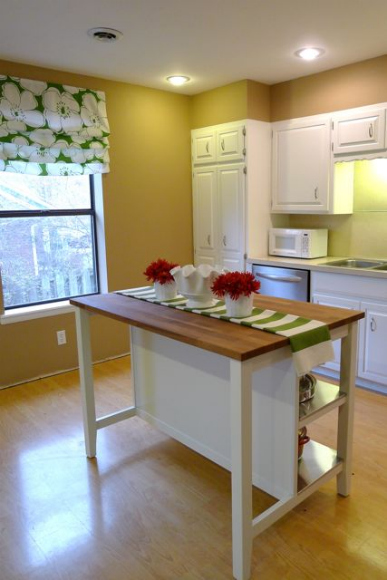
Here's our island in its new home!

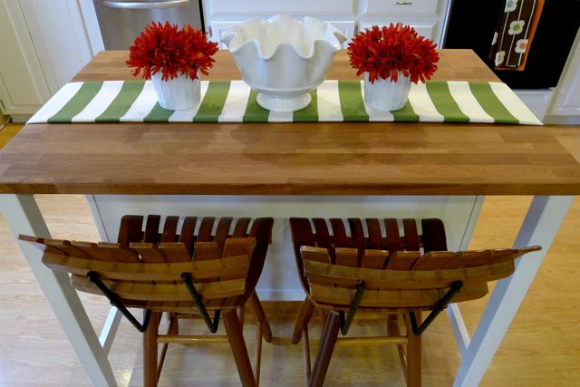
I love how our Craigslist bar stools look with the oiled butcher block, but the island looks great without them too.
You might be scrolling back and forth between our old island and this one and wondering why we chose something with a smaller countertop, less seating space, and presumably less storage.

Believe it or not, the open stainless shelving on the opposite side of the island provides the perfect place to store our pots and pans, mixing bowls, and even some of our prettier kitchen items that we never got to appreciate before.
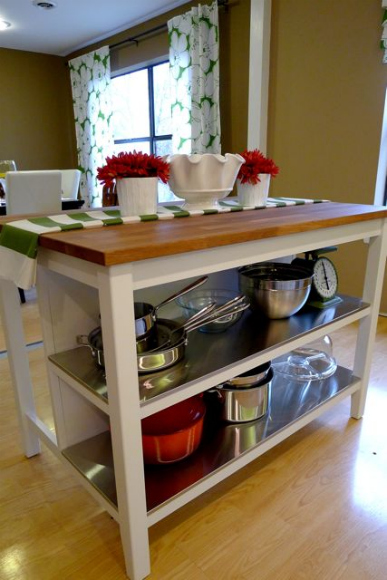
The old island's doors and drawers were so cumbersome compared to this open shelving, which lets us bring lots of fun color into the space.
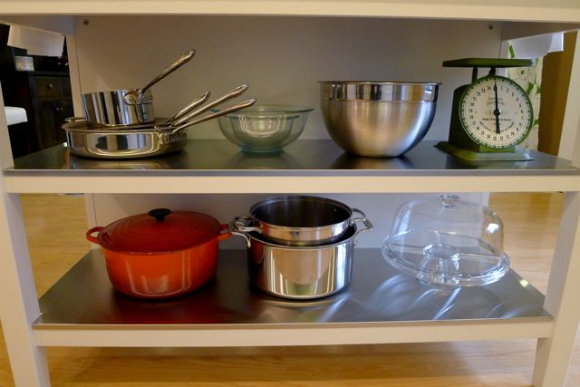
This green canning scale was left in the back of one of our cabinets by the previous owners, and I think it's adorable. Not only is it cute, but it gets used all the time by my husband who does a lot of backpacking and uses it to weigh his gear.

So that's a look at the new addition to our kitchen. Proof positive that bigger isn't always better!

Thanks for reading about our most recent kitchen update, and thanks so much to Cassity for inviting me to Remodelaholic today.

Want to know more? Click here to read all about how we brought our kitchen from 1981 to 2011 or go here to tour our entire house on our blog, Welcome to Heardmont.




10 comments:
The paint definitely makes a HUGE difference, but I'm totally amazed at how much that new island opens and updates the space! Great job :D
Shelley
Amazing what paint and imagination and a little elbow grease can do..fantastic! Looks great!
I love it! We have thought of using Ikea but just was not sure about the quality of their kitchen products. Glad to know that you like your island!
Oh my goodness, it's perfection! The cabinets, the drapery, the flowers on the side of the fridge.
Great great job!!
megmacdesigns.blogspot.com
This is awesome! We are actually going to get that same counter top for our island! I am so glad to know you love it!
This is fabulous! Love everything about it but especially the curtains! Any chance she can share where she got that fabric?
BEAUTIFUL Meredith! You did a great job. And congratulations for being on Remodelaholic's blog!! :)
Pam
Awesome job Meredith!! LOVE IT!!
Thanks so much ladies! We are loving the look and the functionality of our new island more every day.
Natalie, to answer your question, the fabric for our roman shade is actually from a set of sheets I purchased at Big Lots. Sadly there was zero info regarding the print on the packaging, so sorry!
I wrote up a little tutorial on the matching curtains in our dining room in case you're interested: http://welcometoheardmont.com/2010/05/tutorial-diy-curtains-from-a-bed-sheet/
Thanks again for the wonderful remarks!
Meredith @ Welcome to Heardmont
Love it.. It is much better looking I think.
Post a Comment