The Crafting Chicks are 6 friends who started the blog as a way to share our projects with one another. You can find detailed tutorials to help you create the same thing at home! With 6 of us we cover a vast variety of projects, from building furniture to sharing recipes to sewing--there's something for everyone! A few of our favorite projects are
Beautiful Barstools,
Vintage Paper Chandelier,
Doll Stroller Re-design, and
Sassy Juice Lid Photo Ornaments.
Amazing Hutch Transformation!!
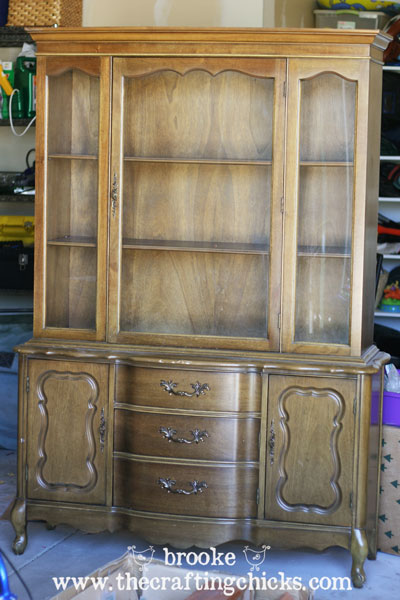
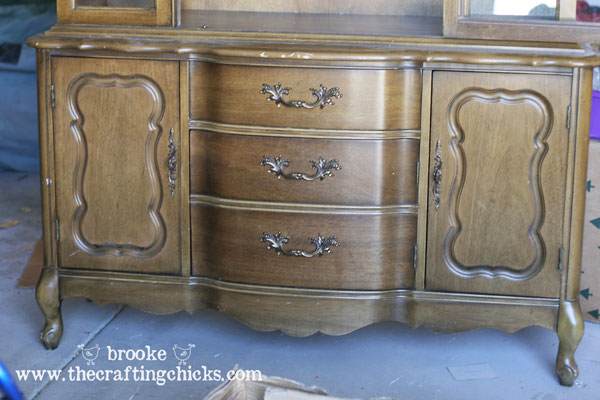
My friend gave me her grandmother’s lovely dining room hutch several months ago, and I was so excited to give this gem a sweet makeover. Here is the BEFORE:
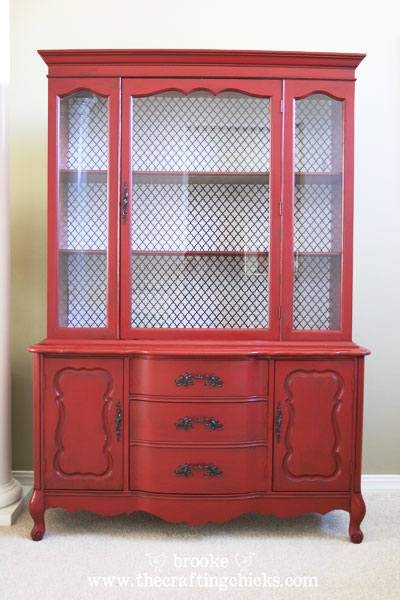
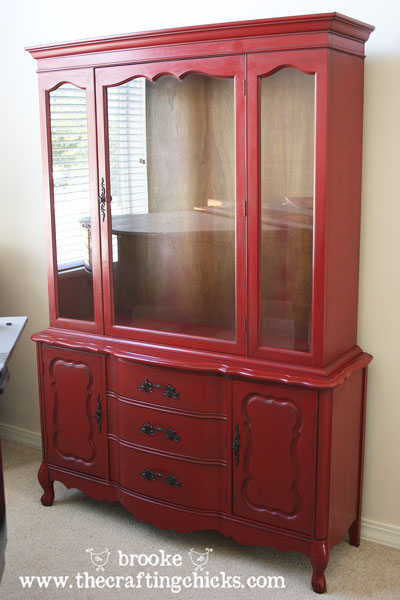
And I am CRAZY about the AFTER:
I just love her and stop and look at her all of the time.

I am
thrilled with how it all turned out.
So, let’s chat about how I transformed the hutch into this lovely piece of furniture. First though, I want to give a shout out to my friend Brooke at
All Things Thrifty for her awesome
Spray Painting 101 tips. I highly recommend checking it out. The girl is a
spray painting pro. There is a short video on there to show the correct technique for spray painting that was very helpful and a great resource.
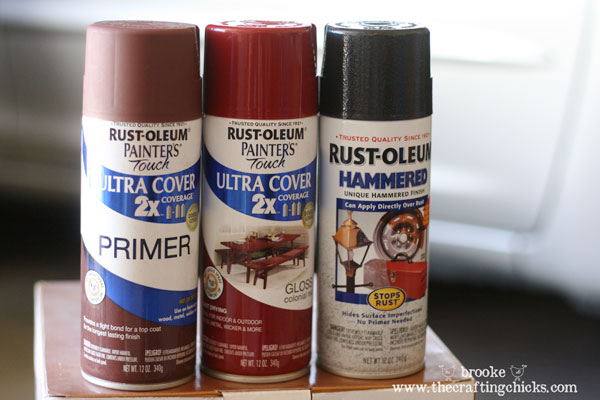
Supplies for painting my dining room hutch:
- Primer: I used a dark reddish-brown primer because I wanted to paint the hutch red
- I used Rustoleum Colonial Red spray paint in glossy for the entire hutch
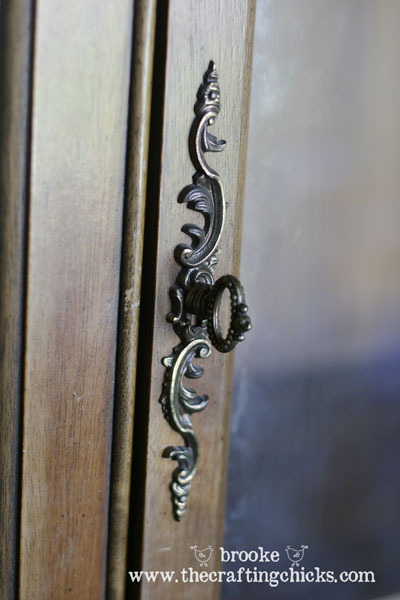
- For the hardware, I used Rustoleum Hammered Iron spray paint
- painters tape
- newspaper/paper to cover glass (I also used tinfoil to get all of the curves covered, because tinfoil bends!)
- sanding block
- cleaning cloths
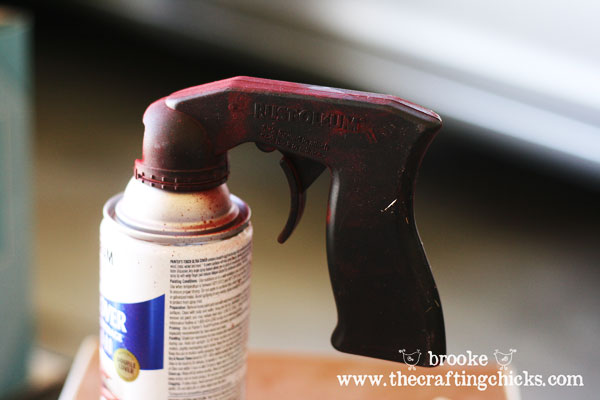
I would also recommend purchasing a spray paint handle. It makes it easier to control your spray and saves your pointer finger from painful death.

They are like $2 at the hardware store and worth every penny.
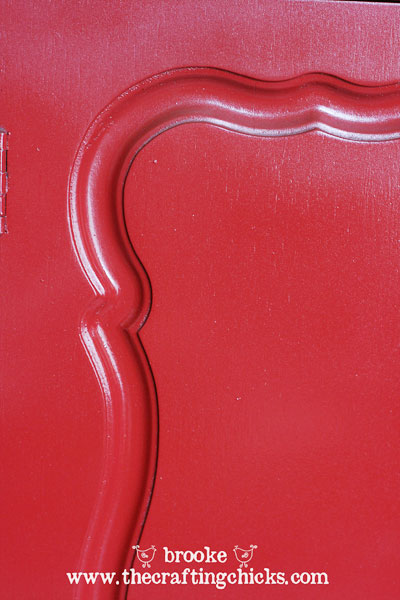
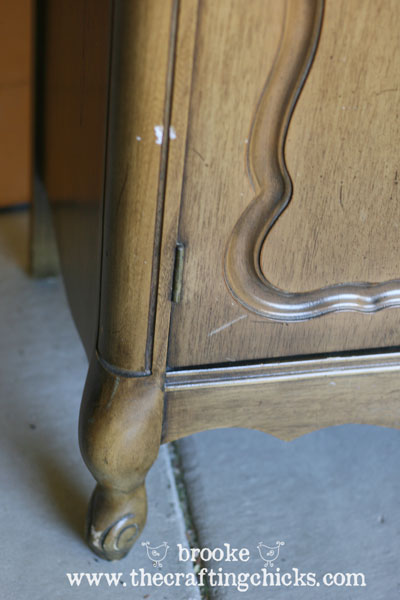
To begin this transformation, I cleaned the hutch, removed the hardware and doors, and taped off the windows. I lightly sanded the hutch but kept some of the dings and scratches. I thought it gave it some character.

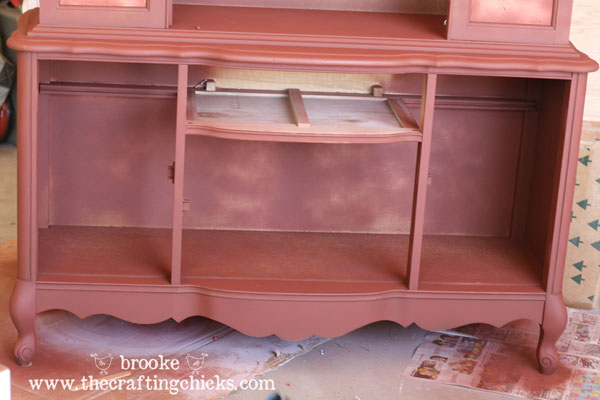
I primed the hutch with 2 coats of the brown primer.
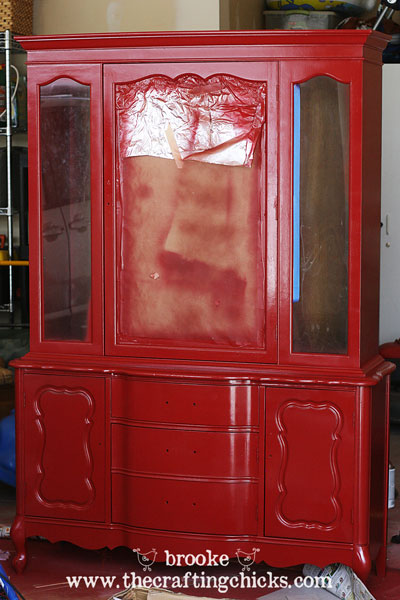
After the primer, I started in on the Colonial Red spray paint, spraying light and even strokes until the entire hutch was painted. I did about 3 full coats of red, letting it dry completely in between each coat of paint. Once the hutch was completely dry, I reinstalled the doors and drawer.
Another tip: to remove any overspray from the glass, just use a straight-edge razor and it will scrape right off!
Already I was happy with the transformation, but I knew I wanted some of those decorative details to pop more, and I wanted to tone down the bright red color a little bit as well. So I decided to use a glaze.
Supplies for glazing furniture:
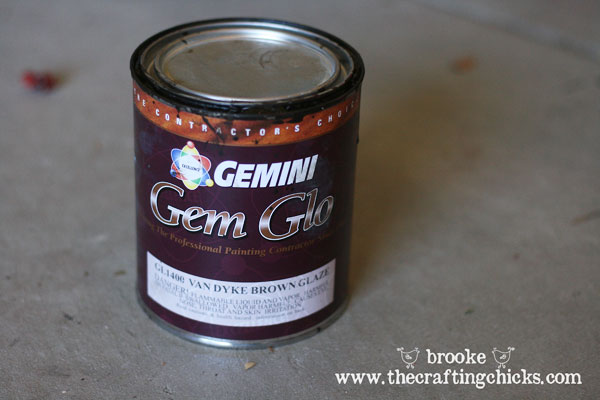
- Glaze: my sweet sister-in-law let me use her glaze, it was a blackish brownish tint. I did not even use very much of it, a little goes a long way.
- paint brush
- damp cloths
- gloves to protect your hands (I used those latex ones saved from when I worked as a nurse)
Brooke over at
All Things Thrifty also has an awesome
Glazing Furniture 101 tutorial that was helpful. I was scared, to be honest. I’ve never glazed anything before and nearly had to be convinced to do it by my sister-in-law.

I started with my primed and painted hutch.
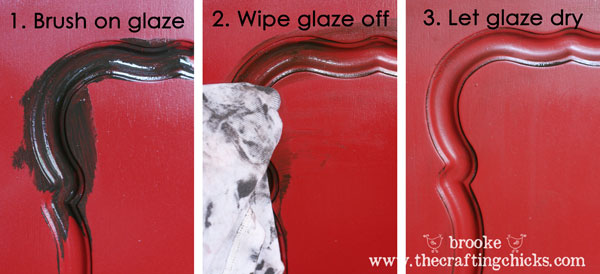
Then I painted on the glaze with a paint brush, getting into the nooks and crannies. After this I took a damp cloth and wiped off the excess glaze, leaving some of the glaze in the cracks to make the details come alive.

I also added a little bit on the flat parts to give it more dimension.
It took a little bit of practice to get the hang of it, honestly. But once I figured it out, I really liked the effect of the glaze. Hooray for glaze! I conquered my fear!

The great thing is if you mess up with the glaze, just repaint the original color and try again.
Okay, are you still with me? We’re almost done!
I was REALLY happy once my hubby and I brought the hutch into the house after the glazing was finished. I added the newly spray painted hardware (yes, I added the drawer pulls on upside down but I did it on purpose because I liked it!). But I still needed to work on the inside of the hutch.
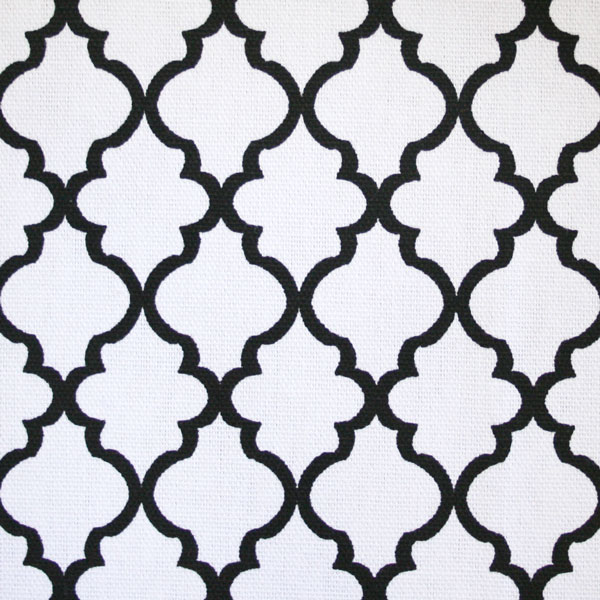
I decided to cover the back of the inside of the hutch with fabric. I found some great fabric at Hobby Lobby, cut it to size, and used a spray adhesive to attach the fabric to the wood.
I liked this sort of quatrefoil look of the fabric. It was a thicker cotton, so it covered well.
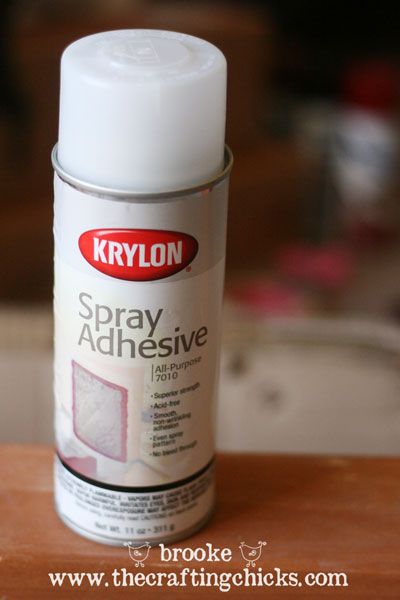
The spray adhesive was simple to use and worked very well. I sprayed in patches and smoothed out the fabric a little bit at a time to remove any lumps and bumps.
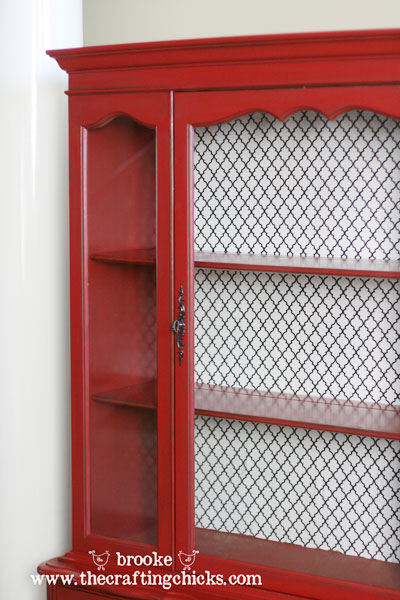
I LOVE the difference that fabric makes in the overall design!! Then I added the shelves back in, cleaned the glass, and jumped up and down with joy!

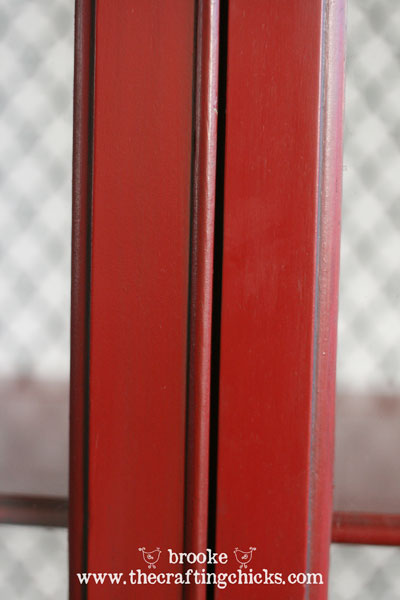
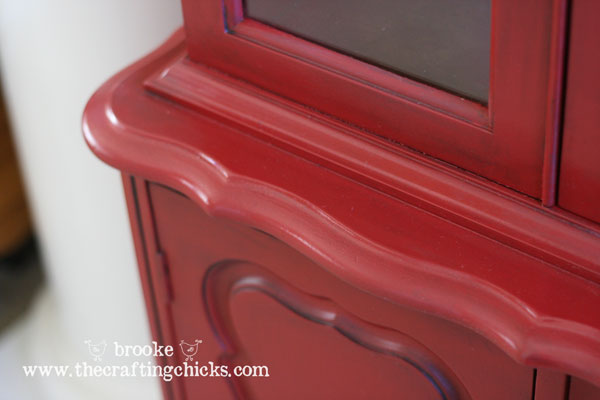
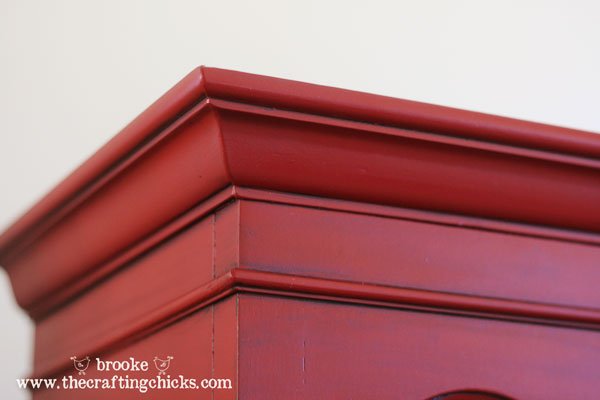
Here are some more before and after detail shots:
And one more time, the overall BEFORE and AFTER:
I ended up using 2 cans of primer and 5 cans of Colonial Red spray paint, and not quite half a can of the Hammered Iron paint for this project. I used a small amount of the glaze and about 1 yard of fabric for the inside of the hutch. Not too shabby! It’s amazing what a little bit of paint and a bit of work can do.
I love the curves and details, the color, the contrast of the black and white fabric, the glaze, everything everything everything!!! Now I can’t wait to fill the hutch with cute things and then start on another furniture makeover!










10 comments:
Your hutch turned out beautifully!! I love the red! I am so glad you did not paint it white as so many do in blogland!
I L.O.V.E. it...I've seen a some great hutches painted out in blog land, and this is one of the best, I love the fabric too....I want to do this to a hutch for a child's room....I just need a child first HAHA!
LOVE love love!!
Absolutely gorgeous. Question- is the hutch laminate?
I have a bedroom chest of drawers this exact style, feet and hardware. Now you've given me the courage to tackle painting it. The china cabinet looks Fabulous!
Cheers!
MAY DAYS
This is simply stunning! And so much character. Great job.
Megs :)
This is beautiful. I never would have seen the beauty in the original piece. The fabric backing really makes it pop. Thanks for sharing!
I love your professional job on the hutch it's beautiful! I have painted lots of furniture too but I havve always brushed the paint on or rolled it. Thanks for sharing the number of cans of paint you used. Next time I'm spraying too looks much easier. I guess I really should invest in a sprayer so I can continue to use my favorite shade of White~ ~Cottage White by Behr. Love the yellow undertones.
~~Ahrisha~~
I love the colour. I am very happy that trends have moved away from matching woods all the time. This is perfect for a statement in any kitchen.
What a fabulous job you did! I love it. So fantastic!
Post a Comment