


How To Build A Rustic Outdoor Dining Table: Guest Remodel
25 August 2010
Unexpected Elegance did such a great job on this recycled wood project. What a great way to reduce waist and put it to good use. This is a great tutorial of how to build a rustic outdoor dining table.
Last week I had entered a challenge on The CSI Project and saw that this week the challenge was Roadkill Rescue. This means anything you got for FREE. I had been thinking about what I could post and nothing stood out, until…my friend called to ask about where she could get rid of some old decking boards. My mind started turning. I went over to see the boards headed for the trash. When I saw them, I immediately thought TABLE. She looked shocked, but was definitely interested in this idea and was a major factor in the motivation I needed to finish this project. You will have to bear with me, this is going to be a long and detailed post!
I’m going to show you how I got from this…


To This!

This endeavor took two neighbors contributing…A special THANKS goes out the Wynn’s and Pope”s for the supplies!
Here goes:
Supplies I used:
Scraps (2×4′s, decking, deck posts), deck screws, saw ( I used a compound miter saw, but any saw will work-I only made straight cuts), level, square, (4) 4 in” lag bolts, (2) hitching rings with lags,(2) 4 13/16″ ceiling hooks, (4) braces, (2) thing-a-ma bobs?? (not sure what they are called, sorry!)
I started by making a box from the 2×4′s. (They were originally stairs to a play structure.) I cut three at 21″ and two at 54″. I assemebled them using 3″ deck screws, longer board on the outside and the shorter boards on the inside with one in the middle for support. Use a square on the corners to make sure they are “square.”
This is the best picture I got.

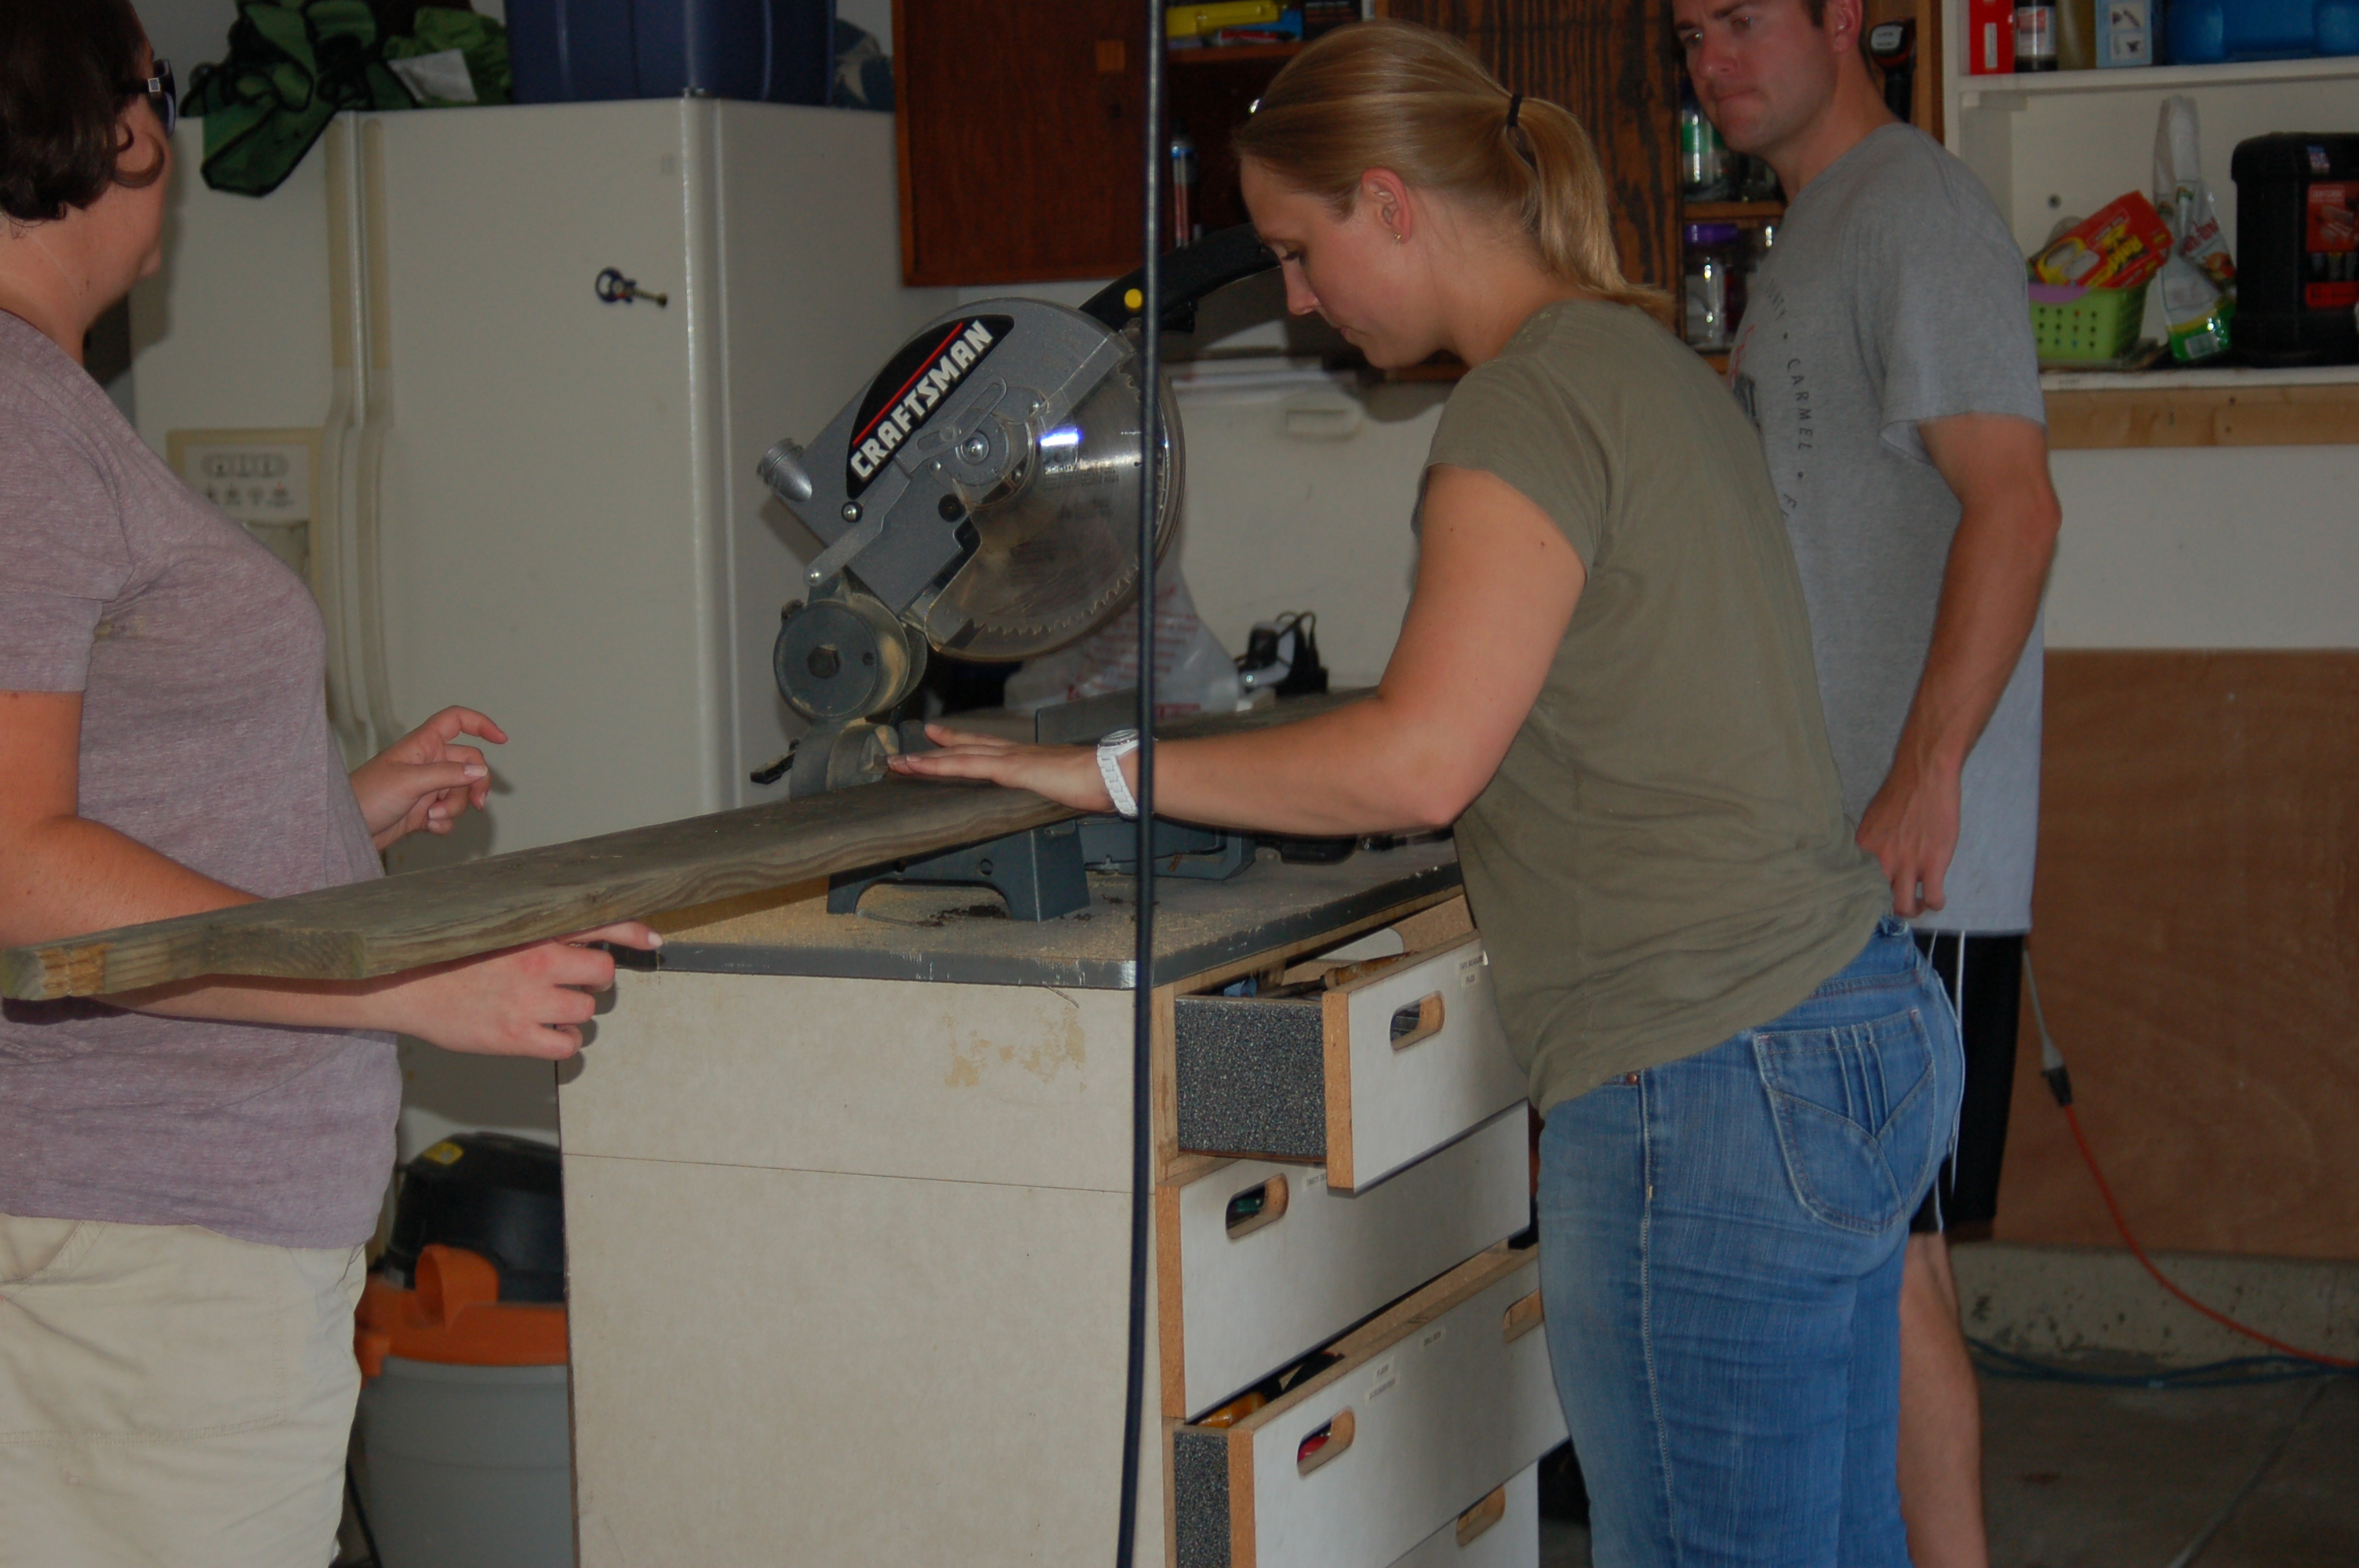
Next I cut the decking to 66″ each. I used 7 total.

At this point I had all kinds of help! There was a group of neighbors, interested in what this table, made of someone’s trash, would look like!
So, I had the box. Then I started attaching the top boards.

I flipped it over, then attached the legs. I used deck posts (4×4′s) for these. I cut four at 28″. I originally attached them to the inside, but changed this later. Use a level to make sure the legs are “plumb.” That means straight! 

(Not sure why this picture is the wrong way, but you get the point.) And tada! First draft!

So that night, I went home and couldn’t sleep. I kept thinking…It looks like a picnic table! Then I remembered a dining room table I saw in Pottery Barn.

Pottery Barn
So the next morning I went to the hardware store. The hardware that looked the most like the table were VERY small. I found these, that I thought would work and mimic the inspiration table.

So I flipped the table back over and added support on the sides and moved the legs to outside the “box.”


Then I attached the supports for the legs using lag bolts.

I measured up from the floor 12″ and pre-drilled holes. You don’t have to pre-drill, but I would suggest it! It will look something like this.

Then I attached the hardware. I pre-drilled these holes also, then used a screw driver to tighten them.

Here’s the final table!


I am very happy at how it turned out! I am thinking I will probably do some kind of finish, maybe white wash, but it is a functioning table for now. All together it took about 4 hours, but that was starting it and then changing it later! 
I hope I have inspired you to think outside the box and use what you (or your neighbors, in my case) have.
We had an old pile of wood that we collected last spring that we made a chicken coop out of. I think reusing old things to make new things is such a good thing, don't you?
 Labels:
Guest Projects,
Outdoor projects
Labels:
Guest Projects,
Outdoor projects


9 comments:
I'm luvin' it!!
Amazing! What a great table.
Really great table! I love it and the rustic charm it has!
Well now! You just decided to whip up a table, did you, lol!
Looks beautiful; love it!
sue
xo
Uh, wow! I couldn't believe the before picture. I would love to have a table like that!
Pottery Barn will be jealous for sure. And, um, where did you get that rug? love it
Beyond excellent!!!
I am new to the boards and just wanted to say i
am very very happy to read this blog.
Awesome!
Been looking on google for a design for some old boards and this is perfect.
Post a Comment