


Upholstered Bench From A Coffee Table: Guest Remodel
27 July 2010
Melodie @ The White City Project created and upholstered bench from a coffee table. Melodie said:
The idea of having a decor item for its sheer decorative value is a concept completely lost on Mr. Mel. In a perfect world, every item in a room would have a purpose but, let’s face it, sometimes we just like things to be pretty.
This piece started its life as a coffee table. But I didn’t need a coffee table. I needed a bench. So, now it’s a bench. Yeh, it’s that easy. Mr. Mel doesn’t understand this. He is confused and I am tired of trying to explain it to him. Moving on...
This piece started its life as a coffee table. But I didn’t need a coffee table. I needed a bench. So, now it’s a bench. Yeh, it’s that easy. Mr. Mel doesn’t understand this. He is confused and I am tired of trying to explain it to him. Moving on...

This was actually part of a set of three tables, two of which I used to make night stands for our bedroom.
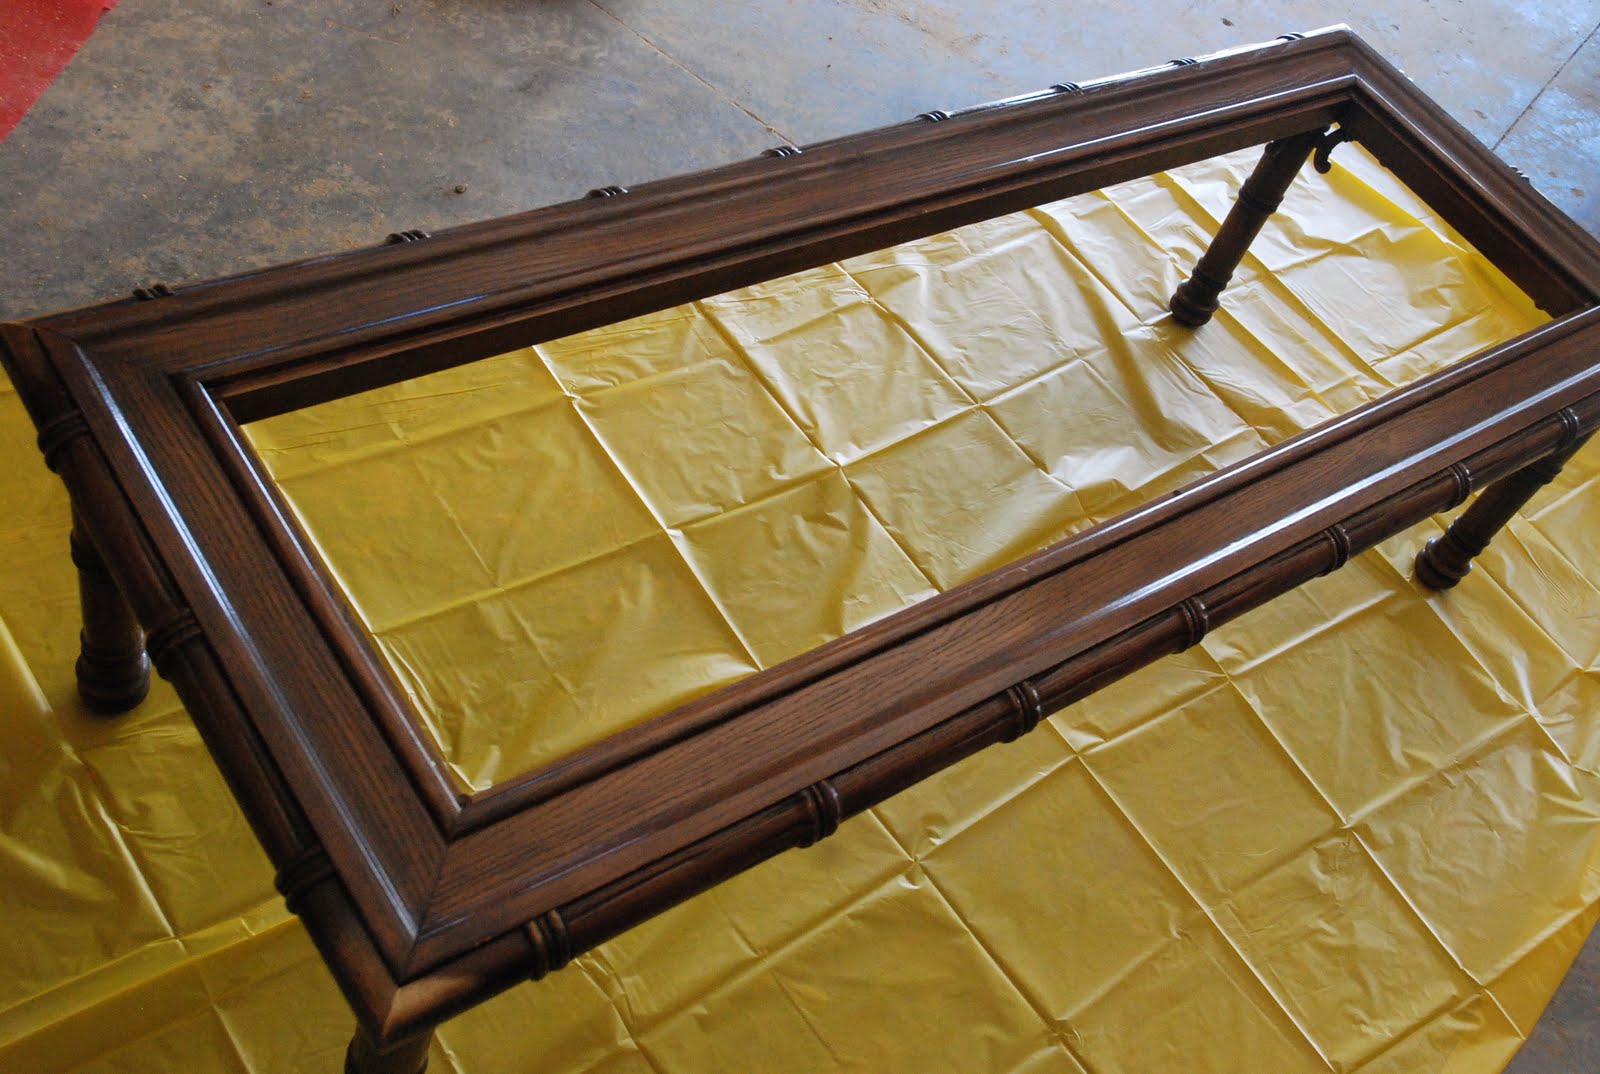
I figured I’d stick with the same idea here. I removed the glass then primed it with Kilz (this piece also had brass corners so I made sure to prime these with a metal primer I had leftover from my night stand project).

I gave it two coats of CIL Lovely Lisa leftover from my night stand project.

Then glazed it with leftovers (CIL Black Mica and faux glaze) from the night stand project and topped it with a coat of Varethane.
To make the bench seat, I cut a piece of mdf to the size I needed (18" x 54"). I covered it in 2” high density foam, batting, and fabric. Note to self: do not buy foam by guesstimating the size you need or you *will not* buy enough - not that I would know from experience!To make the fabric cover for the seat, I cut 4 pieces of fabric 1" wider and 2 1/2" longer than the sides of the foam. I cut the top piece of fabric 1" wider and 1" longer than the foam. These measurements will allow me a 1/2" seam allowance and enough fabric to wrap around the bottom of the seat. I pinned and sewed the side pieces together, end to end, creating a big loop. Then I ironed open my seams.


Mr. Mel thinks it's pretty funny that I insist on a bare foot to work the sewing machine pedal. It's an odd habit I started back in grade 8 home ec, and now I can't seem to get past it! (Yes, that is an iguana tattoo on my foot. Perhaps not the smartest thing I've ever done...)

With right sides facing, I pinned the loop I just made to the top piece I cut out earlier.

When got to the corners, I pinned on each side of the corner, then pinned the fabric at the 45 degree angle where the fabric met. Then I folded the corner down (so it kinda resembled a cone shape), and pinned across all layers of fabric. When you sew this, you will sew diagonally across the corner.


Once it was all sewn together, I trimmed the excess fabric from my corners, and ironed the seams open. I fit the seat cover over the foam and batting and stapled the excess fabric to the bottom of the seat (just like I did for my headboard project). I attached the seat to the frame from the underside using small L-brackets leftover from my closet organizer install.
All done! Do I think we will ever use this bench? Maybe not. But it will look great at the foot of my bed!


Cost breakdown for this project:
$25 for the table
$0 for paint
$0 for glaze
$12 for fabric
$57 for batting and foam (I opted for the really dense foam so it cost a bit more)
$0 for mdf (I found this in my garage. Where it came from, I have no clue)
Total cost $94
Wow very nice! I love the texture and bamboo look. It reminds me of the bench
that I recently finished here.
How do you like her new upholstered bench?
 Labels:
Bench,
Guest Projects
Labels:
Bench,
Guest Projects


4 comments:
Very nice
It appears that you've figured out the trick to getting people to actually read the blog post instead of scrolling through the pictures. Leave out a major key image so they get confused!
I scrolled down until I saw the cushion seating neatly on the bench (not coffee table) and then I thought to myself... how did she compensate for the massive hole in the center? Images of people falling straight through the bench ensued and I decided I must have missed something so I scrolled back up and actually read.
Ah-ha! You tricky woman you. ;)
I love the bench. I have a coffee table that I think about changing into a bench all the time, the problem is that I wouldn't have anything to prop my feet up on afterward, but other than that, we use the coffee table for zilch.
I love it! Such a great look and I like the purple. There's something about sewing with naked feet that's just better. I do the same.
Looks great! I have an old coffee table sitting down the basement that I don't want to throw away but couldn't figure out what to do with it.
Post a Comment