


Oh Dear! DIY Antler Decor; Guest Post
10 May 2010
I saw this over on my friend Autumn's awesome blog Design*dump and I love this idea. I must make one of these one day, maybe I should make one in a zebra print for my craft room.... Oh the possibilities! What do you all think?

what you will need:
computer/printer
deer template
1 sheet of foam core
spray adhesive
wrapping paper, or other large paper
accent paper, if desired
xacto knife and fresh blades
cutting mat
paper clip or wire
first, get your sheet of foam core.

spray one side lightly with spray mount.
i used super 77--i happen to LOVE this stuff,
but any spray adhesive will do.
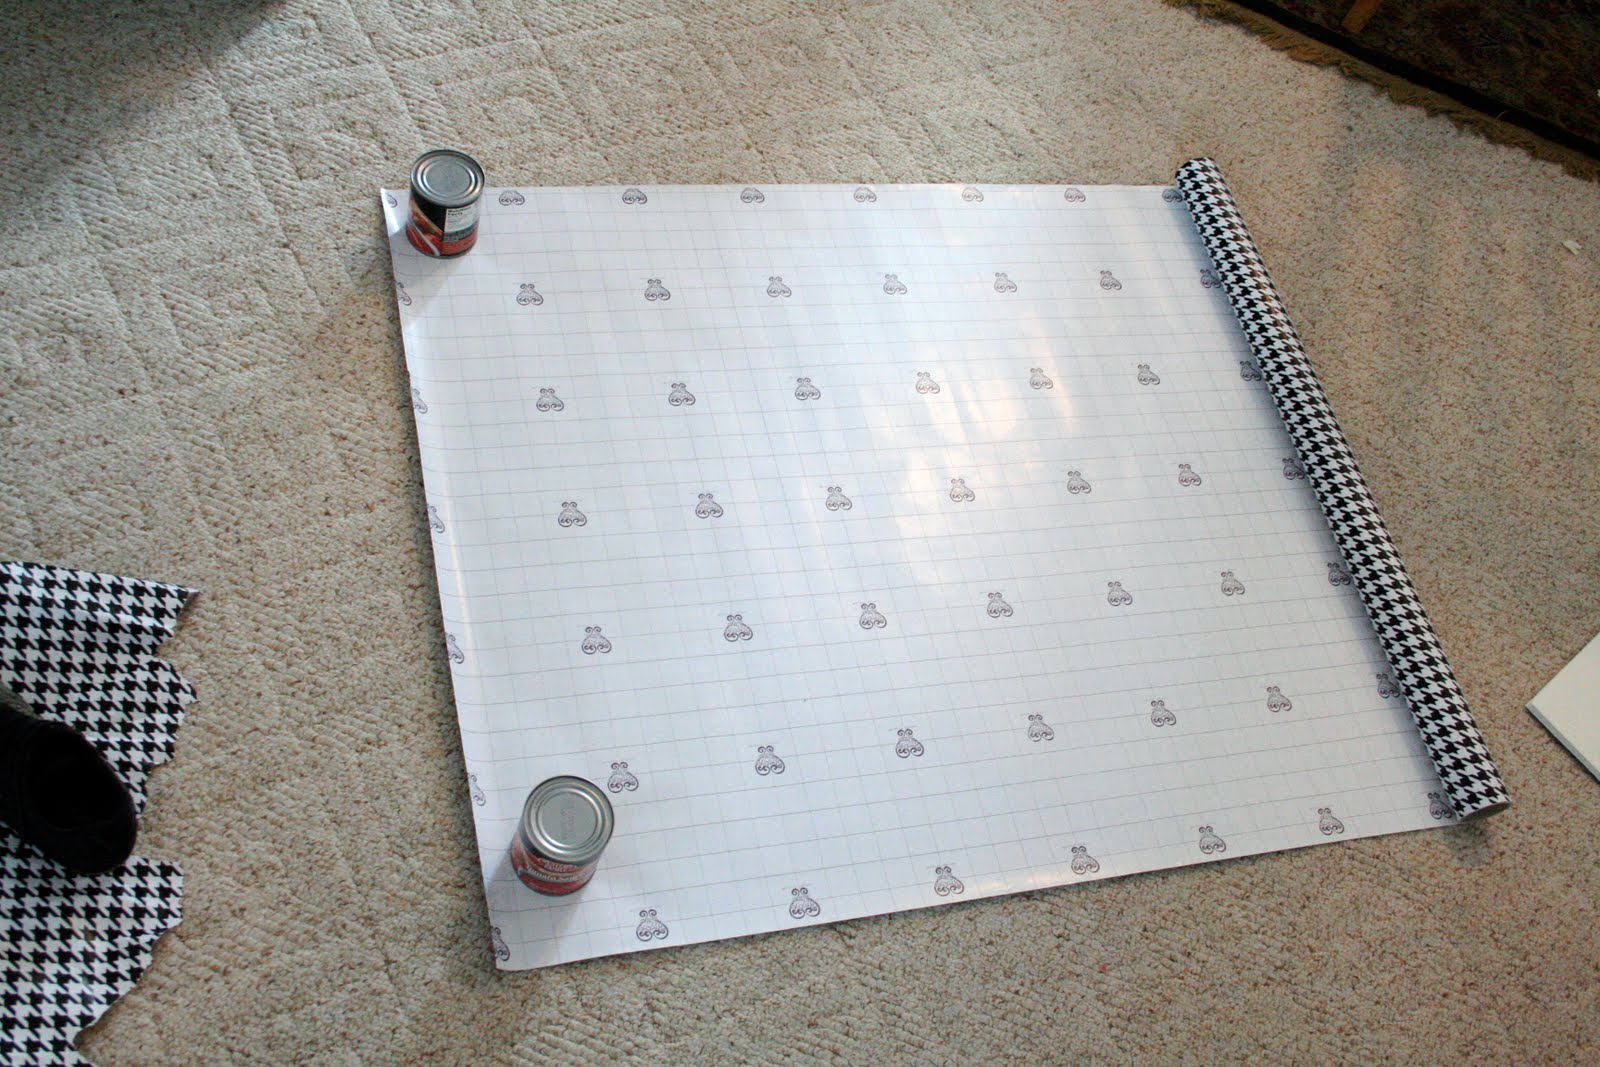
i laid out my wrapping paper on the floor,
and used cans to keep the ends from curling up.
of course, i used my houndstooth wrapping paper,
but you could use any pattern!

after laying the foam core one one side of the paper,
i smoothed out any bubbles, then
sprayed the other side with spray adhesive,
and adhered the paper to the other side.

trim off the excess...

and again, carefully smooth out any bubbles.

print your template,
attach the pieces together with tape,
and trim around them.

i VERY lightly sprayed the backs of my
pieces with spray adhesive,
and then laid them out on the foam core.

the secret to getting a
good cut with foam core?
sharp blades!!
i went through three blades
for this project!
for this project!

carefully cut out your shapes...
i found it helpful to use a cork-backed metal
blade for all of the straight cuts.
(no, i am not left handed, i just love y'all so much
that i held the camera in my right hand and
pretended to cut with my left hand...
so you could get a good visual.
man, am i nice, or what?)

once all the pieces are cut,
carefully remove the template paper from the
finished piece, and assemble.
(even though the instructions say to use a thicker
piece of foam core for the "mount",
i used the same thickness and it turned out fine.)

i used a push in to make two holes
for the hanger.

i unfolded a paper clip
to use as a hanger because i couldn't find any wire!

here is the finished product!
i used a contrasting paper for the mount.
PS:
this entire project only cost me .99.
i had everything on hand, except the
foam core, which i picked up
at michaels for .99!

PS:
this entire project only cost me .99.
i had everything on hand, except the
foam core, which i picked up
at michaels for .99!

here is the "original" one on the
i love the fun pink paper mixed with the faux bois!

this was a fun little
"finishing touch" project
that i completed this week
for my son's room.

I love that!
Such a great little boys room idea!
 Labels:
Boys Room,
Crafts,
Decorating,
Guest Projects
Labels:
Boys Room,
Crafts,
Decorating,
Guest Projects


9 comments:
This is really cute - is your family (or son) by chance a Bama fan? If so ROLL TIDE ROLL!
What a great project! Love it!
OK There will be herds of deer everywhere now. I know I may be seeing one deer here, if I can do as well as you did here. Love it.
Sandi
Ha!! I love it!! It reminds me of something we would have done in 3-d class in college. Very creative and maybe I'm over thinking it but don't you think it is a tad bit ironic? In a good way, like hey you could put the real thing up or make one out of foam board that is way cooler....I'm over thinking it aren't I!:)
kelly,
YES, my husband is a HUGE bama fan! he lives and breathes for the crimson tide. roll tide!
:)
autumn
cassity--thanks for the guest spot! you are so right--these little antlers would look fabulous in zebra!
The black and white and the whimsy caught my eye immediately. Fun to see something new.
Pamela
I personally have a real head on my wall (DH is a hunter) and one head is enough! but it is a cute idea!
I love this idea, I totally want to do this!!! Thanks for the fab tutorial!!
This is the cutest idea! I want one for my studio lol
Hi there ! I love this deer. I've used the same template to make one for my baby's nursery ! You can check it out here : http://abrandnewbaby.blogspot.com/2010/02/my-baby-projects-so-far.html. Cheers from France !
Post a Comment