Angel from TaDa! Creations sent over her little girls room remodel. It is absolutely adorable and detailed from top to bottom, she really thought everything out and planned well. Especially considering the size of the room 10' x 10''! WOW! Knowing the size of the room helps you appreciate what she did even more. Here is the whole story:
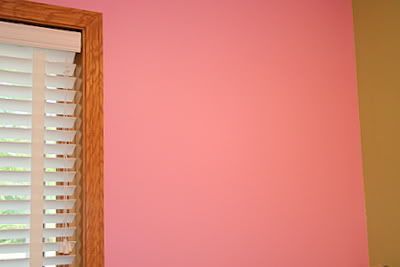
Last week was filled with household projects, the least of which was painting the girls' new Big Girl room. I asked them what color room they wanted and they both declared PINK right away (thank goodness!). So I taped color swatches to the wall and they each, individually, picked the same color. How cute is that! I did have to change it a bit once I decided on bedding sets. I went to PB Kids to match them and found I needed one a little less blue (shhh...don't tell the girls on me).
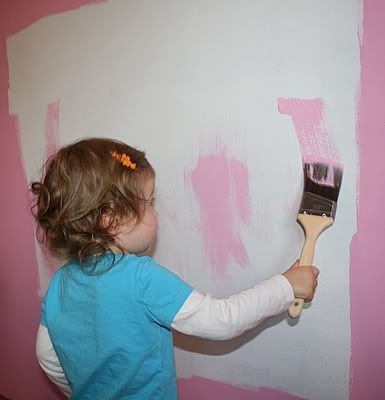
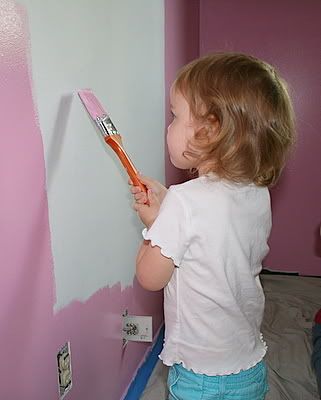
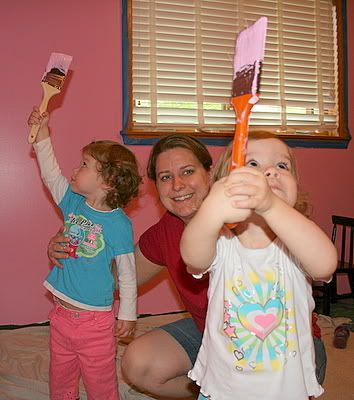
So we hyped it up all week by asking if they wanted to help paint their new room. They couldn't wait for the big day to arrive. They kept calling it their office since it used to be Daddy's office. I decided to paint most of it myself and leave some white space for them to paint on and then quick roller over it for the final finish. It worked perfectly!
A little bit about the paint - I got the idea to use a fun green for the upper wall in their room from this post by Jenn of
takeabowcreations. It's Sherwin Williams Melange Green SW 6710. The pink I chose is called Partytime SW 6849. Did you know that Home Depot will match those colors too? They even had the color codes already in their system! Did you also know that if you wrap your brush in plastic wrap and put it in the fridge you can use it the next day? I love that trick, because I hate having to wash out my brush when I'm going to need it for the same color a little later.
Not the best shot, the lighting was bad that time of day,
I promise I'll show more when the room is all done.
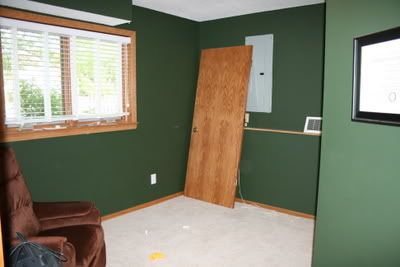
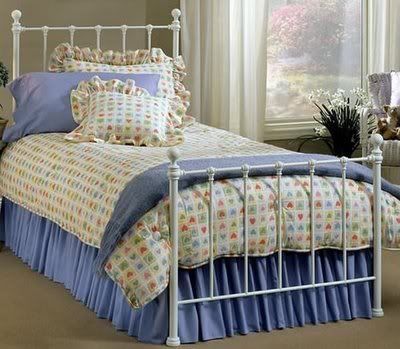
Their room is teeny tiny at just 10'x10' so not much else will fit besides two twin beds, which are already on their way. Oh and we have a lovely fuse box to hide on the wall that I painted green. I've decided to hang 3-4 rectangular canvases, vertically, so one can cover it fully. I'll either paint or applique something to stretch over the frame to match their bedding. The lower portion of that wall will be covered in white bead board.
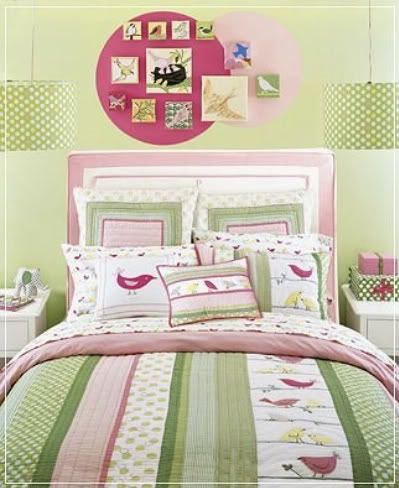
Here's how I will be decorating their room.:
Penelope Bedding from Pottery Barn Kids - my FAV
This is already hanging in front of their window
Tonight is the first night the girls are sleeping in their new room. It feels like such a big milestone for them. I remarked to Dave last night, as we set up the first bed, that it feels really great as a parent to be able to give something so wonderful to your kids. I am seriously in love with their new room and I love how high their beds are and that we installed the beadboard on the knee-wall ourselves. I even figured out how to handle the 2 outlets on that wall and we did it perfectly.
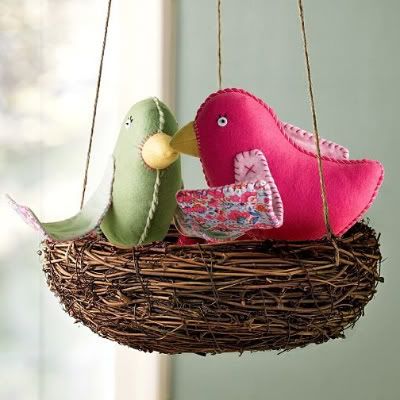
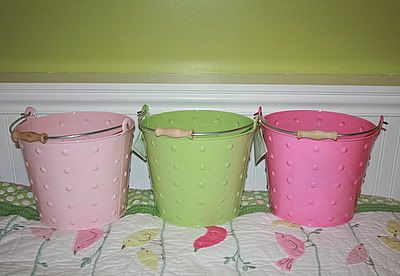
This is just the beginning though, I still have a bunch of sewing projects to finish up. Fabric wall art for the green wall to cover the ugly electrical panel. Curtains, still not sure what they will look like. Bedskirts, I have several ideas just need to pick one. And some more fabric/applique art for the wall right when you enter the room. We've decided that for now we can't have anything else in the room of interest or they won't sleep. So, sadly the birds in their nest had to be removed, no dresser between their beds that I was planning on painting green and I can't put out the metal buckets I found at Babies R Us for dolls and toys. Even though this room has only 8'x10' of useable floorspace, I have big plans for a lot of punch in a small space.
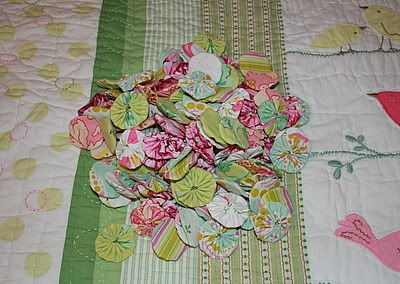
These are the 150 yo-yo's I finished up just today for some accent throw pillows.
It's a dreary, rainy, gorgeous, fall day here in Minnesota. But instead of waiting for the sun to shine again, I took photos this morning anyway. The room is almost fully complete. Just waiting for the
pink fan, and I need to swap out the curtain rod for the same white wood one that's in all the other bedrooms. Other than that, we are done! Yippee!!!
Looking in from across the hall. (and the new growth chart!)
I love this little woodland theme of wall appliques to greet you at the door. They are available at Target right now in the kids/girl bedding section (but not on-line, I've looked and looked in hopes of providing you a link here) . The whole set was about $15. When I first spied these in
Jenn's girls playroom, it was love at first sight. I love how they added more colors to the room than just the pink and green that we started with. It gave me the go ahead to choose the 4 fabrics for over the bed. Which was a sacrifice since they will no longer be used to make skirts for myself. But that's ok, there is always new fabric to fall in love with. And in here I'll get to see them everyday and they won't fade from washing. So it's all good.
I showed you in
the last post the eye-sore of an electrical box that's on this wall. Seriously, who decides to put an electrical panel in a bedroom when the utility room is along this same outside wall. I've been wanting to cover it up since we moved here 10 years ago. Now, that is what I call procrastination-, uh, patience. Or just a lack of direction, until now.
What I did: I figured out that in order to have it in the center of the wall, leaving room for the appliques on either side and not having to nail where the panel is, I had to find (4) 24"x24" canvases. The local shops didn't have anything that size so I searched on-line. I was thrilled when I found
Artist Brand Canvas. They had 24" x 24", 1-5/8" wrapped canvases. So for around $50 I had the base I needed to fill the wall. I just stapled on the fabrics, from
Heather Bailey's Pop Garden line, and made hospital corners so they wouldn't show on the sides. I love that I can swap out the fabric if we need to. I will probably add furring strips to the wall since I realized as I was hanging these, that the panel wasn't flat against the wall.
Here's another eye-sore that's found throughout the house. The dark brown intercom system. I think we've decided to just remove it and patch the walls. The house is so small that we've never needed to use it. If the doorbell wasn't connected to it I think we would have removed it years ago. But it's one of those things that's way down on the list considering we'd have to learn how to patch large holes in sheetrock. I can think of better ways to spend our Saturdays right now though.
So, that's it. A lot of punch packed into a teeny tiny room (about 8'x9' of usable floorspace). I can't imagine two teenagers sharing this small of a space so hopefully we'll have moved by then.
UM WOW!
Isn't that just the cutest thing ever?!
YES!!!
***Also, you really need to check out some of her sewing projects, especially
this peaseant ruffle dress, she has a FULL TUTORIAL and I think it would be a perfect Easter dress, don't you think?




.jpg)


16 comments:
WOW! This is ADORABLE!!!
I am speechless...this room is adorable! What an awesome job you have done. Thanks for sharing your project with us!
~Gay~
itsahodgepodgelife.blogspot.com
I love it!
I love this room, how sweet! I used the same Target wall decals in my daughter's room too, they are awesome. I also love the birds and nest. Great job!
Looks GREAT!
Cassity, thank you SO much for featuring my little girls' room! You are so sweet.
This room is just the SWEETEST! How adorable can it be! I'm really in love with everything you've done! AND those yo yo's...I'm excited to see what you are going to do with them. DARN, I wish I could sew!
The room is adorable... perfect for two little girls! Beautiful job!
Pure and total sweetness! A dream room for little girls. :)
Adorable! My sons shared a room for years, rarely did we have a good amount of space, even with bunks. Our trick was to put their dresser in the closet. Double hung clothes rods (chains and stick a clothes pole cut to size thru it) held their clothes, but most of their stuff was folded and put away in sets so they could dress themselves quickly. But that freed up as much floor space as possible for play. Sometimes their beds were down, sometimes they were bunks. I do miss them being little (sigh)
Thanks everyone!
Robyn, the yo-yo's found their way to edging out the PB curtains on their window. I realized that throw pillows ended up on the floor a lot, and they'd be more appreciated on the curtains.
this is just darling. I love the colors you have chosen and the wall appliques give it a unique twist and those beds! Well just plain swoon. You have a great eye for details. Your girls must be over the moon and you should be so proud of your efforts here. Well done.
Pam @ Becolorful
That room is amazing! You can come do mine now :)
I love everything about this adorable girl's room! It's so bright and cheerful, just perfect for 2 little girls, I'm sure your daughters love it!
Kat :)
I love the precious bedroom - SO SWEET! I'm new at this and just realized that when I made my first comment just a few minutes ago, I forgot to include my email address. Oops! Anyway, I would love to win a beautiful clock!!
Terry G, Late Bloomer In Texas, tgoline@gmail.com http://www.thebigclockstore.com/
Do you have a tutorial on how you made the fabric flowers that line the curtain edge...I need to find one...
Post a Comment