


TaDa! Jewelry Display Guest Highlight
19 April 2010

This party Highlight is a little late but I love the idea, simple, elegant. Don't you like it. Here is what Angel from TaDa! Creations has done in her master bedroom redo.

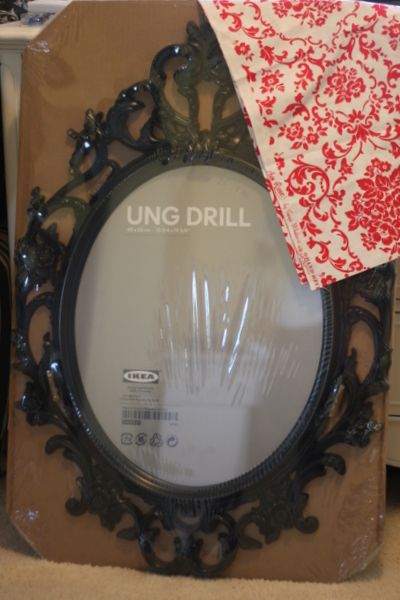
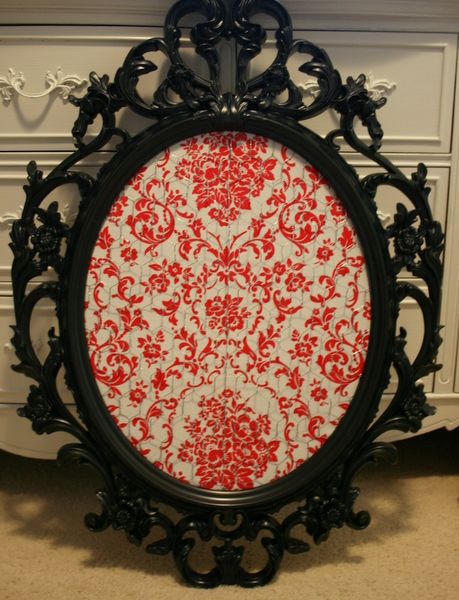
I've had my eye on this frame at IKEA for a while now.
And thanks to a gift card from a sweet friend, I was finally able to bring her home and...

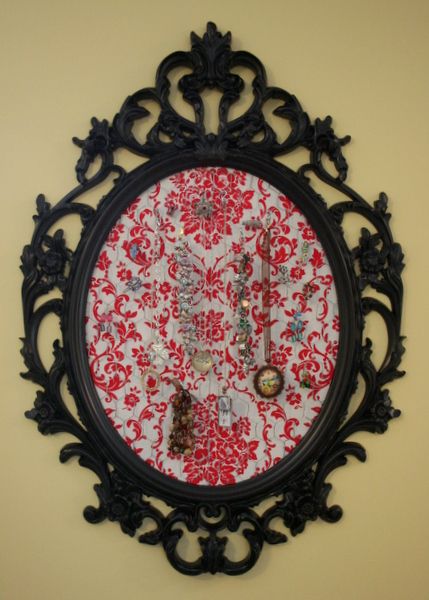
...turn her into a jewelry holder.
Isn't she purdy?
I'll show you what I did. It was easy-peasy.
Find a frame you love and fabric that compliments your room.
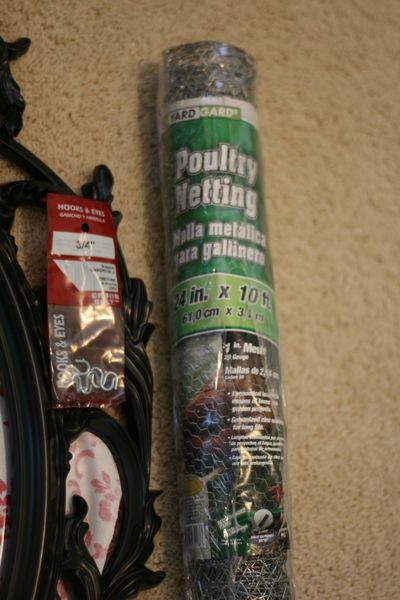
Now get yourself to Home Depot (or Lowes, I'm not picky) and buy the smallest package you can find of the smallest size chicken wire. It will be in the lawn and garden center, outside. This roll was about $5. Pick up some "S" hooks too. I only bought 1 pkg...I should have bought two. If you don't already own one, buy a tin snips too. Or borrow one from your neighbor.
Roll out the chicken wire (ahem...poultry netting) and try to flatten it the best you can. This is no easy task and I didn't try really hard, so mine is still kind of lumpy. But that's OK, it allows you some space to hang the "S" hooks. If it was super flat, it would be too hard to attach anything to it, since you need a little space behind it.
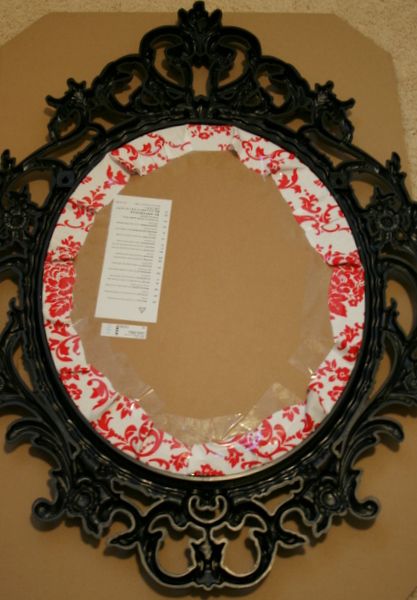
Next use a tin snips to cut the wire to fit the back of your frame. My frame is actually a hollow plastic so I couldn't staple the wire to the frame, but if you can, I think you should. I just had to lay the wire down in there and hope that the fabric piece holds it well enough. Guess what? It does! Whew! *wipes brow*

Next I laid the cardboard backing that came with my frame, down onto my freshly ironed fabric. Once I had it centered just so, I pulled it taut around to the back and secured with packing tape. Nothing fancy here.
And if I hadn't stepped on the glass insert (oops!) I would have put that behind the fabric for more stability and safe keeping. Good thing this won't be used as an actual picture frame. So instead, I just placed the paper that was immediately under the glass, over the back of the fabric panel and bent all the tabs back down.
Next I placed the little "S" hooks I bought, onto the wire, and hung my necklaces and bracelets. Then I hung her on the wall and stood back to admire my work. This took about 10 minutes, start to finish. The admiring...a little longer.
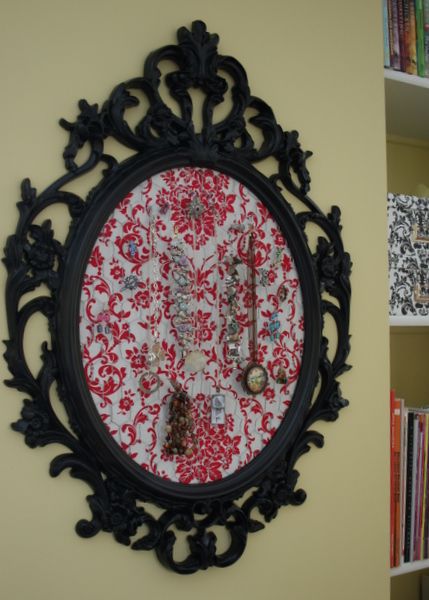
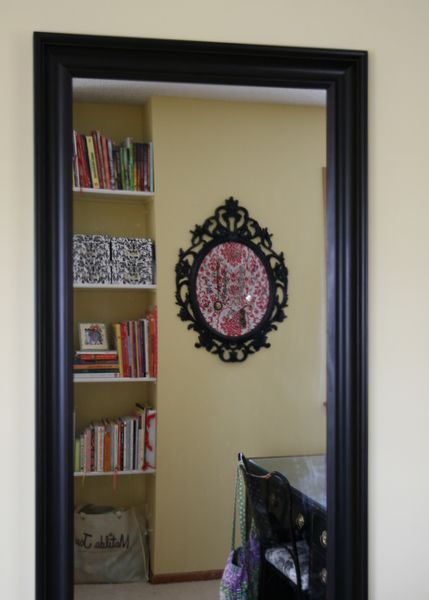
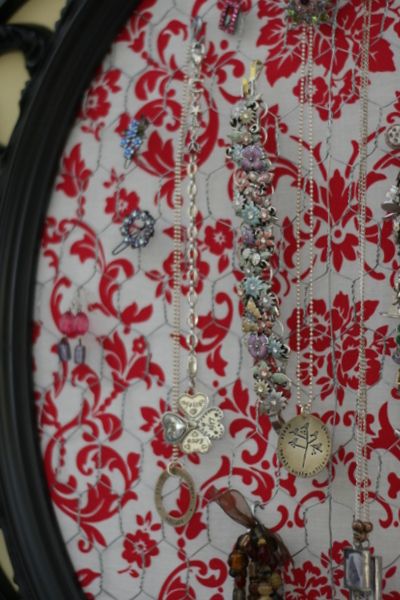
Just wait, close-ups are coming. But first, doesn't she have a nice presence on the wall?
Do you see the little "S" hooks? I still need to ask David to squeeze them closed a bit.
I tried, but my brute strength is...well, non-existent.
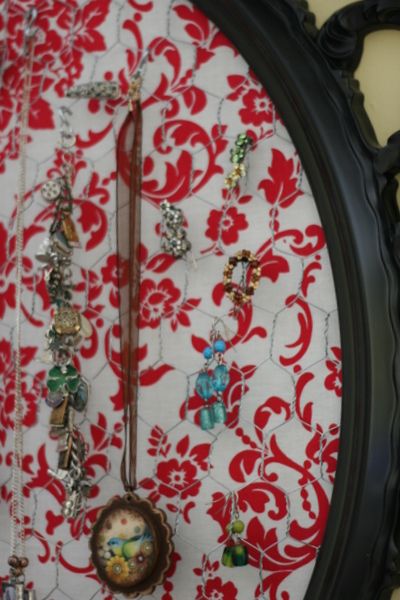
Do you see the little gold hook that the floral bracelet is hanging from?
It's a regular old picture hanger, I might actually like it better than the "S" hooks, but the color, not so much.
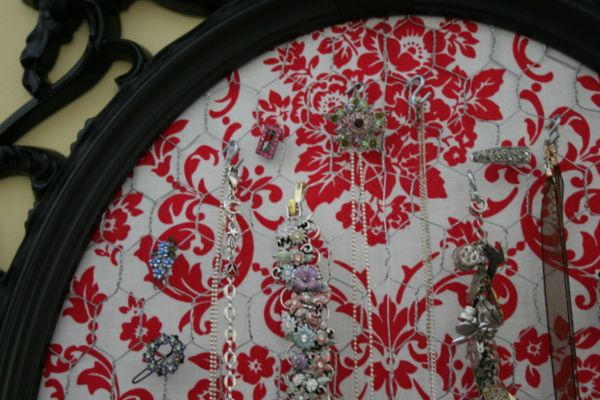
Earrings just get hung on the wire and sparkly barrettes are clipped right on to it.
A girl can never have enough sparkly barrettes, right?
Maybe walking past these every day will remind me to get gussied up a little more often.
Or not.

 Labels:
Clean' n Organized,
Guest Projects,
Jewelry,
Tutorials
Labels:
Clean' n Organized,
Guest Projects,
Jewelry,
Tutorials


6 comments:
Oh my goodness! You are too sweet to feature my project. What a fun surprise this morning. Thank you. :)
That is GORGEOUS!!!!! Oh, to be so creative! I could NEVER think up something like that! {grin}
I really like this! I might have to find a spot to make one.
wow. Lovely!
I love this and all the projects you feature on your blog. You are a great resource! You have an award on my blog... just wanted to let you know you are appreciated!
Too cute!! Love the frame and the fabric!
Post a Comment