We’ve Moved!


If you aren’t redirected here is the link:


Remodelaholic!


THANKS!

Showing posts with label Chairs. Show all posts

The HOT Seat! Chair Transformation!

21 October 2011

The HOT Seat! Chair Transformation!

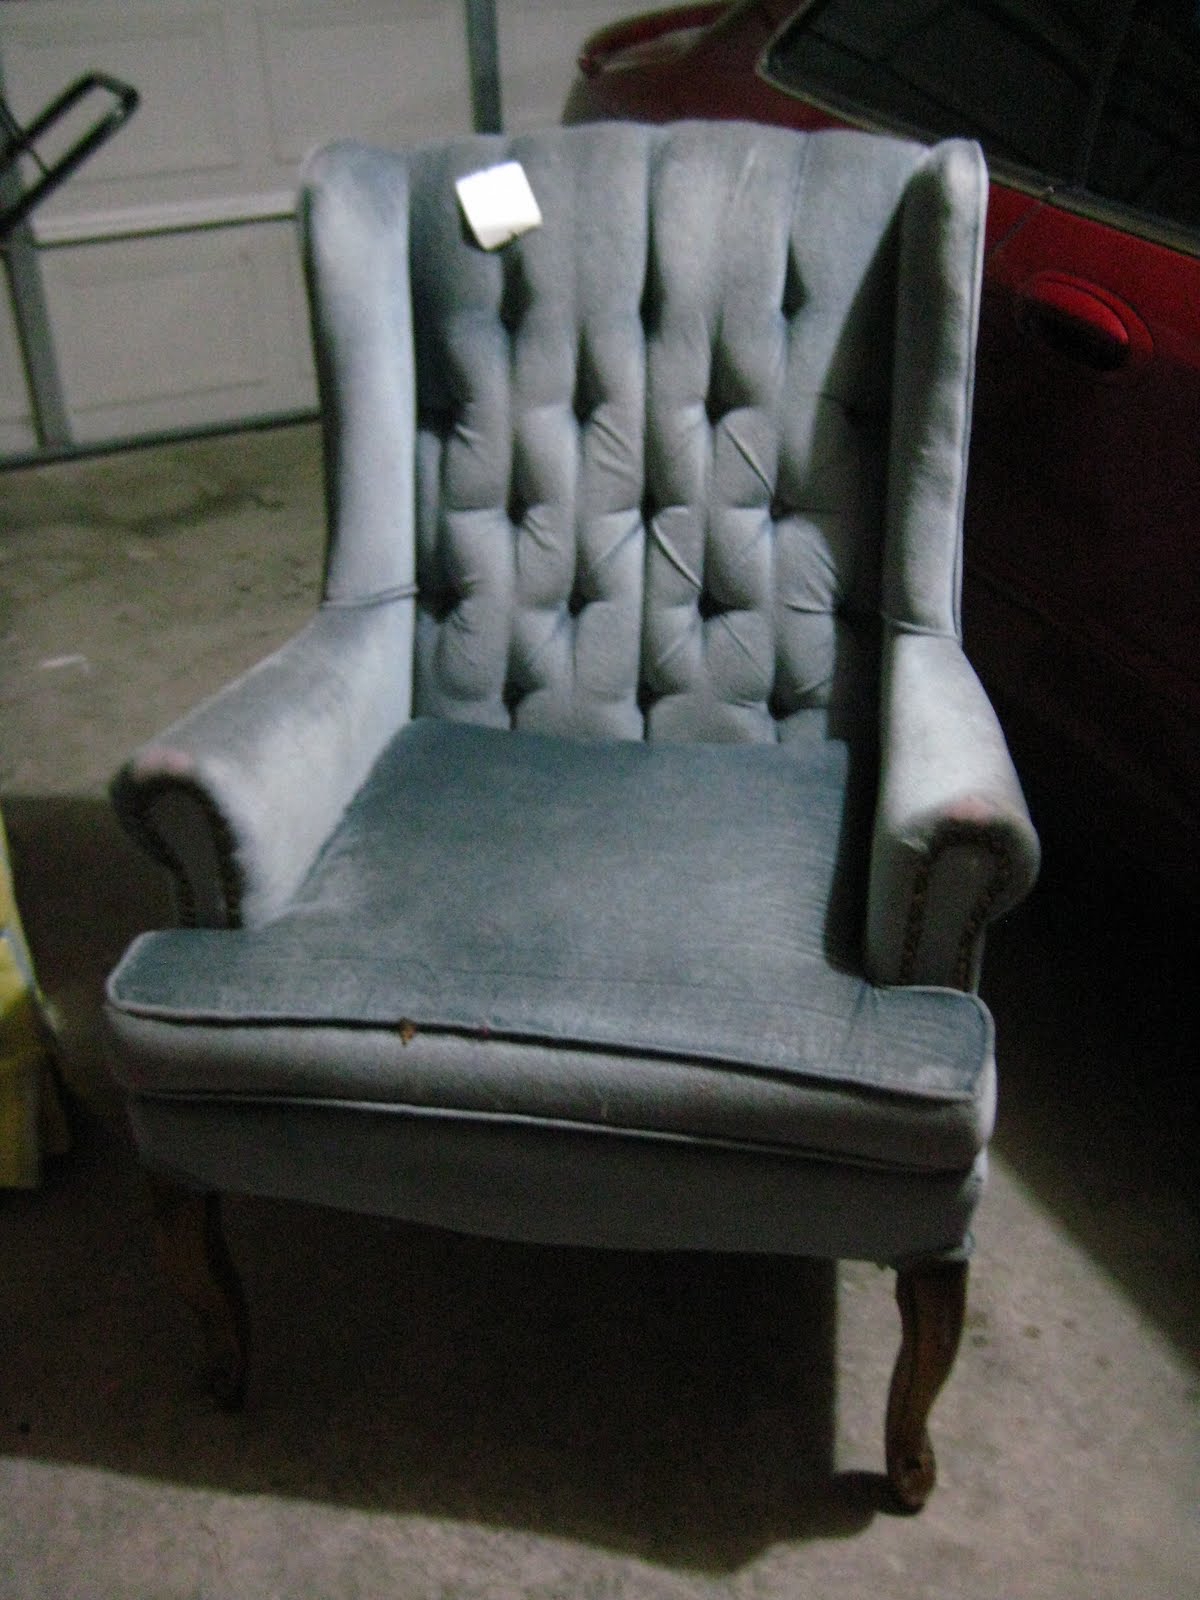
I picked up these little girls at an estate sale a year or so ago, and I just recently got around to changing them up.

I painted and recovered most of the chair, except the removable cushions. I stumbled upon a sweet lady who recovered them in record speed and for a great price, which equals a happy lady right here!

Did I fail to mention the awesome job she did? Well, awesome was the job she did...I think I'm in love, I have so many 'projects' for her ;)

In our past home the chairs were in our bedroom, now they are in the entry way. (The mister pointed out how many seating areas we have in our casa the other day....nice!)

They needed a totally different look and a friend pointed out how comfy they were, that's a plus!

Read more...

Amazing Chair Reupholstry! From Old-looking to Brand-New!

06 October 2011

Amazing Chair Reupholstry! From Old-Looking to Brand-New!

This project rates... out of anything I've ever done.... as the one I disliked the MOST while I was doing it!
BUT, this project also rates as the one I enjoy the MOST.... out of anything I've ever done.... EVERY SINGLE DAY!

Would you believe that I turned these:


Read more...

A Dining Room Chair Makeover

28 September 2011

A Dining Room Chair Makeover

Remember these Louis XVI style square back chairs I snagged from Craigslist for only $125 for all four?

They have slowly but surely been receiving updates on a weekly basis and they are finally complete! They went from this...

Read more...

Wingback Chair Reupholstering Tutorial

27 August 2011


Wingback Chair Reupholstering Tutorial 

 It is done! Done! Done! Done!


I mentioned earlier this week that I started the actual upholstering part of my wingback reupholstering this weekend and finished it in two days!!!!  It was on my "list of things to finish before my parents get here" so I thought once I start I have to get this done.

I started this project over 3 months ago {see first post here} and like many things in design it never turns out exactly the way you think it is going to go.  I first started out {in May}wanting to write a really detailed tutorial about how to reupholster a piece of furniture; even though at that point I had NEVER actually upholstered anything before... I thought if I can do it anyone can.  BUT I was not as detailed as I thought I was going to be at documenting my progress... and in the end {with a great chair but not a great "How To" post} that is the best advice I am going to give you.... BE DETAILED!!!

I started with this:

Read more...

Hints for Recovering a Wingback Chair

02 June 2011

Hints for Recovering a Wingback Chair by Lindsay

When Cassity asked me to write a post for Remodelaholic, I had to
pinch myself. I have been blogging for less than a year and my posts
are scattered at that. Diffendwelling is my way of paying back all the
other amazing bloggers out there who share their project how-tos and a
little bit of their life along the way. So without further ado, here's
a glimpse into one of my (semi) recent projects:

I've always had a thing for wing chairs. There's something so stately
and timeless about them. So when I got the urge to put a new chair in
my living room, I knew exactly what I wanted- a wing chair.

Being married to a medical school student, I knew that I was going to
have to make this happen on the cheap. My initial thought: slip
covering ...then I realized that I don't really sew well and most slip
covers I have seen don't make my heart skip a beat. So I (without the
slightest idea of where to begin) decided that I was going to teach
myself to reupholster. I learned completely via blogs and YouTube. You
can find all the links I used on my site.

Because I usually scroll down to see the "after" photo, I'll spare you
the agony. Here's the finished product:

It all started with this $20 find from a local resale store:


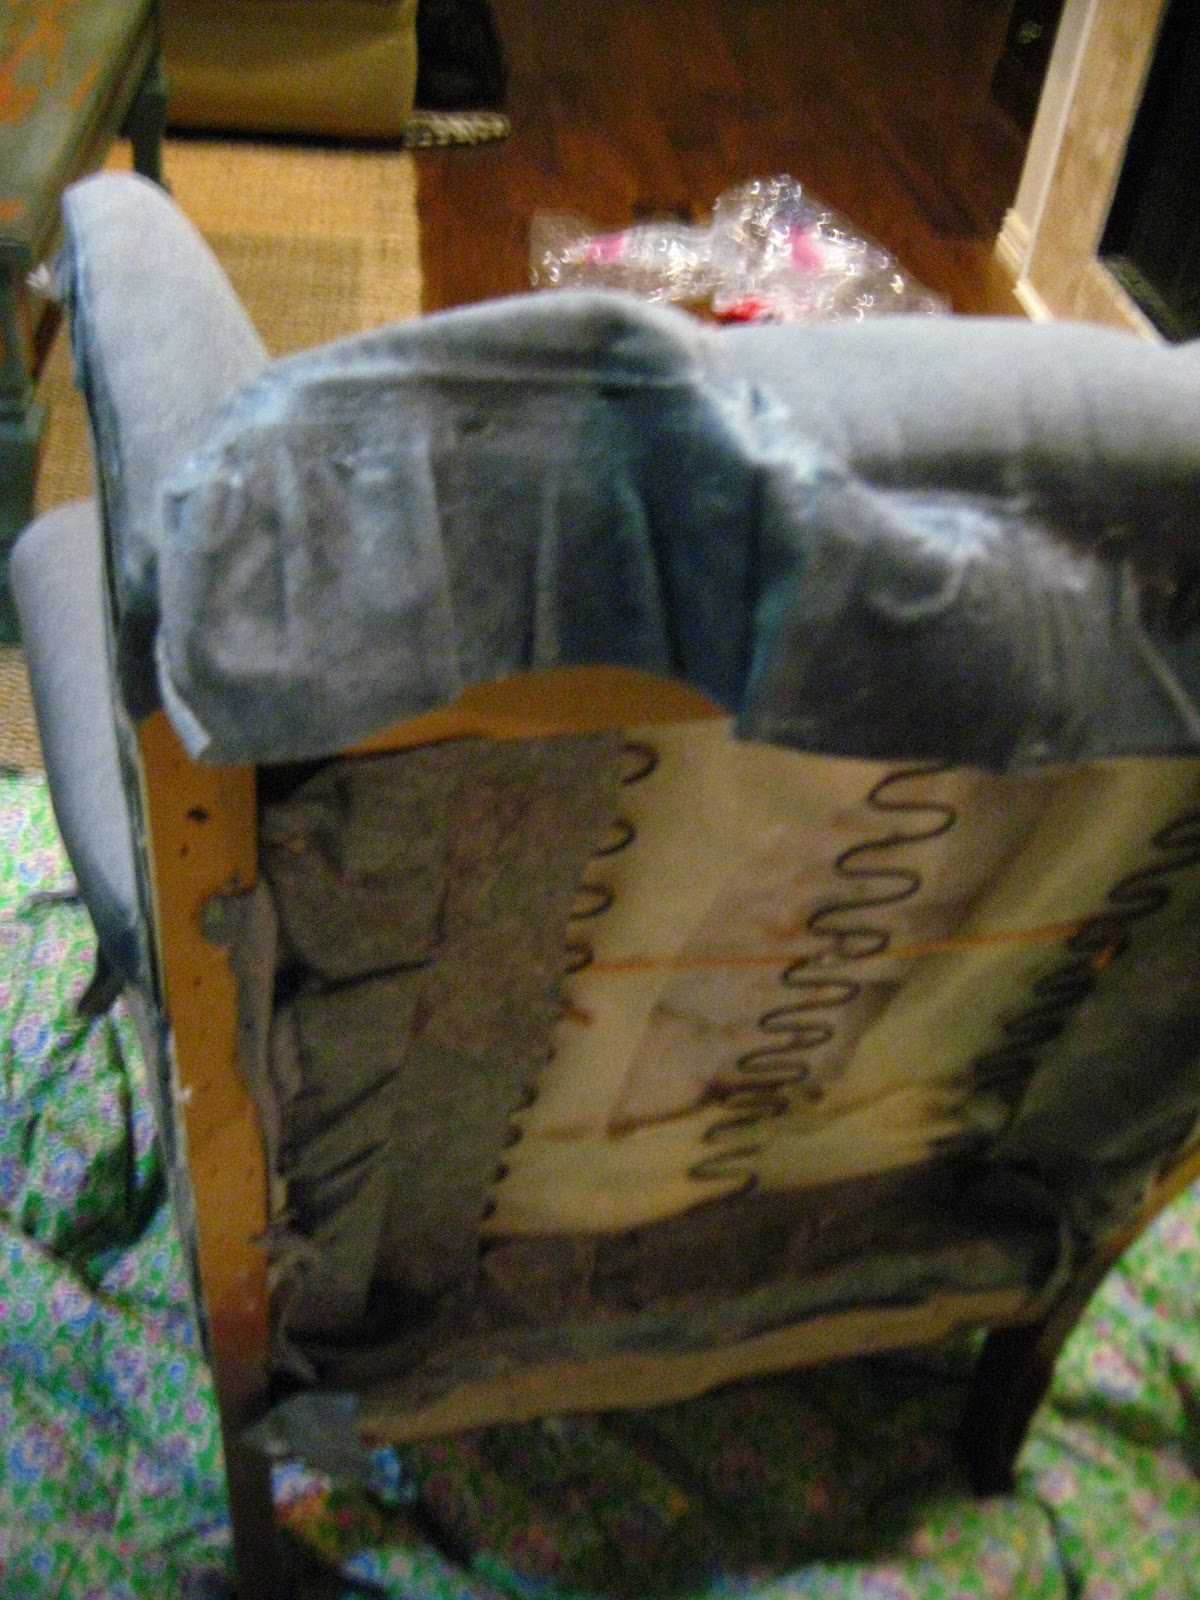
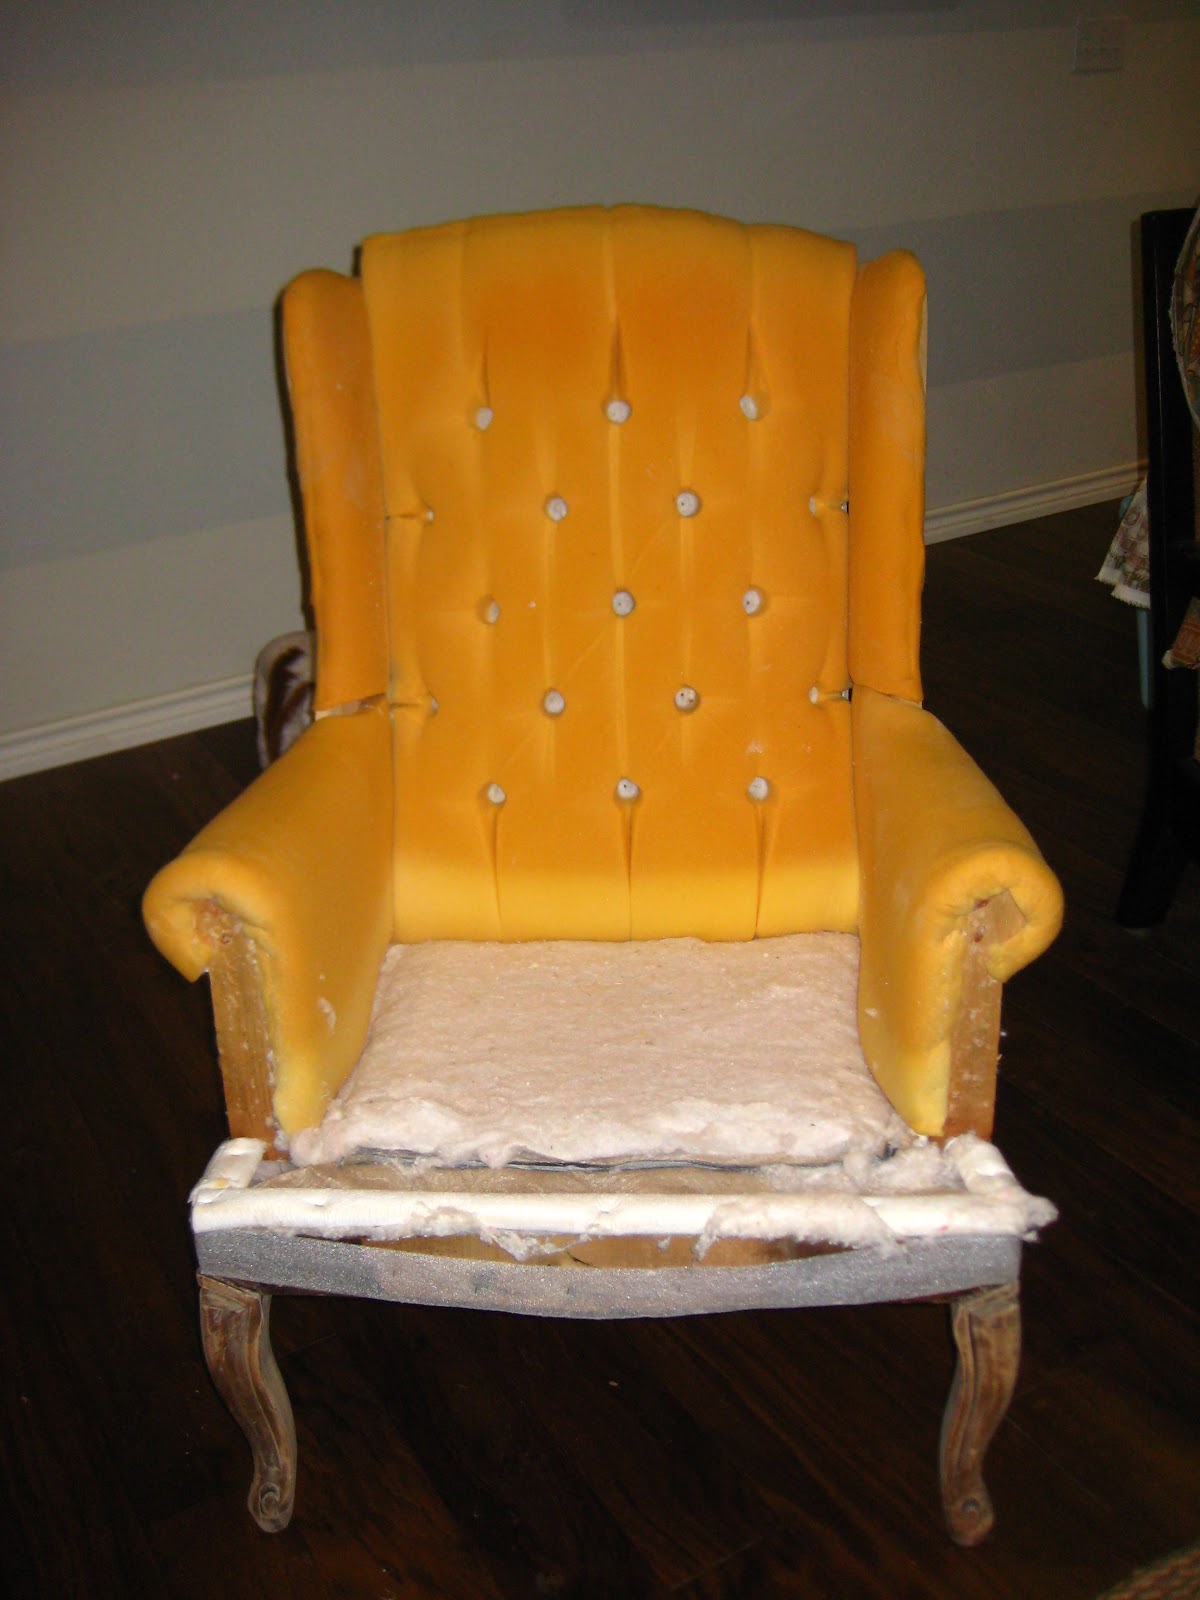
From there, I completely stripped the chair down to the bare bones.
You can read about it here:

It was just like peeling an onion, each piece layered behind another.
I made sure to number all of my pieces in the order that I took them
off (which was amazingly helpful for the reupholstering part). I also
did everything I could to keep what I removed in tact.

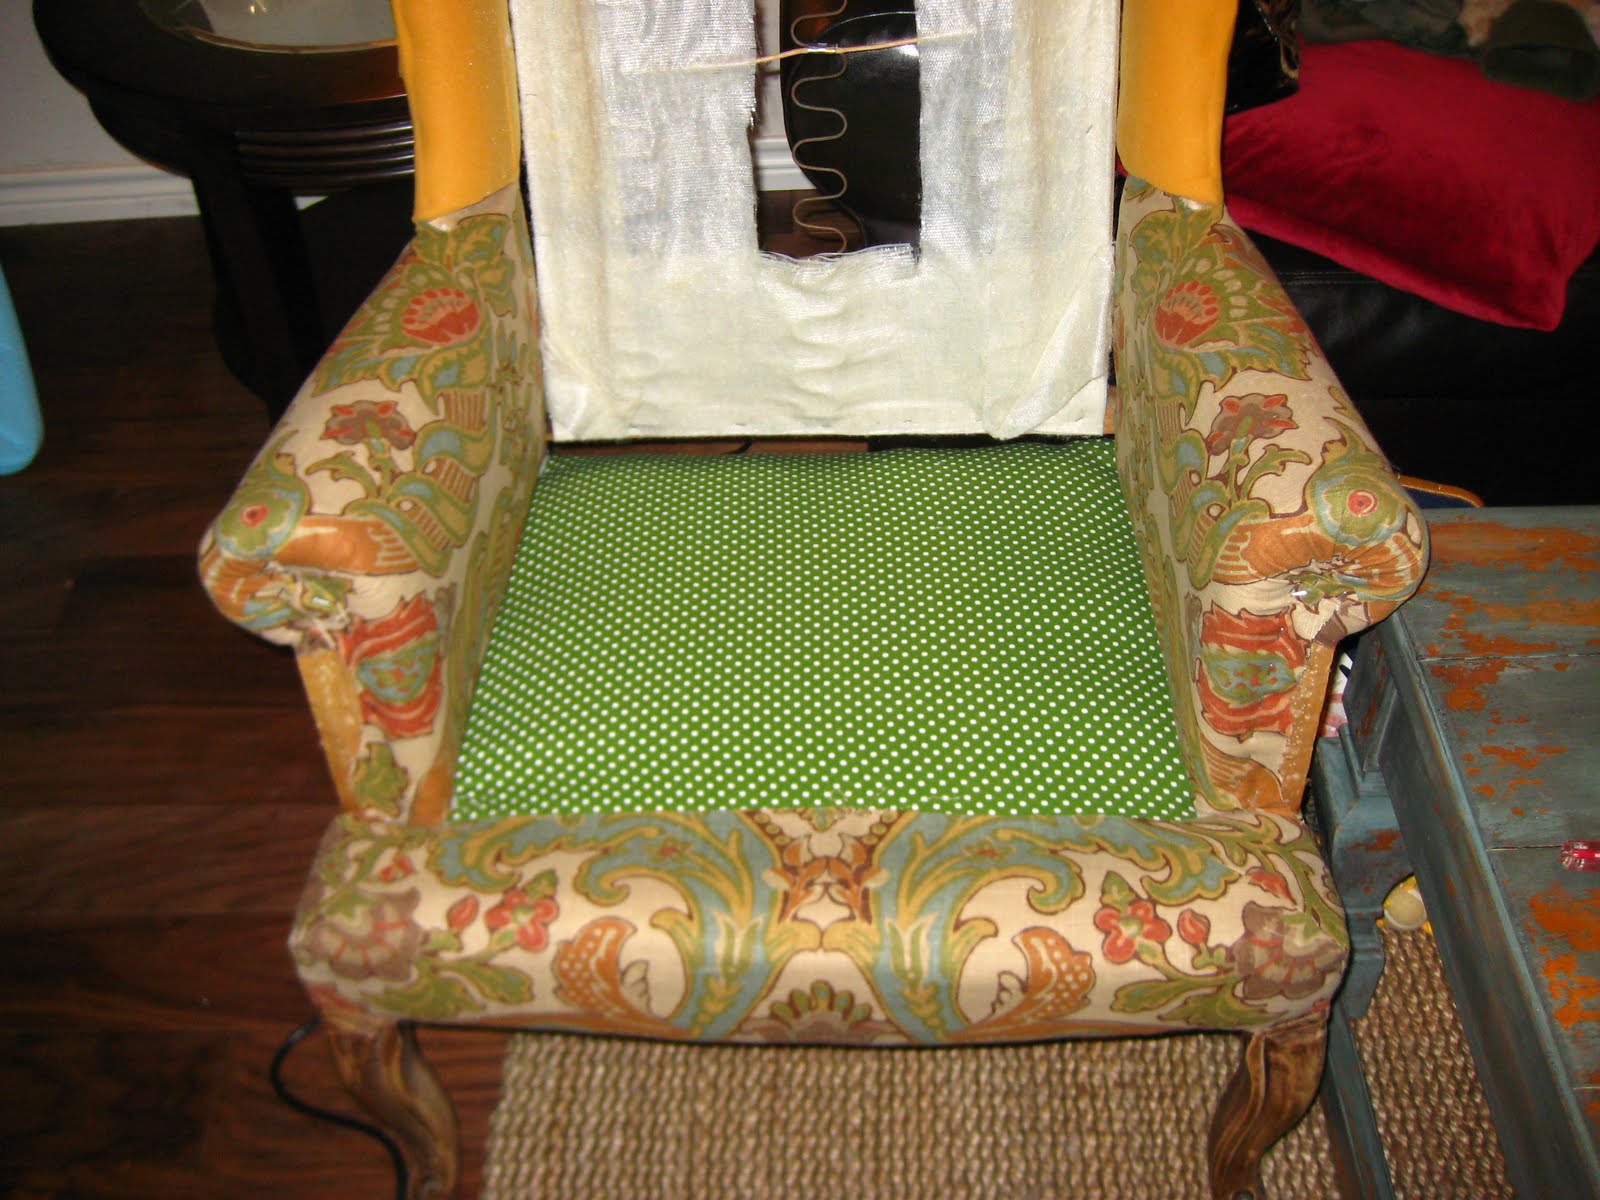
Once everything was removed, I began with the last piece that I
removed, laid it on top of my new fabric to use as a template, traced
it, and stapled it into place onto the chair. I continued to do that,
working backward, using my number system.
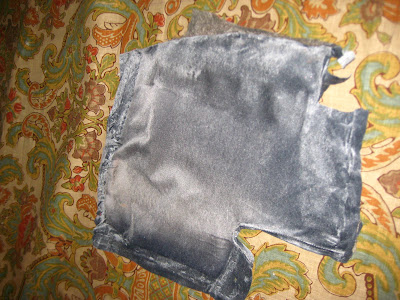
Tracing the
fabric


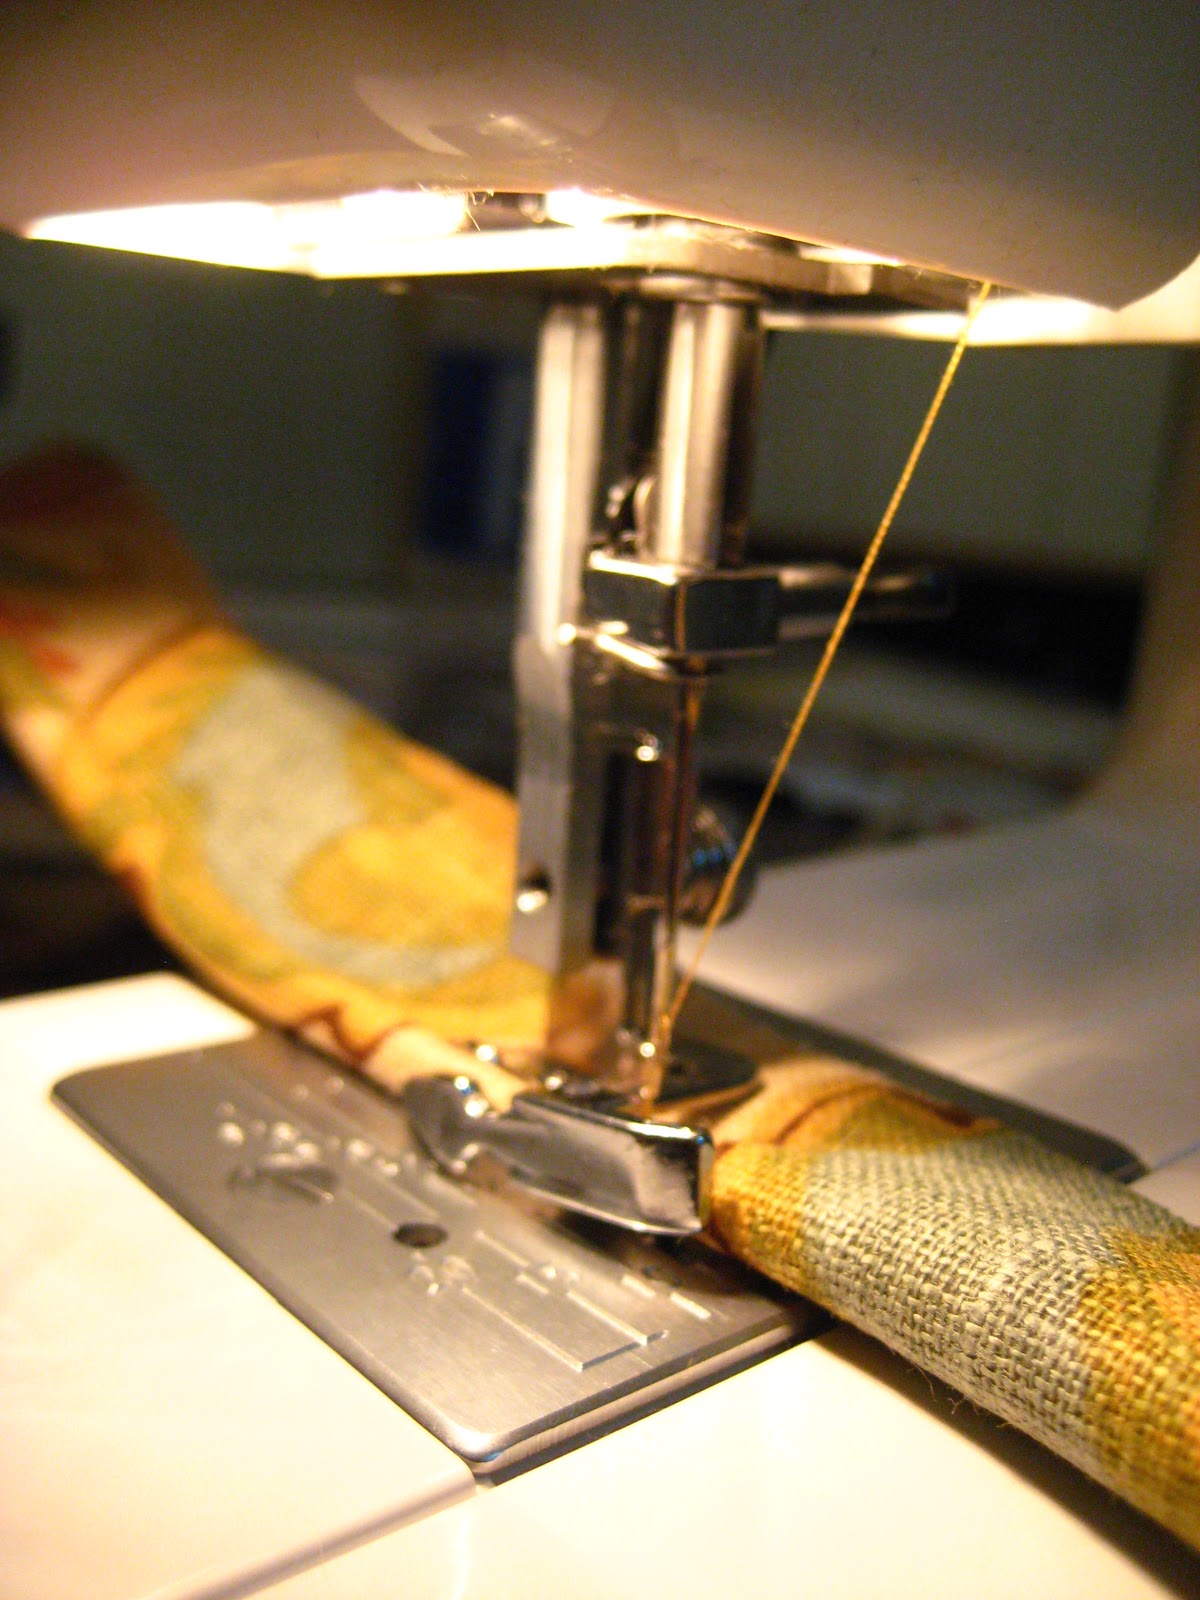
Oh, and I made some piping, using a zipper foot (and broke about 10
sewing machine needles in the process).

Do you recognize that fabric from somewhere? It's Pottery Barn's
Simone print. But I found it's actual name (Lutron Vintage) and got it
for $10 less a yard than PB was selling it for.

(You can get the full how-to on this here.)

And after more tracing and cutting and a whole bunch of staples later
(and soliciting my grandma to make the cushion cover for me), I

had the finished


For your viewing pleasure, my wing chair:


Wally tested, Wally approved.

 
Thanks for stopping by to see my transformation! Be sure to let me
know if you have any questions, as I will be more than happy (with the
limited knowledge that I have) to answer them!

And come follow me over at Diffendwelling. I'd
love to stay in touch.  


Read more...

Desk and Chair Facelift!

Desk and Chair Facelift by Jen

Hi, I'm Jen! I'm a mom, a wife, a housekeeper, a cook, a decorator, a crafter and a blogger. My blog is a collection of everything that I enjoy from DIY projects, home decor, crafts and recipes to fun activities for the kids and our own family experiences. Hence my blog name: Scissors & Spatulas: And Everything in Between! You never know what you're gonna get!
I'm so excited to be here at Remodelaholic! Let me show you a peak at what I have in store for you today...


Would you believe me if I told you this desk and chair cost less than $20? Well, it's the truth! 
One of my favorite projects is turning someone else's trash into my own new treasure.  Particularly furniture. It's garage sale season and I am up and out early on Saturday mornings in hunt of some great bargains!  I found this chair for just $5!


I gave it a good cleaning with the hose and let it dry out in the sun before taking my mouse sander to it. I roughed it up pretty well to make sure the varnish was taken off.


I used one coat of Kilz {water-based} primer and then three coats of Olympic Irish Cream {just slightly off white} in a satin finish.
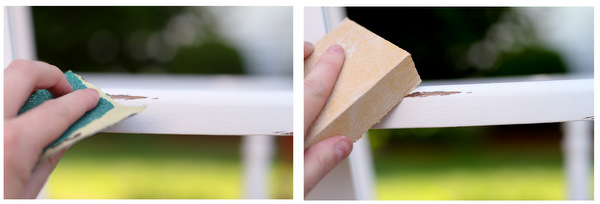

Then, after all that hard work, I took my sandpaper and started distressing it! I use a very low grit to remove the paint but then use a very fine sand block to smooth it out.


Here is a preview of what it looked like after distressing. You'll see the finished product in just sec. First let me show you the second part to this project. 

My mother-in-law gave me an old sewing table a while back. Now I know I'm going to get some grief for saying this, but I removed the table top and sewing machine and replaced it with a large piece wood because I love the look of the legs, but the table top was not functional. It wasn't one of the nice ones with the drawers, just a flat table that unfolded. I wanted to use it for a writing desk and once the sewing machine was removed the original table top had a big hole in it. So i decided to make a new top all together. 


Here is the stained piece of wood after I took my mouse sander to it. It had a thick coat of varnish on it, so it took some elbow grease to rough this baby up.


Then I took a hammer to it and it was actually quite fun! I softened up the sharp edges a bit and put some dings and dents all over the edges, sides and top.


One coat of primer and three coats of the same paint used on the chair .


Then again, I took my low-grit {rough} sand paper and started scraping away at the paint. This knot above is a result of the hammer. Love it! I wasn't quite getting the result that I wanted with the sandpaper, it was still too clean and white.


So out came my handy dandy mouse sander again and it worked like a charm. Sneak peak. . . 


Okay, are you ready to see my new writing desk?


A huge thanks to Remodelaholic for having me today! I hope you all have enjoyed my trash to treasure transformation and I hope you'll come by and visit me at Scissors and Spatulas.  


Read more...

Slipcovered Wingback Chair..(that I want!)

26 April 2011

Slipcovered Wingback Chair..(that I want!) by Shelley

Hi.  My name is Shelley.  And... I'm a Remodelaholic.
When Cassity contacted me to do a post on my slipcover I was so thrilled that my computer chair dancing turned into full blown out of the chair dancing :D  So, thank you, thank you Cassity for having me over to your AMAZING blog!
As I mentioned, my name is Shelley.  I am a stay-at-home mom who finds sanity through creating. My blog Crazy Wonderful is my happy place where I can post about my favorite Izzy adventures and the creating that happens when she sleeps. By the way, I'm not yet prepared for what happens when they no longer nap. Any tips are welcomed! Hahaha!

Now, on to what's important!
How I Slipcovered My Wingback

I used Miss Mustard Seed's tutorial. It was such a great tutorial, I highly recommend looking at it even if you're doing something other than a wingback. Making a slipcover really wasn't that difficult to do, and this one only took a few days of working during Izzy's nap times to complete.
If you decide to make a slipcover (which I hope you do) here are some very helpful tips:
1.  You CAN do this.  It seems intimidating, but remember, you eat an elephant one bite at a time.  
2. Wash and dry your fabric first!  Not only does it prevent your finished slipcover from shrinking the first time it needs to be washed, but it also softens up the fabric making it easier to work with.
3. Go ahead and put forth the extra effort to make and/or use piping.  It will make your slipcover look much more polished.

If you don't already have a sewing attachment for piping, borrow or purchase one.  This is what I used.

4. If your using painter's drop cloths, use the prefinished edges to your benefit.  They come in handy for the skirt of the chair, and also for any closures in the back of the chair.

5.  Back to eating the elephant one bite at a time.  Work in small sections, starting with the largest pieces first.  Pin one major seam together, and then take it right over to the sewing machine to sew together.  Try the sewn seam on your chair to check for fit before pining the next seam.  Here's an example of sections you can work in.

6.  When sewing a seam that has piping, make sure your foot is pressed tightly against the piping so that the needle stitches just to the side of the piping.  It will give you a much cleaner look and prevent floppy looking piping.

7.  If you get to a section that's giving you problems and you start freaking out, WALK AWAY.  It's not worth ripping the entire thing apart in frustration and giving up.  Not that I ever thought of doing that ;)  Go do something else for a few minutes (or a few days) and come back to it later.  You'll have a clear head and will be better able to figure out the solution.
8.  This one's more of a design decision.  When I made the pleats for the skirt, I knew I wanted a very crisp, flat pleat.  I measured out my pleats, pining in place as I went, and then gave them a really good press and shot of steam with the iron before running them through the sewing machine.  I know that when the time comes to wash the slipcover, I'll need to iron them down again.  But, for now they lay great!

9.  Don't drive yourself crazy trying to obtain perfection!!!  It's a slipCOVER.  It's not meant to look like a tight upholstered piece. 
10.  Relax, you'll be thrilled with the results :D


Cost Breakdown:
9x12 painter's drop cloth (8oz) - $20.00
cording to make piping - $8.00
chair - FREE!
$28.00!!!
Now go cover up that ugly chair!

Read more...

Amazing Armchair Makeover

18 April 2011

Amazing Armchair Makeover by That's My Letter

“J” is for Jaime – Today I’m the guest blogger here at Remodelaholic. I jumped at the chance to
be part of Cassity’s great collection, thank you for asking.

My blog, That’s My Letter,
has evolved into a make this, change that, do-it-yourself virtual scrapbook for my
little hobby of working with my hands.  The title came from my kids, when they were
younger they’d always point out the first letter of their name and say ‘that’s my letter’ mom so I
went with it. And now I title every post with a letter and one word to describe the project. It has
become my signature.

I’m a Midwestern girl born and raised in Minnesota but married to a New Yorker so we're
here on the East Coast. All my life I’ve been creating, I was a studio art major in college and
worked a bit for an interior designer. Now I have three young kids and life is busy but I love the
challenge and always search for the best way to make it work.
My recent project, an armchair makeover, is the focus of today’s post. A quick before and
after:


Read more...

Lingerie Inspire Slipcovers: Beautiful Details

24 March 2011

Lingerie Inspire Slipcovers: Beautiful Details


My old dining room armchair is now an occasional chair in the guest room. But I wasn’t so crazy about the dated forest-green velvet cushion. Slipcover to the rescue with a tiny twist – sweet feminine ties reminiscent of an old fashioned corset.

Here are some detail shots:

Read more...
Related Posts with Thumbnails
Emealz - Easy Meals for Busy People!
Home & Garden Blogs Home & Garden Blogs - Blog Rankings

Blogging  tips, tutorials and SEO

From Here to Eternity

  © Blogger template On The Road by Ourblogtemplates.com 2009

Back to TOP