
Saturday I started re-finishing this lovely divider I found at D.I. for $5!

I think about 20 million people had these at their weddings a couple of years ago, filled with little pictures of the bride and groom as kids, because I see them at D.I. all the time. Well obviously this one was a piece of junk. It had 11 missing glass/matt combinations, but I had a vision for it! I left with people starring at me, I swear thinking that girl is crazy to buy that... but just wait till you see what I did with it :)
First we took out the remaining glass/mat combo's. And then cleaned it up. We took it outside and re-spray painted it black to hide the nick's and dings. After it looked like this:

Ahhh already so much better! The next thing we did was cut a bunch of cardboard to fit the square holes. I just used one of the mat's as a stencil.

Then we kept on cutting. First was the batting cut a 1/2 inch smaller than the cardboard on all sides.

Then you are going to combine the cardboard with one pice of batting. I used tape to keep it down... I wanted to save my fingers as long as possible from the hot glue. Dun dun dun!

The next thing you will do is cut your fabric and hopefully you have a nice husband like me that will iron it ALL for you.
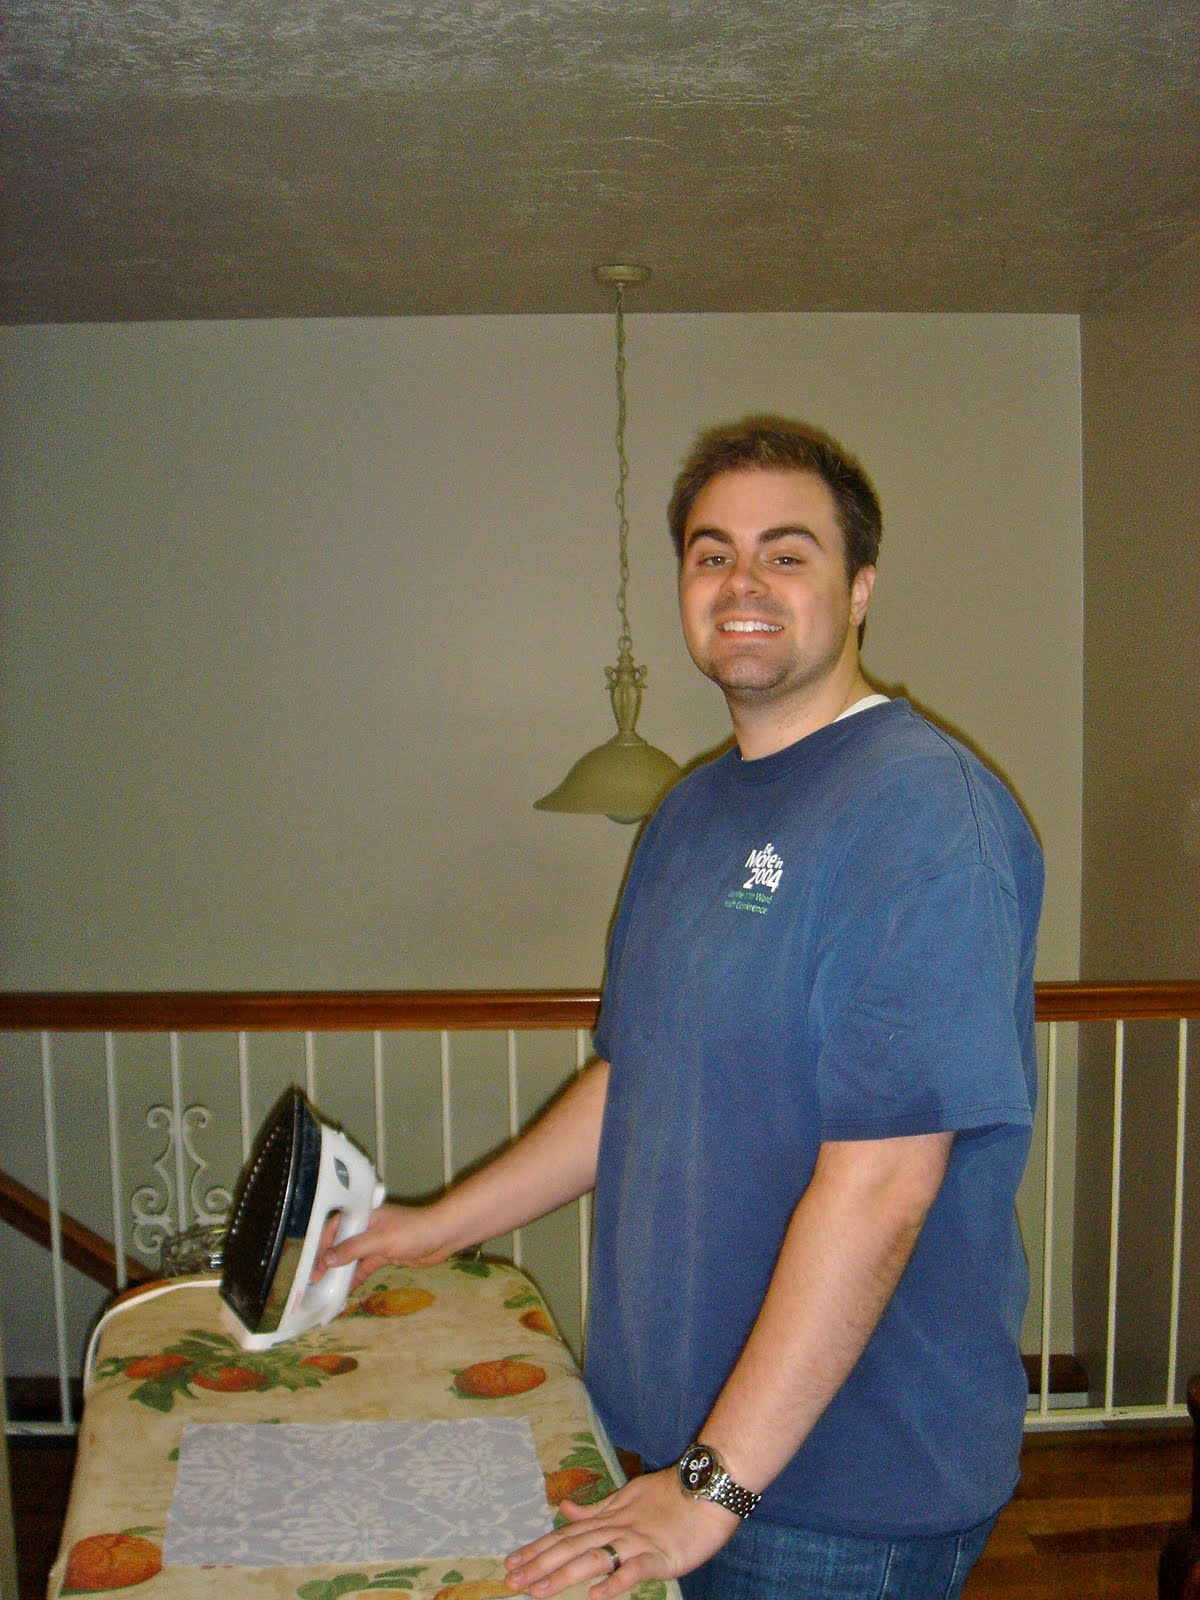
Then your going to cover your cardboard/batting combination with fabric. Just fold it over like a present and hot glue the sides down!

Then ( I have no picture of this, bad blogger, SORRY!) You are going to sow a button in the front/middle of the rectangle. It makes a nice little dip in the front... then Cover and glue down the back with more fabric, to hide the ugly cardboard :)
Stick the cardboard piece's in the divider. They fit right in so you don't need to glue them in or anything! And TA-DA you have a beautiful new divider!
Stick the cardboard piece's in the divider. They fit right in so you don't need to glue them in or anything! And TA-DA you have a beautiful new divider!

Here's a close up!

I think it is a great idea for updating a
room divider on the cheap.
What do you all think?
Great job, i love the fabric idea! So thrifty~
ReplyDeletestop by some time, dejavucrafts.blogspot.com!
Oh my gosh! Seriously my husband just rolls his eyes when I get inspired by your stuff! I loooooove this idea. You seriously rock!
ReplyDeleteOh so very cooool! Love it! Where can I find a screen... I just would have painted it white but the b/w is a nice contrast! Excellent job. Please stop by and say hi, I too love to make things over.
ReplyDeleteHugs,
Olivia
So glad you had the vision because I'm certainly not good at that. The end result looks amazing! :)
ReplyDeleteLove it!
ReplyDeleteI think that is the most remarkable thing! I've been wanting a screen to use in my bedroom and now I have an idea. Of course I'm not sure I'm that crafty. Thanks for the inspirational post.
ReplyDeleteYou absolutely nailed it. That is the mother of all room dividers! Wow it is perfect, I love the print, I love the color, and I love the concept. If this was dancing with the starts I'd give you a 10 and your hubs a 10 for being an outstanding partner. Thanks for sharing your lovely decor. :)
ReplyDeleteI’M VERY LIKE WITH YOUR ARTICLE.PLEASE SEE AND COMMENTS MY BLOG(gondolainvenice.blogspot.com).
ReplyDeletecan you please tell me what DI is. i see that people buy all these great things to refinish at DI. Is that an abreviation for a store or is that just a store that i have never heard of?
ReplyDeleteHey there Uniquely Monogrammed,
ReplyDeleteDI is short for Deseret Industries. It is a Good Will/ Salvation Army second hand type store located in some mid-western states.